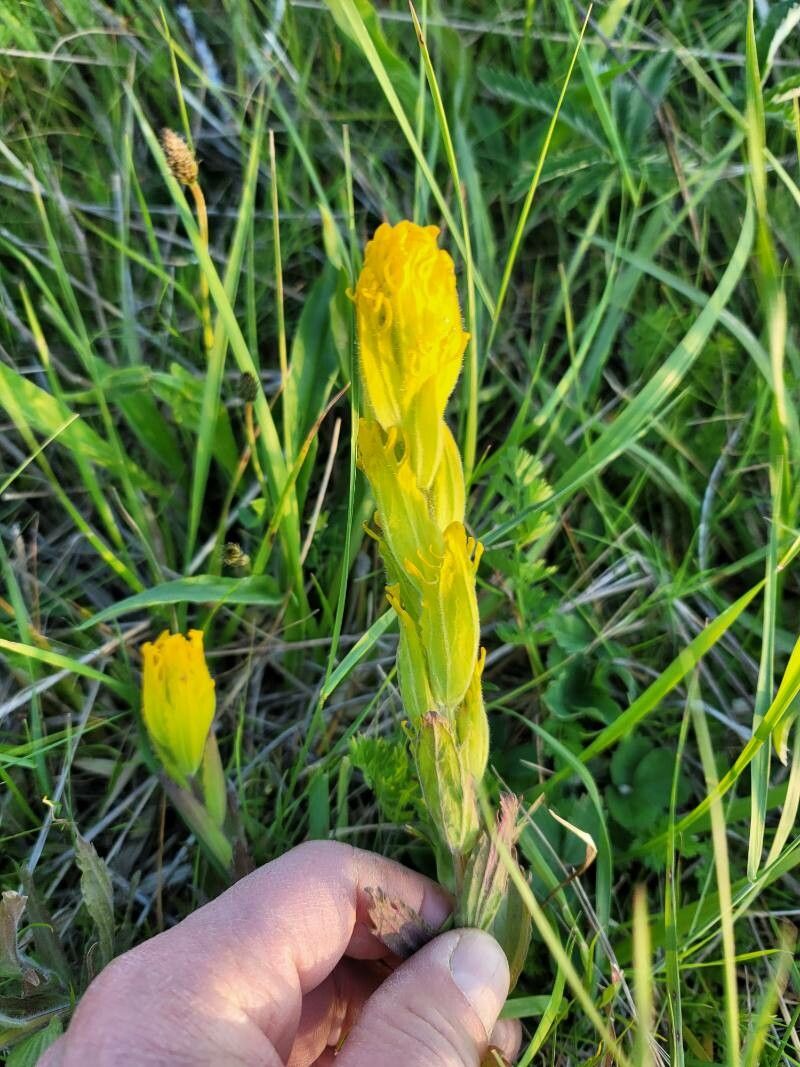
Hello fellow gardeners! Today, we’re diving into the wonderful world of Castilleja levisecta, also known as the meadow paintbrush. These vibrant beauties with their fiery blooms add such a pop of color and life to any garden. I’ve always found them utterly charming, and the thought of nurturing them from a tiny start into a flourishing plant is incredibly satisfying. Now, I won’t lie, Castilleja levisecta can be a bit of a diva when it comes to propagation. For absolute beginners, it might present a little challenge, but with a bit of patience and these tips, I’m confident you can have success!
The Best Time to Start
For me, the sweet spot for propagating Castilleja levisecta is in late spring to early summer, after the main blooming period has passed. This is when the plant is actively growing, and the stems are firm but not yet woody. You want to work with plant material that has good energy reserves to help those new cuttings root.
Supplies You’ll Need
Here’s what I always have on hand when I’m propagating:
- Sharp, clean pruning shears or a razor blade: Sterilize them between cuts!
- Rooting hormone: A powdered product is my preference.
- A well-draining potting mix: I like to use a 50/50 blend of perlite and peat moss or coco coir. You can also find specialized succulent or cactus mixes that work well.
- Small pots or seed trays: With drainage holes, of course.
- A spray bottle: For gentle misting.
- Optional: A propagation mat or heat mat: This can really give your cuttings a boost.
Propagation Methods
While Castilleja levisecta can be a bit fussy, we’ll focus on two reliable methods that give me the best results.
1. Stem Cuttings:
This is my go-to for Castilleja levisecta. It’s efficient and gives you a good chance of success if done correctly.
- Select your parent plant: Look for healthy, non-flowering stems.
- Take your cuttings: Using your clean shears, cut a stem that’s about 4-6 inches long. Make your cut just below a leaf node (where a leaf attaches to the stem).
- Prepare the cuttings: Gently remove the lower leaves from the cutting, leaving only the top few. You don’t want excess foliage on the cutting that will lose moisture.
- Apply rooting hormone: Dip the cut end of the stem into the rooting hormone, tapping off any excess.
- Plant the cuttings: Fill your small pots with your well-draining mix. Make a small hole with your finger or a pencil and insert the treated end of the cutting, firming the soil gently around it.
- Water lightly: Water from the bottom if you can, or gently mist the surface. The soil should be moist but not soggy.
2. Division (Best for Established Plants)
If you have a mature, established Castilleja levisecta, division is a less common but still viable option. It’s best done in early spring before new growth really takes off.
- Gently unearth the plant: Carefully lift the entire plant from its pot or garden bed.
- Inspect the root ball: Look for natural divisions where you can see distinct sets of roots and shoots.
- Separate the divisions: Using a clean, sharp knife or trowel, carefully split the root ball into smaller sections. Try to ensure each section has a good amount of roots and at least one or two healthy shoots.
- Replant immediately: Pot up your divisions in their own containers with fresh, well-draining soil.
- Water thoroughly: Water them in well.
The “Secret Sauce” (Pro Tips)
Here are a few little tricks I’ve learned over the years that make a difference:
- Give them some warmth: Castilleja levisecta loves a little bottom heat. Placing your pots on a propagation mat or a heating pad set on a low setting can dramatically speed up root development. You’re looking for a soil temperature of around 70-75°F (21-24°C).
- Don’t let the leaves touch the water (if you’re using a misty environment): If you create a humid microclimate by covering your pots with a plastic bag or lid, make sure the leaves of your cuttings aren’t constantly sitting in condensation. This can encourage rot. A light misting is usually enough.
- Be patient with watering: Overwatering is the enemy of new cuttings, especially with plants that prefer drier conditions. Let the top inch of soil dry out slightly between waterings.
Aftercare & Troubleshooting
Once you see signs of new growth – tiny leaves emerging from the top – that’s a good indicator that roots have formed! At this stage, you can gradually start to introduce your new plants to a little more light, but avoid direct, scorching sun.
The biggest enemy here is rot. If your cuttings go soft, mushy, or develop black spots, they’ve likely succumbed to fungal issues. This is usually due to too much moisture and poor air circulation. If you see this, remove the affected cutting immediately to prevent it from spreading. Sometimes, stretching or weak growth can indicate not enough light.
A Encouraging Closing
Propagating Castilleja levisecta can feel like a bit of an adventure, and setbacks are part of the learning process. Don’t get discouraged if not every cutting takes. Celebrate the successes, learn from the challenges, and most importantly, enjoy the magical experience of creating new life in your garden. Happy propagating!
Resource:
https://identify.plantnet.org/k-world-flora/species/Castilleja%20levisecta%20Greenm./data