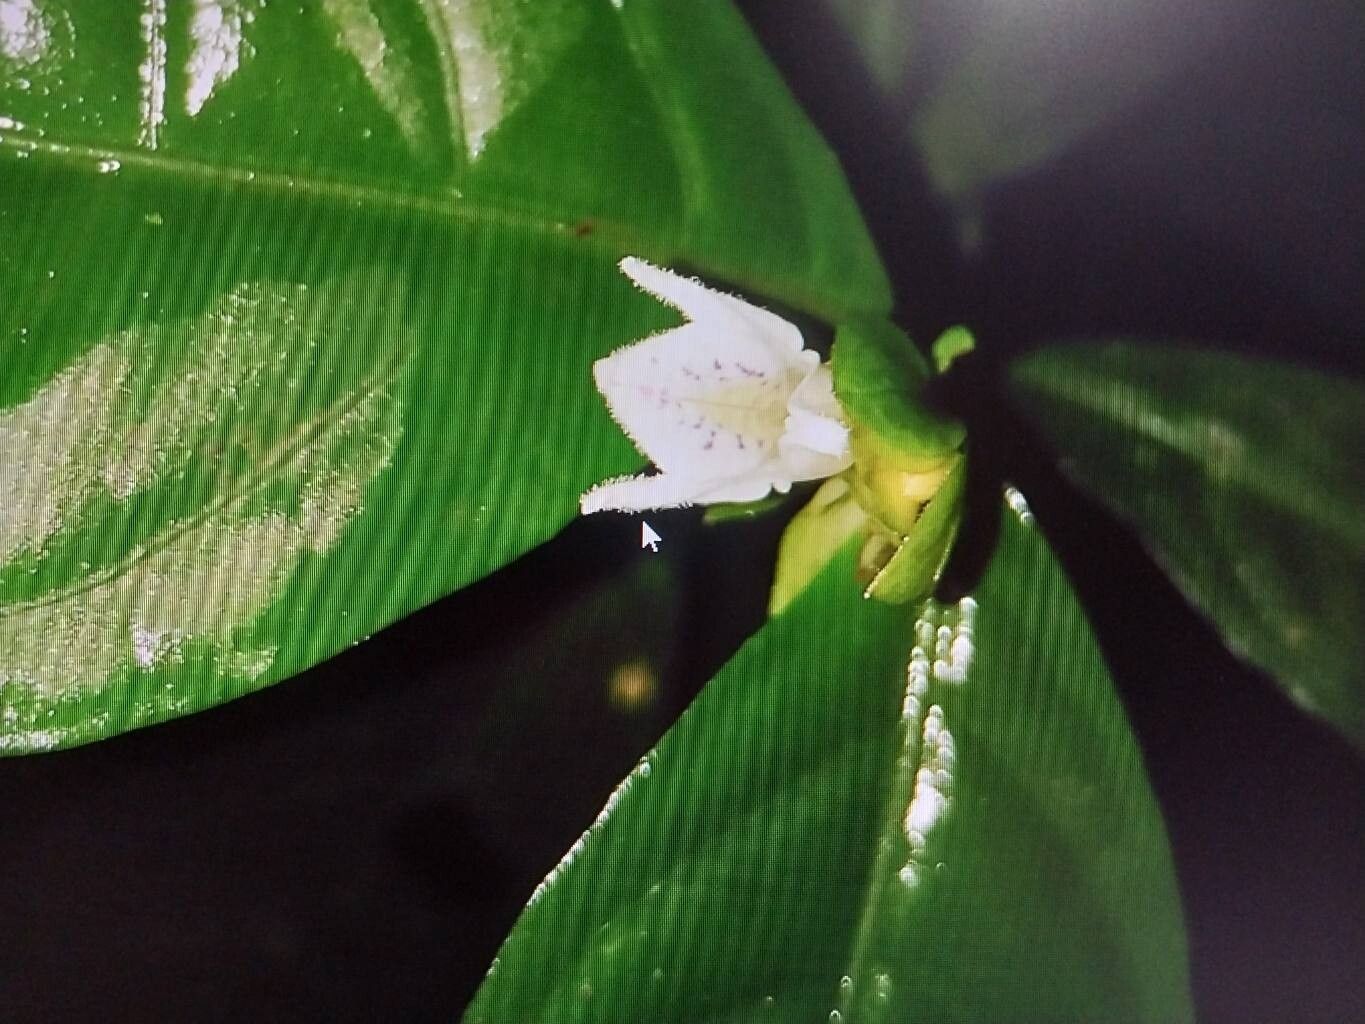
Oh, hello there! Pull up a chair and let’s chat about a little plant that’s been making a big impression in my garden: Herpetacanthus panamensis. It’s got these gorgeous, glossy leaves and a really lovely, bushy habit that just brightens up any shady spot. And the best part? It’s surprisingly easy to multiply!
Propagating this beauty is a truly rewarding little project. You get to watch life spring from a mere snippet, and soon you’ll have more of these stunning plants to share or tuck into new corners of your garden. If you’re new to the plant parent game, you’ll be happy to know that Herpetacanthus panamensis is quite forgiving. It’s a fantastic choice for beginners looking to dive into propagation.
The Best Time to Start
For the highest success rate, I always recommend starting your propagation efforts in the late spring or early summer. This is when the plant is actively growing and has plenty of energy to put into developing new roots. You’re looking for healthy, vigorous growth – think of the stems as being full of life and ready to take on a new adventure.
Supplies You’ll Need
Here’s a quick rundown of what you’ll want to have on hand:
- Sharp Pruning Shears or a Clean Knife: For making clean cuts on your parent plant.
- Rooting Hormone (Optional but Recommended): A little boost to encourage root development. Look for a powder or gel.
- Well-Draining Potting Mix: A good mix of peat moss, perlite, and vermiculite works wonderfully. You want something that won’t hold too much moisture.
- Small Pots or Propagation Trays: Whatever you prefer for housing your cuttings.
- Clear Plastic Bag or Dome: To create a humid environment for your cuttings.
- Watering Can or Spray Bottle: For gentle watering.
Propagation Methods
Let’s get our hands dirty! I find two methods work exceptionally well for Herpetacanthus panamensis.
Stem Cuttings
This is my go-to method. It’s straightforward and usually yields great results.
- Select Your Cuttings: From your healthy, established plant, choose young, non-flowering stems. Look for stems that are pencil-thick and have at least two to three sets of leaves.
- Make the Cut: Using your clean shears or knife, make a clean cut just below a leaf node (the point where a leaf attaches to the stem). A cutting of about 4-6 inches is usually ideal.
- Prepare the Cutting: Gently remove the lower leaves, leaving just one or two sets at the very top. This prevents rotting when the cutting is in the soil.
- Apply Rooting Hormone (Optional): If you’re using rooting hormone, dip the cut end of the stem into the powder or gel, tapping off any excess.
- Plant Your Cuttings: Fill your pots with your well-draining potting mix. Make a small hole with your finger or a pencil and insert the cutting, ensuring the nodes where you removed the leaves are buried. Gently firm the soil around the base.
- Water and Cover: Water the soil thoroughly but gently. Then, cover the pot with a clear plastic bag or place it under a propagation dome to maintain high humidity. You can support the bag with stakes so it doesn’t touch the leaves.
- Place in Bright, Indirect Light: Find a spot that gets plenty of bright, indirect light, but avoid direct sun, which can scorch the young leaves.
Water Propagation
This is a fun way to watch the roots develop!
- Select and Cut: Follow steps 1 and 2 for stem cuttings.
- Remove Lower Leaves: Just like with soil propagation, remove the lower leaves.
- Place in Water: Fill a clean jar or glass with water. Place the cutting in the water, ensuring that the leaf nodes where you removed the leaves are submerged.
- Positioning is Key: Make sure the remaining leaves are above the waterline. They won’t do well sitting in the water.
- Change Water Regularly: Change the water every few days to keep it fresh and prevent bacterial growth.
- Bright, Indirect Light: Place your jar in a bright location with indirect light.
The “Secret Sauce” (Pro Tips)
Here are a couple of things I’ve learned over the years that can really make a difference:
- Bottom Heat is Your Friend: If you have it, placing your pots of cuttings on a gentle heat mat can significantly speed up root formation. It mimics the warmth of spring soil, encouraging those roots to emerge faster.
- Don’t Be Afraid to Mist: While you want to keep the soil consistently moist, not soggy, lightly misting the leaves of your cuttings (especially if not using a dome) can help keep them hydrated while they’re trying to establish themselves. Just a light spritz every day or two should do the trick.
- Patience with the Leaves: If you’re water propagating, you might be tempted to let leaves dip into the water. Resist the urge! Leaves submerged in water tend to rot, which can contaminate the whole cutting and hinder root growth.
Aftercare & Troubleshooting
Once you see new roots emerging (usually after a few weeks to a couple of months), it’s time for a little extra care.
- For Cuttings in Water: When the roots are about an inch long, you can carefully transplant them into pots with your well-draining potting mix, following the initial planting steps.
- For Cuttings in Soil: Continue to mist or water gently. You’ll know they’ve rooted when you feel slight resistance when you gently tug on the stem, or see new leaf growth. At this point, you can gradually acclimate them to lower humidity by opening the plastic bag a little more each day, or by removing the dome for longer periods.
- Troubleshooting: The most common issue you’ll face is rot. If a cutting turns black and mushy, it’s likely rotted. This usually happens from overwatering or poor drainage. If you see this, discard the affected cutting and check your watering habits for the others. Another sign of trouble is wilting that doesn’t recover after watering – this can indicate lack of roots or even root rot, so check the stem for firmness.
A Gentle Encouragement
Growing new plants is a journey, and it’s one I truly hope you enjoy. Each cutting is a little hope, a promise of more beauty to come. Don’t get discouraged if every single one doesn’t make it – that’s part of the learning process! Be patient, observe your little plantlets, and celebrate every new root and every tiny leaf. Happy propagating!
Resource:
https://identify.plantnet.org/k-world-flora/species/Herpetacanthus%20panamensis%20Leonard/data