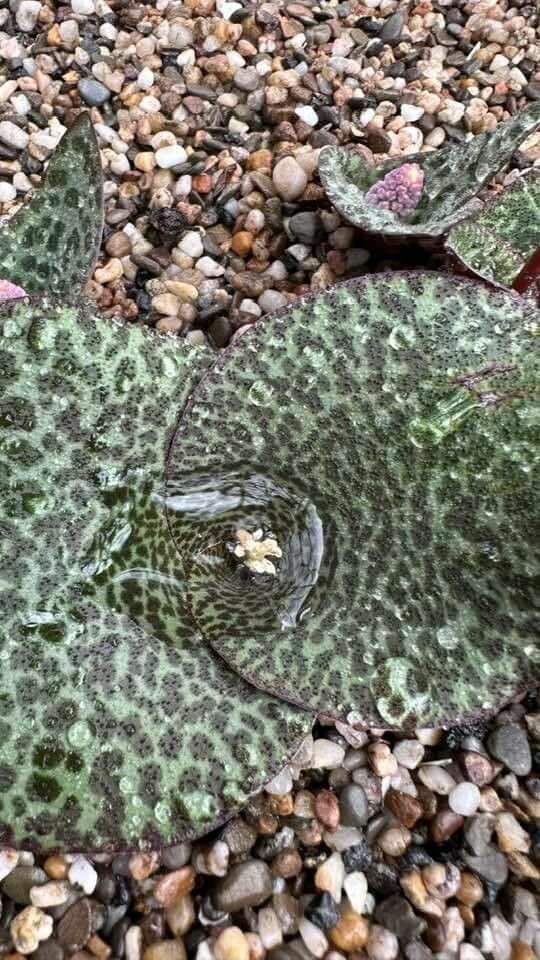
Oh, hello there! Grab your favorite mug, let’s talk about a truly special plant: Drimia delagoensis. If you’ve ever spotted this beauty, with its architectural rosettes of strap-like leaves often tipped with a hint of red, you know it’s a real showstopper. And the best part? You can easily multiply this charm for your own garden or to share with fellow plant lovers.
Propagating Drimia delagoensis is a wonderfully rewarding endeavor. Watching a tiny piece of your beloved plant unfurl new leaves and develop its own robust root system is pure gardening magic. Now, is it a walk in the park for absolute beginners? I’d say it’s moderately easy. There are a few key things to get right, but with a little attention, you’ll be successful.
The Best Time to Start
The sweet spot for propagating Drimia delagoensis is during its active growing season. For most of us, that means spring and early summer. This is when the plant has plenty of energy to direct towards developing new growth and roots. Avoid propagating when the plant is dormant or stressed.
Supplies You’ll Need
Before we dive in, let’s make sure you have your toolkit ready. It’s always good to be prepared!
- Sharp, clean pruning shears or a knife: For making clean cuts.
- Well-draining potting mix: A cactus or succulent mix works beautifully. You can also make your own by combining potting soil with perlite or coarse sand.
- Small pots or seedling trays: Clean ones are crucial to prevent disease.
- Rooting hormone (optional but recommended): This can give your cuttings a little boost.
- A spray bottle: For gentle misting.
- Patience! This is the most important ingredient.
Propagation Methods
Drimia delagoensis is a generous plant, and it offers us a few delightful ways to create new life. My favorite is division, but stem cuttings are also effective.
1. Division: The Classic Approach
This is probably the most straightforward method for Drimia delagoensis. As your plant matures, it will naturally produce offsets, or “pups,” around the base of the main rosette.
- Gently unpot your main plant. Try to do this when the soil is slightly dry; it makes things less messy.
- Carefully examine the root ball. You’ll see where the offsets are attached.
- Using your clean knife or pruning shears, gently separate the offsets from the parent plant. Try to get a bit of root attached to each offset if possible.
- Allow the cut surfaces to callus over. This is important! Place the separated offsets in a dry spot, out of direct sun, for a day or two. This helps prevent rot when you replant them.
- Pot each offset into its own small pot filled with your well-draining mix.
- Water very sparingly at first. Just a light misting around the edges of the pot. You don’t want to saturate the soil immediately.
2. Leaf or Stem Cuttings (Less Common, but Possible)
While less common for this particular plant compared to division, you can sometimes get new plants from leaf or segmented stem cuttings. This works best in warmer weather and requires a bit more patience.
- Select a healthy, mature leaf or a segment of stem. Make a clean cut at the base.
- If using a leaf, you can either cut it into smaller sections (each with a bit of the fleshy base) or use the whole leaf.
- Allow the cut end to callus over for a day or two, just like with divisions.
- Dip the callused end in rooting hormone if you’re using it.
- Insert the cut end into your well-draining potting mix. For leaves, you can lay them on the surface or insert the base a little into the soil. For stem cuttings, plant them upright.
- Mist the surface lightly and keep the soil only slightly moist.
The “Secret Sauce” (Pro Tips)
Here are a few things I’ve learned over the years that really make a difference:
- Think “dry feet.” Drimia delagoensis, like many succulents, absolutely detests sitting in soggy soil. This is paramount. Even when you’re misting, be conservative. Overwatering is the fastest way to lose a new propagation.
- Bottom heat can be your friend. If you’re struggling to get cuttings to root, especially in cooler conditions, a seedling heat mat can significantly speed up the process. It encourages root development from below.
- Don’t disturb them too soon! Resist the urge to constantly tug at your new pups or cuttings to check for roots. Let them settle in. You’ll see new growth as the best indicator that they’re happy and establishing.
Aftercare & Troubleshooting
Once your divisions or cuttings have settled in and you see signs of new growth (hooray!), you can gradually increase watering slightly. Continue to keep the soil on the drier side, allowing it to dry out between waterings.
What if things go wrong?
- Rot: This is the most common culprit. If your cutting or division turns mushy, black, or has a foul smell, it’s likely rot. Unfortunately, at this point, it’s usually unsalvageable. This is why proper drainage and a light hand with the watering can are so incredibly important.
- No growth: Sometimes, it just takes time! If you’ve followed the steps and there’s no visible sign of progress after several weeks or even a couple of months, don’t despair. Some plants are just slow movers. Ensure it’s getting bright, indirect light and is in a warm spot.
Propagating Drimia delagoensis is a journey, not a race. Be patient, enjoy the process of nurturing these new little lives, and before you know it, you’ll have a beautiful collection of these striking plants. Happy gardening!
Resource:
https://identify.plantnet.org/k-world-flora/species/Drimia%20delagoensis%20(Baker)%20Jessop/data