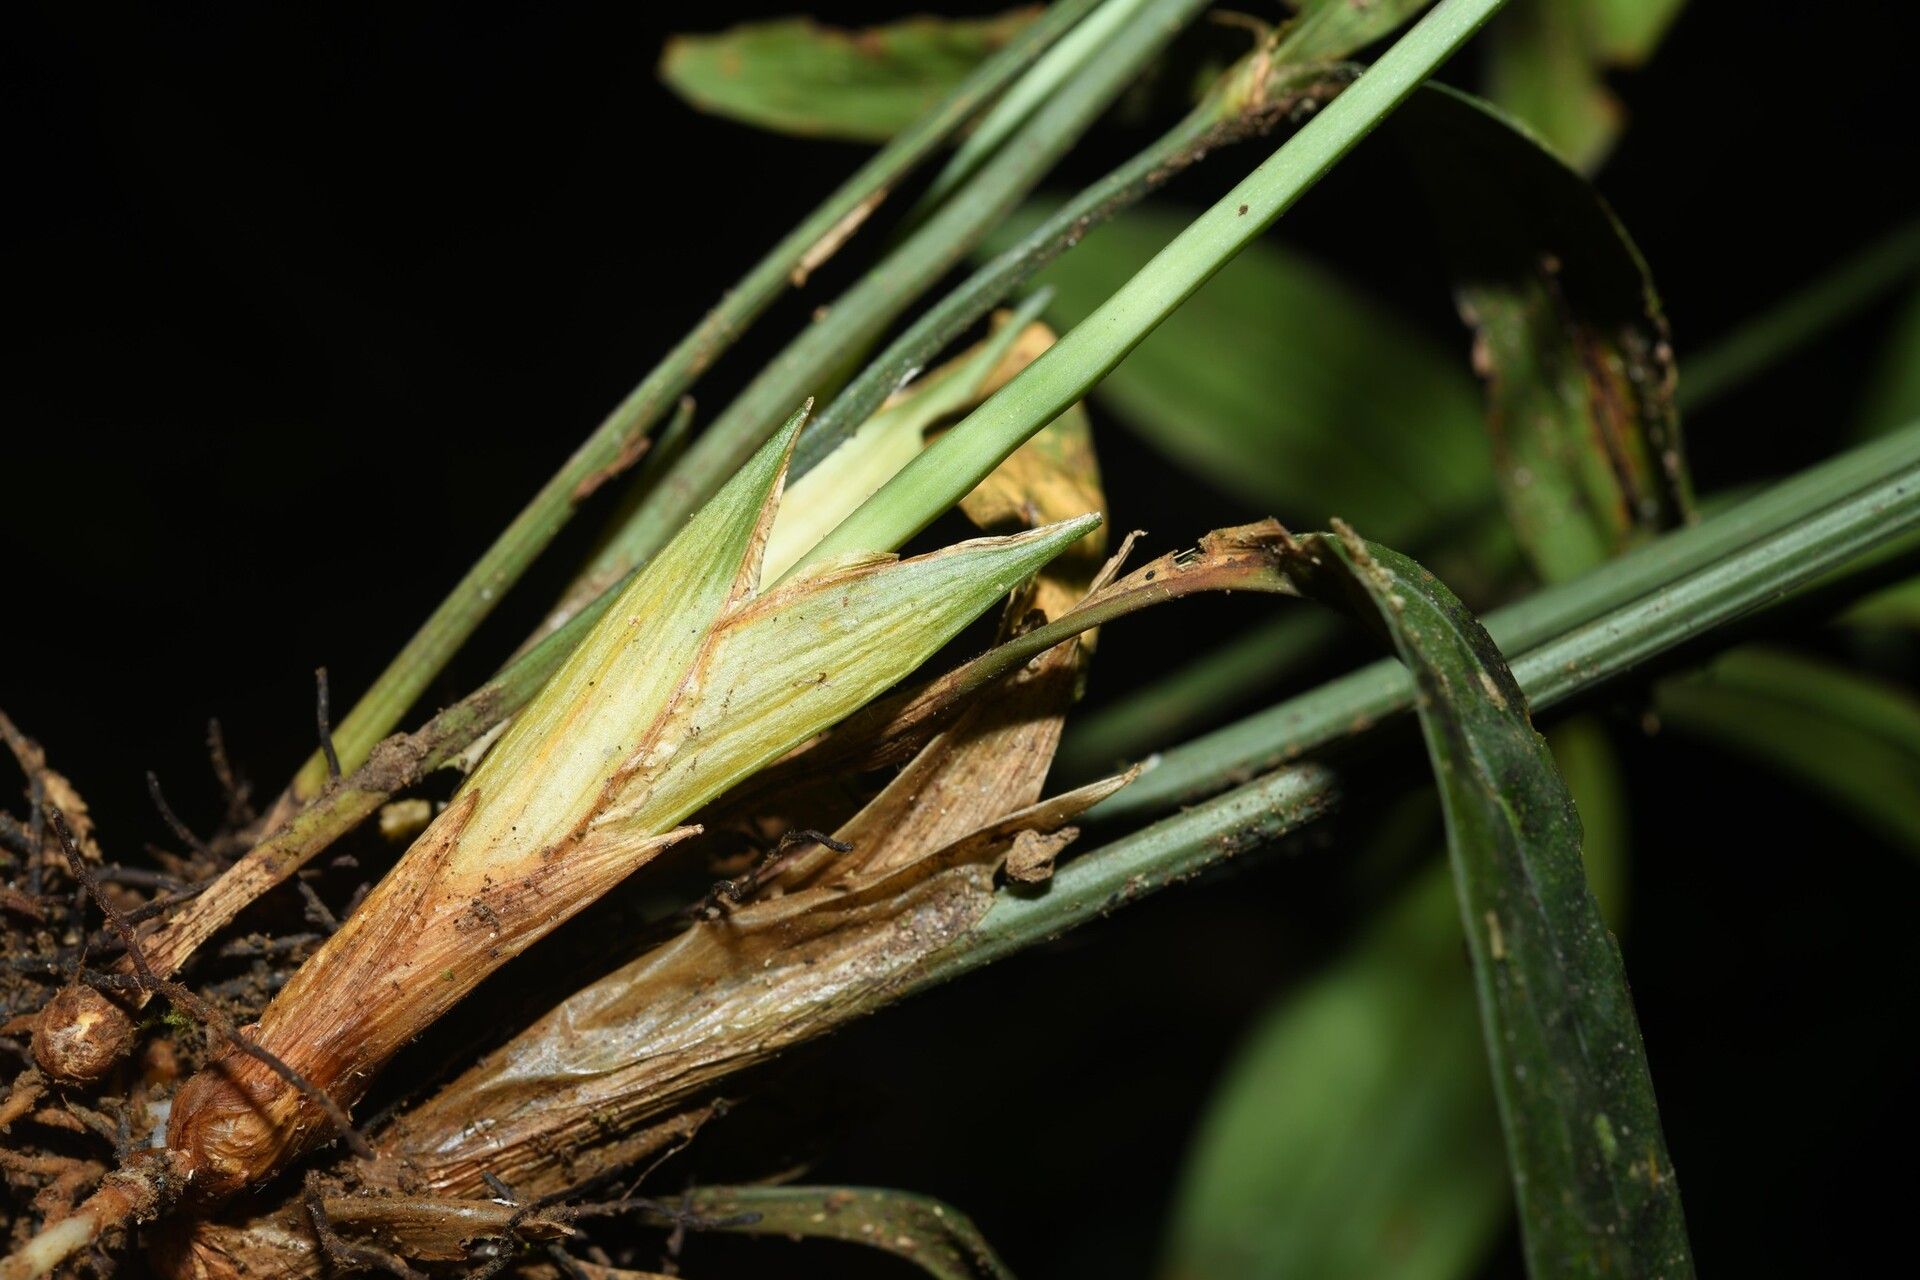
Hello, fellow plant enthusiasts! Today, I want to chat about a real stunner: Mapania sylvatica. Have you seen its elegant, dark foliage and elegant, almost architectural form? It’s truly a specimen that commands attention in any shady corner or tropical display. And the best part? You can bring this beauty into your own garden or home by propagating it! It’s a wonderfully rewarding process, watching a tiny new plant emerge from a piece of its parent. Now, I’ll be honest, Mapania sylvatica can be a bit of a diva when it comes to propagation, especially for absolute beginners. But with a little know-how and patience, it’s certainly achievable.
The Best Time to Start
My experience tells me that the sweet spot for propagating Mapania sylvatica is during its active growing season. Think late spring through summer. This is when the plant is bursting with energy, and any cuttings or divisions will have the best chance of taking root quickly. Avoid trying to propagate when the plant is dormant or stressed; you’ll just be fighting an uphill battle!
Supplies You’ll Need
Before we get our hands dirty, let’s gather our tools:
- Sharp pruning shears or a clean knife: For making precise cuts.
- Rooting hormone powder (optional but recommended): Especially helpful for cuttings.
- A well-draining potting mix: I like a blend of peat moss, perlite, and a bit of compost. For Mapania, you want it moist but not waterlogged.
- Small pots or containers: With drainage holes, of course!
- Clear plastic bags or a propagation dome: To create a humid environment.
- Watering can or spray bottle: For gentle watering.
- Gloves (optional): If you prefer to keep your hands clean.
Propagation Methods
Mapania sylvatica is best propagated through division or stem cuttings. Let’s break down each one.
Division
This is my go-to method when the plant is getting a bit crowded in its pot or if you notice new shoots emerging from the base.
- Gently remove the parent plant from its pot. Handle it with care to avoid damaging the root system.
- Inspect the root ball. You’re looking for natural divisions where new clumps have formed.
- Carefully tease apart the clumps. Use your fingers most of the time. If the roots are really tangled, a clean knife or trowel can help. Try to ensure each division has some healthy roots and at least one or two leafy shoots.
- Pot up each division. Use your well-draining potting mix and plant them in individual pots.
- Water thoroughly and place in a bright spot out of direct sunlight.
Stem Cuttings
This is a fantastic way to get more plants, especially if you want to experiment with starting them in water first.
- Select a healthy stem. Look for a stem that is firm and has several leaves. Avoid anything that looks wilted or damaged.
- Make a clean cut just below a leaf node (where a leaf attaches to the stem). Aim for a cutting that’s about 4-6 inches long.
- Remove the lower leaves. Leave just a few leaves at the top.
- Dip the cut end into rooting hormone powder (if using). Tap off any excess.
- Insert the cutting into your prepared potting mix. Make a small hole with your finger or a pencil first to avoid rubbing off the rooting hormone.
- Water gently.
- Cover the pot with a clear plastic bag or a propagation dome to create a humid microclimate. You can prop up the bag with skewers if it touches the leaves.
- Place in bright, indirect light.
The “Secret Sauce” (Pro Tips)
Here are a few things I’ve learned over the years that can make a real difference:
- Don’t let leaves touch the water (for water propagation): If you decide to start cuttings in water first, ensure the leaves are well above the water line. Rot sets in quickly if submerged leaves are left to fester. Change the water every few days.
- Bottom heat is your best friend: For stem cuttings, a gentle warmth from below can significantly speed up root development. A seedling heat mat placed under the pots works wonders.
- Patience is key with Mapania: These plants aren’t the fastest rooters. Don’t be discouraged if you don’t see roots appearing for several weeks. Keep the conditions consistent and trust the process.
Aftercare & Troubleshooting
Once your new divisions or cuttings show signs of rooting (you might see new leaf growth or feel a slight resistance when gently tugging on a cutting), it’s time to dial back the humidity gradually.
Ongoing Care:
- Continue to keep the soil consistently moist but not soggy.
- Gradually acclimate your new plants to lower humidity by opening the plastic bag or propagation dome a little more each day.
- Once they are fully acclimated and showing good new growth, you can treat them like a mature Mapania sylvatica – bright, indirect light and consistent watering.
Troubleshooting:
- Yellowing leaves or wilting: This can be a sign of too much water and potential root rot. Check the soil moisture and ensure good drainage.
- Rotting stems: Often due to excessive moisture and poor air circulation. Make sure your cuttings have good airflow and aren’t sitting in water.
- No growth: Be patient! Sometimes it just takes time. Ensure they are getting enough light and consistent moisture.
A Little Encouragement
Propagating plants is a journey of observation and a testament to nature’s resilience. Don’t be afraid to try, and don’t be disheartened if not every attempt is a roaring success right away. Every gardener has lost a cutting or two! The joy and satisfaction of nurturing a new life from a small piece of a beloved plant are truly unparalleled. So, gather your supplies, get your hands a little dirty, and enjoy the process of growing more of these magnificent Mapania sylvatica! Happy gardening!
Resource:
https://identify.plantnet.org/k-world-flora/species/Mapania%20sylvatica%20Aubl./data