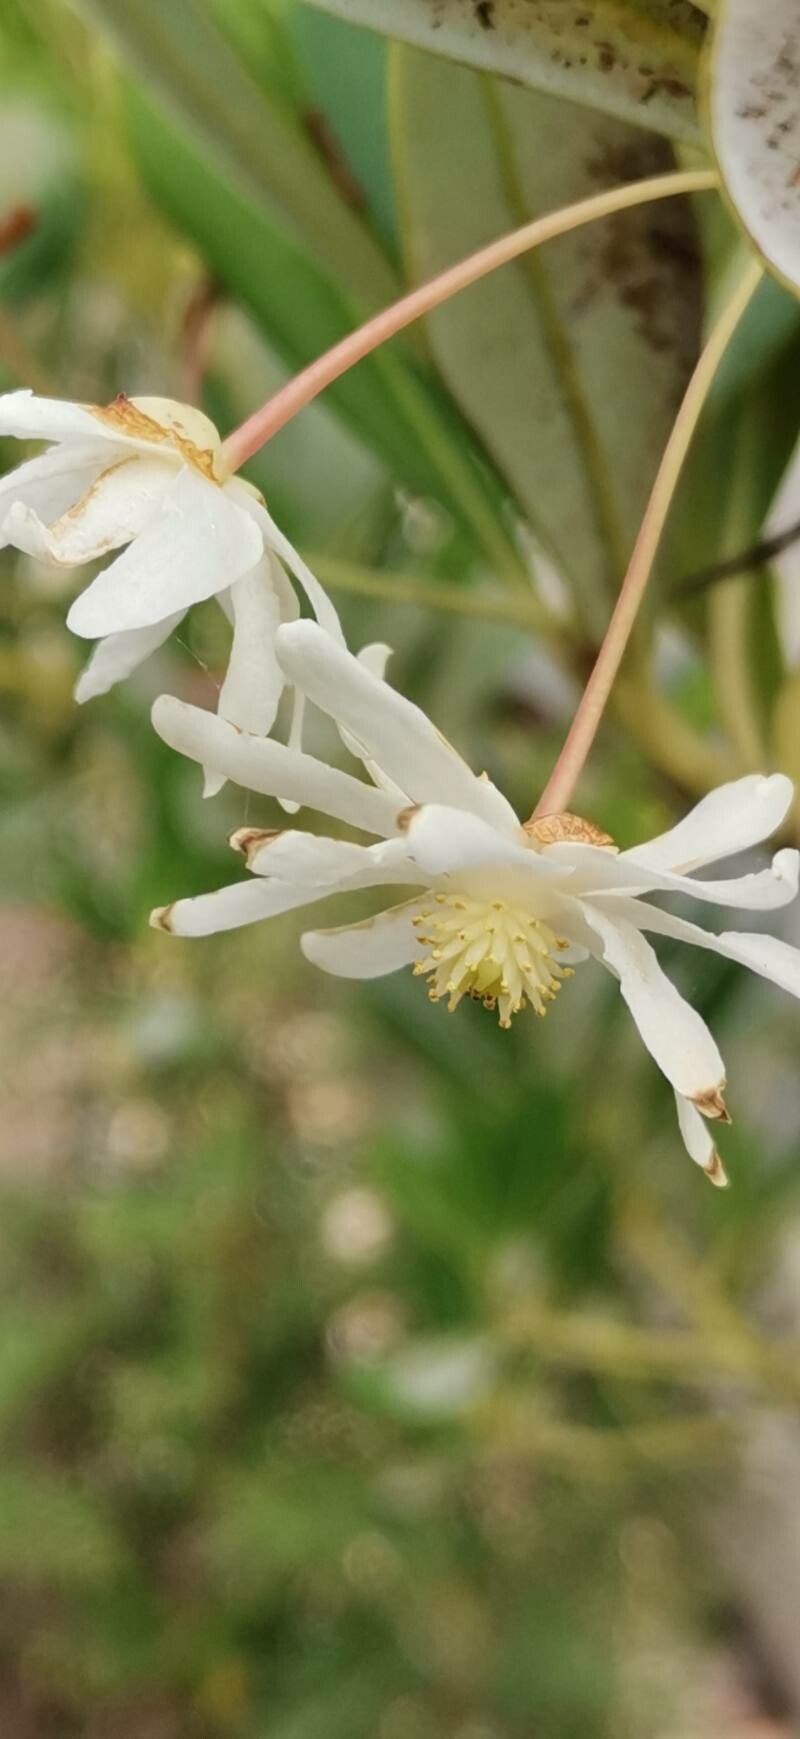
Gather ’round, fellow plant lovers! Today, we’re diving into the wonderful world of propagating Drimys brasiliensis. Have you seen this beauty in person? Its glossy, dark green leaves and often striking red stems just beg to be noticed. It brings a touch of the tropics, even when grown elsewhere. And the best part? It’s incredibly rewarding to nurture a new plant from a tiny cutting of your own established specimen. Now, I’ll be honest, for absolute beginners, Drimys brasiliensis might present a slight challenge, but with a little patience and these tips, you’ll be well on your way.
The Best Time to Start
My absolute favorite time to take cuttings is in the late spring to early summer, just as the plant is really kicking into its active growth phase. You want to see new, vigorous growth – those pliable, slightly soft shoots are much more likely to root than old, woody stems. Think of it as catching your plant at its energetic peak!
Supplies You’ll Need
Here’s a little checklist to get you prepped:
- Sharp Pruning Shears or a Clean Knife: We want to make clean cuts to avoid stressing the plant.
- Rooting Hormone (Optional but Recommended): Especially helpful for plants that can be a bit slow to root. Just a quick dip!
- Well-Draining Potting Mix: A 50/50 blend of perlite and good quality potting soil is a great starting point. Some folks swear by a peat-free alternative mixed with grit.
- Small Pots or Seed Trays: Clean, appropriately sized containers for your cuttings.
- Plastic Bags or a Propagation Dome: To create a humid environment.
- Watering Can with a Fine Rose: For gentle watering.
- Labels: Trust me, you will forget what you planted and when!
Propagation Methods
For Drimys brasiliensis, stem cuttings are your best bet.
- Select Your Cuttings: Get those sharp shears ready. Look for non-flowering shoots that are about 4-6 inches long. You want to find a point where the stem is still flexible but not too soft. Make your cut just below a leaf node (where a leaf meets the stem).
- Prepare the Cuttings: Gently remove the lower leaves from your cutting. You want to leave just a couple of leaves at the top to help with photosynthesis. If the remaining leaves are very large, you can even trim them in half to reduce water loss.
- Apply Rooting Hormone (If Using): Dip the cut end of the stem into your rooting hormone powder. Tap off any excess.
- Plant Your Cuttings: Fill your chosen pots with your prepared potting mix. Make a little hole in the center with your finger or a pencil. Insert the cutting into the hole, ensuring the bottom leaf nodes are buried. Gently firm the soil around the cutting.
- Water Gently: Water thoroughly but gently until you see water draining from the bottom of the pot.
- Create Humidity: Place the pot inside a plastic bag, sealing it loosely to create a mini-greenhouse effect. Alternatively, use a propagation dome. Make sure the leaves do not touch the sides of the bag or dome.
The “Secret Sauce” (Pro Tips)
Here are a couple of things I’ve learned over the years that make a real difference:
- Don’t Overdo the Leaves: I mentioned this before, but it’s worth repeating. Too many leaves mean too much water loss for a cutting that doesn’t have roots yet. Crisp off any extra leaves, and even trim down the ones you leave. Survival hinges on that balance!
- Consider Bottom Heat: If you have a slightly cooler spot or feel your cuttings are struggling, a heat mat designed for propagation can significantly speed up root development. It mimics the warmth of the soil that seeds experience and encourages those roots to form faster.
Aftercare & Troubleshooting
Once your cuttings are happily nestled in their humid little worlds, keep them in a bright spot, but out of direct, scorching sunlight. Water when the top inch of soil feels dry. You’ll know your cuttings have rooted when you see new growth appearing or feel a gentle resistance when you tug lightly on the cutting. This can take anywhere from a few weeks to a couple of months.
The biggest thing to watch out for is rot. If your cutting turns black and mushy, or the leaves start to yellow and drop off rapidly, it’s likely too wet or not enough airflow. Don’t be discouraged if some don’t make it! It’s part of the learning curve. Just discard any rotted cuttings and try again.
A Encouraging Closing
So there you have it! Propagating Drimys brasiliensis is a journey, and like all good gardening adventures, it requires a bit of patience and observation. Don’t be afraid to experiment, and remember that each cutting is a little experiment. Enjoy the process of nurturing these new plants – it’s one of the most satisfying parts of this wonderful hobby! Happy planting!
Resource:
https://identify.plantnet.org/k-world-flora/species/Drimys%20brasiliensis%20Miers/data