Hello, fellow plant lovers! Today, we’re diving into the wonderful world of coaxing new life from one of my absolute favorites: Crucihimalaya himalaica.
Why Grow Crucihimalaya himalaica?
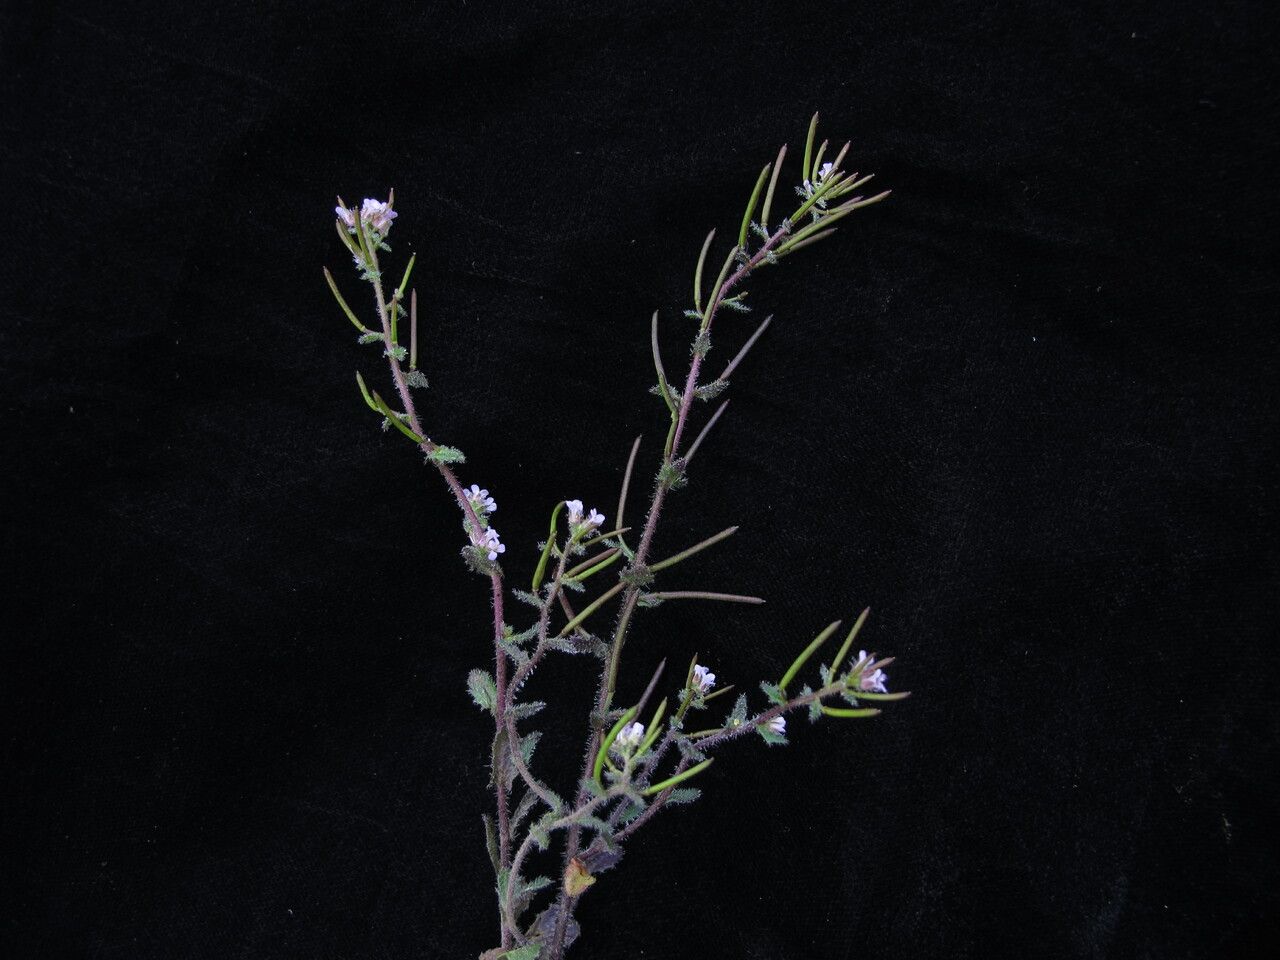
This charming little mountaineer, with its delicate bell-shaped flowers, brings a touch of the wild to any garden corner. It’s a plant that rewards you with subtle beauty, and watching it grow from a tiny cutting or division feels like a true accomplishment. Now, if you’re just starting your plant propagation journey, I’ll be honest – Crucihimalaya himalaica can be a little bit of a diva. But don’t let that discourage you! With a bit of know-how and patience, it’s definitely achievable. Let’s get our hands dirty!
The Best Time to Start
Timing is everything, as we gardeners know! For Crucihimalaya himalaica, the sweet spot for propagation is generally in late spring or early summer. This is when the plant is actively growing and has plenty of energy to put into developing new roots. You’ll want to take cuttings from healthy, non-flowering stems.
Supplies You’ll Need
Gathering your tools before you begin always makes the process smoother. Here’s what I keep on hand:
- Sharp pruning shears or a clean, sharp knife: For making clean cuts.
- Rooting hormone (optional but helpful): A powder or liquid designed to encourage root development.
- A well-draining potting mix: I like a blend of peat moss, perlite, and a bit of compost. For Crucihimalaya, something airy is key.
- Small pots or seed trays: Clean ones are important to prevent disease.
- Watering can with a fine rose: For gentle watering.
- A clear plastic bag or propagator: To create a humid environment.
- Labels and a pen: To keep track of what you’ve planted where.
Propagation Methods: Let’s Get Growing!
While Crucihimalaya himalaica can be a bit particular, I’ve had the most success with stem cuttings and division.
Stem Cuttings:
- Select your material: Find a healthy, green stem on your mature plant. Look for a section that’s about 4-6 inches long and has leaves. Avoid stems that are woody or have flower buds.
- Make the cut: Using your clean shears or knife, make a clean cut just below a leaf node. This is where roots are most likely to form.
- Prepare the cutting: Gently remove the lower leaves, leaving just a couple at the very top. This prevents them from rotting when buried.
- Apply rooting hormone (optional): If you’re using it, dip the cut end of the stem into the rooting hormone, tapping off any excess.
- Pot it up: Fill your small pot with your prepared potting mix. Make a small hole with your finger or a pencil.
- Insert the cutting: Carefully place the cut end of the stem into the hole and gently firm the soil around it.
- Water gently: Water thoroughly but avoid waterlogging.
- Create humidity: Cover the pot loosely with a clear plastic bag or place it in a propagator. This keeps the moisture high, which is crucial for cuttings. Position it in bright, indirect light.
Division:
This method is best done when dividing an existing clump of Crucihimalaya himalaica that has become overcrowded.
- Gently excavate: Carefully dig up the entire plant. Try to keep as much of the root ball intact as possible.
- Inspect the root ball: Gently tease apart the roots to identify natural divisions. You’re looking for sections that have both roots and some leafy growth.
- Separate the divisions: Use your hands or a clean knife to gently pull or cut the plant into smaller sections. Each section should have a good amount of roots and at least one or two shoots.
- Pot them up: Plant each division in its own pot filled with your well-draining potting mix.
- Water well: Water thoroughly to help settle the soil around the roots.
The “Secret Sauce” (Pro Tips)
Here are a couple of tricks I’ve learned over the years that make a big difference:
- Bottom Heat for Cuttings: Crucihimalaya himalaica absolutely loves a bit of warmth from below. Placing your potted cuttings on a gentle heat mat can significantly speed up root formation. It mimics the warmth of spring soil and gives those roots a serious nudge.
- Don’t Drown Your Cuttings: While humidity is vital, overwatering is the quickest way to lose a cutting. Let the surface of the soil dry out slightly between waterings. You’ll get a feel for it – it’s a delicate balance! If the leaves look droopy, it’s more likely a sign of dehydration than needing more water (though too much can cause rot if already weak).
Aftercare & Troubleshooting
Once roots have formed (you might see new growth or feel resistance when gently tugging), it’s time to transition your new Crucihimalaya.
- Gradual Acclimatization: If you used a plastic bag, gradually start to open it up over a few days to let the sprout get used to normal humidity.
- Watering: Continue to water when the top inch of soil feels dry. Always water the soil, not the leaves, to help prevent fungal issues.
- Light: Keep them in bright, indirect light. As they grow stronger, you can gradually introduce them to more direct sunlight.
- Common Signs of Failure:
- Rot: This is usually due to the cutting being too wet. The stem will turn mushy and black. Unfortunately, this is usually a lost cause.
- Wilting: This can be a sign of dehydration, too much heat, or insufficient root development. Check the soil moisture first!
- No Growth: Patience is key here! Some cuttings take weeks. If it looks healthy but isn’t showing new growth, it might just be building its root system underground.
Keep Growing!
Propagating Crucihimalaya himalaica might take a little patience, but the reward of seeing your own little plants thrive is immense. Don’t be afraid to experiment. Every gardener has their successes and their “learning experiences” – that’s part of the joy! So, take a deep breath, enjoy the process, and happy planting!
Resource: