Hello, fellow plant lovers!
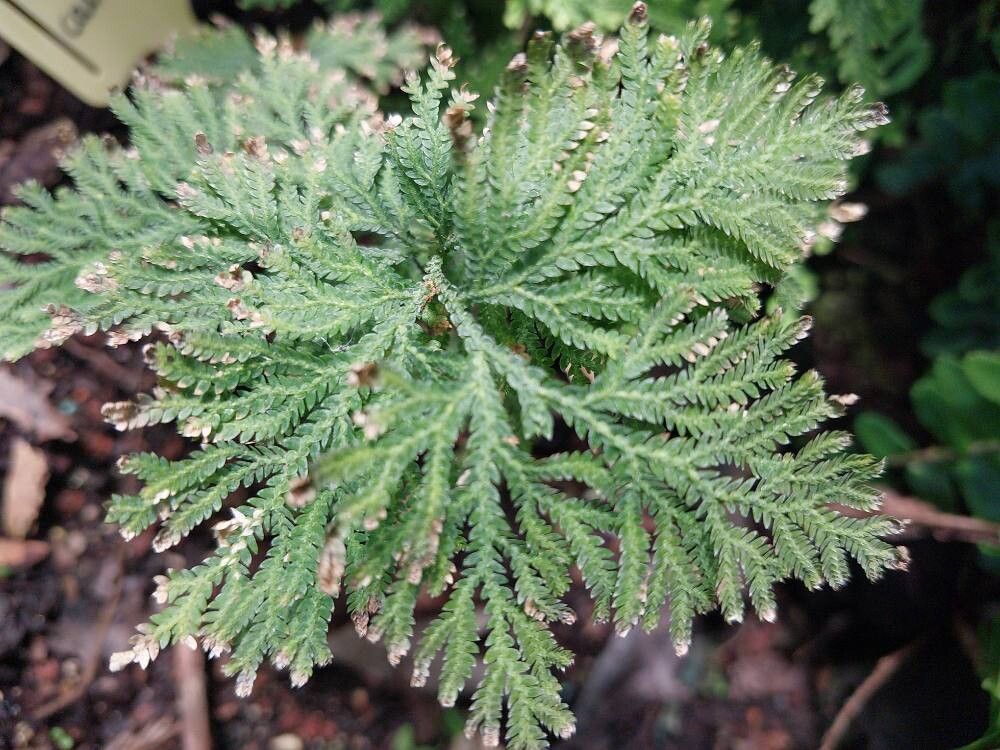
There’s something truly magical about Selaginella involvens, isn’t there? Its delicate, fern-like fronds bring a touch of ancient forest right into our homes. These “spikemosses” have a unique charm, reminding us of damp, shaded woodlands. Propagating them is a wonderful way to share that magic, and honestly, it’s a journey that can really boost your gardening confidence. While Selaginella plants can sometimes be a little particular, I’ve found that with a few key practices, propagating Selaginella involvens is surprisingly accessible and incredibly rewarding, even for those of you just dipping your toes into propagation waters.
The Best Time to Start
For the highest success rates with Selaginella involvens, I always recommend propagation during the active growing season. For most of us, that means late spring and through the summer months. This is when the plant has ample energy to direct towards new growth and root development. Aim for when the plant is showing vigorous new shoots – those bright green, unfurling stems are your best bet.
Supplies You’ll Need
Gathering your tools beforehand makes the whole process smoother. Here’s what I usually have on hand:
- Sharp, clean pruning shears or a sharp knife: For taking precise cuttings.
- A well-draining potting mix: I often use a mix of peat moss, perlite, and a bit of orchid bark. This keeps things airy and prevents waterlogging.
- Small pots or seed trays: With drainage holes, of course!
- Rooting hormone (optional but recommended): A powdered or gel form works well. It significantly speeds up root formation.
- A propagation lid or plastic bag: To create a humid environment.
- Spray bottle: For misting.
- Water: Clean, room-temperature water is best.
Propagation Methods
There are a couple of ways to multiply your Selaginella involvens. I find stem cuttings to be the most reliable.
Stem Cuttings:
- Select your cuttings: Look for healthy, non-flowering stems that are at least 2-3 inches long. Make sure they have a few sets of leaves.
- Make the cut: Using your cleaned shears or knife, make a clean cut just below a leaf node (where leaves attach to the stem).
- Prepare the cutting: Gently remove the lower leaves from the bottom inch of the cutting. This prevents them from rotting when buried.
- Apply rooting hormone: If you’re using it, dip the cut end into the rooting hormone, tapping off any excess.
- Plant the cutting: Lightly moisten your potting mix. Make a small hole with your finger or a pencil, then insert the cutting. Gently firm the soil around it.
- Create humidity: Water the soil lightly until it’s just moist, not soggy. Cover the pot with a propagation lid or a clear plastic bag, ensuring it doesn’t touch the leaves of the cutting.
Water Propagation (for the patient):
- Take cuttings as described above.
- Place the cuttings in a clean jar or vase filled with water. Crucially, ensure no leaves are submerged. Leaves left in the water will quickly rot and can affect the whole cutting.
- Place the container in bright, indirect light. Change the water every few days to keep it fresh.
- Be patient! Roots can take several weeks to appear. Once you have a good network of roots (about an inch long), you can carefully transplant them into your potting mix.
The “Secret Sauce” (Pro Tips)
Here are a couple of things I’ve learned over the years that can really make a difference:
- Bottom Heat is Your Friend: Selaginella absolutely loves warmth. Placing your pots on a gentle seedling heat mat can significantly speed up root development. It mimics the warm, humid forest floor beautifully.
- Mist, but Don’t Drench: While these plants crave humidity, consistently waterlogged soil is their enemy. Mist the cuttings and the surrounding air regularly, especially if you don’t have a lid, but let the top layer of soil dry slightly between waterings. This encourages roots to seek moisture deeper in the soil.
Aftercare & Troubleshooting
Once you start seeing tiny white roots appearing at the drainage holes (or if your water-propagated cuttings have a good root system), it’s time for a little extra TLC.
- Gradual Acclimation: Slowly introduce your new plantlings to less humid conditions. Remove the lid or bag for increasing periods over a week.
- Consistent Moisture: Keep the soil consistently moist but not soggy. Think of a wrung-out sponge.
- Bright, Indirect Light: Continue to provide bright, indirect light. Avoid direct sun, which can scorch delicate new growth.
The most common sign of trouble? Rotting at the base of the cutting. This usually means the soil is too wet, or the air circulation is poor. If you see this, remove the affected cutting immediately. Yellowing leaves without new growth can sometimes indicate insufficient light or a lack of humidity.
A Encouraging Closing
Propagating Selaginella involvens is a rewarding journey. Be patient with your new charges, observe them closely, and don’t be discouraged if not every cutting makes it. Think of each attempt as a learning experience. Soon enough, you’ll have a proud collection of little spikemosses to admire, and perhaps even share with friends! Happy propagating!
Resource:
https://identify.plantnet.org/k-world-flora/species/Selaginella%20involvens%20(Sw.)%20Spring/data