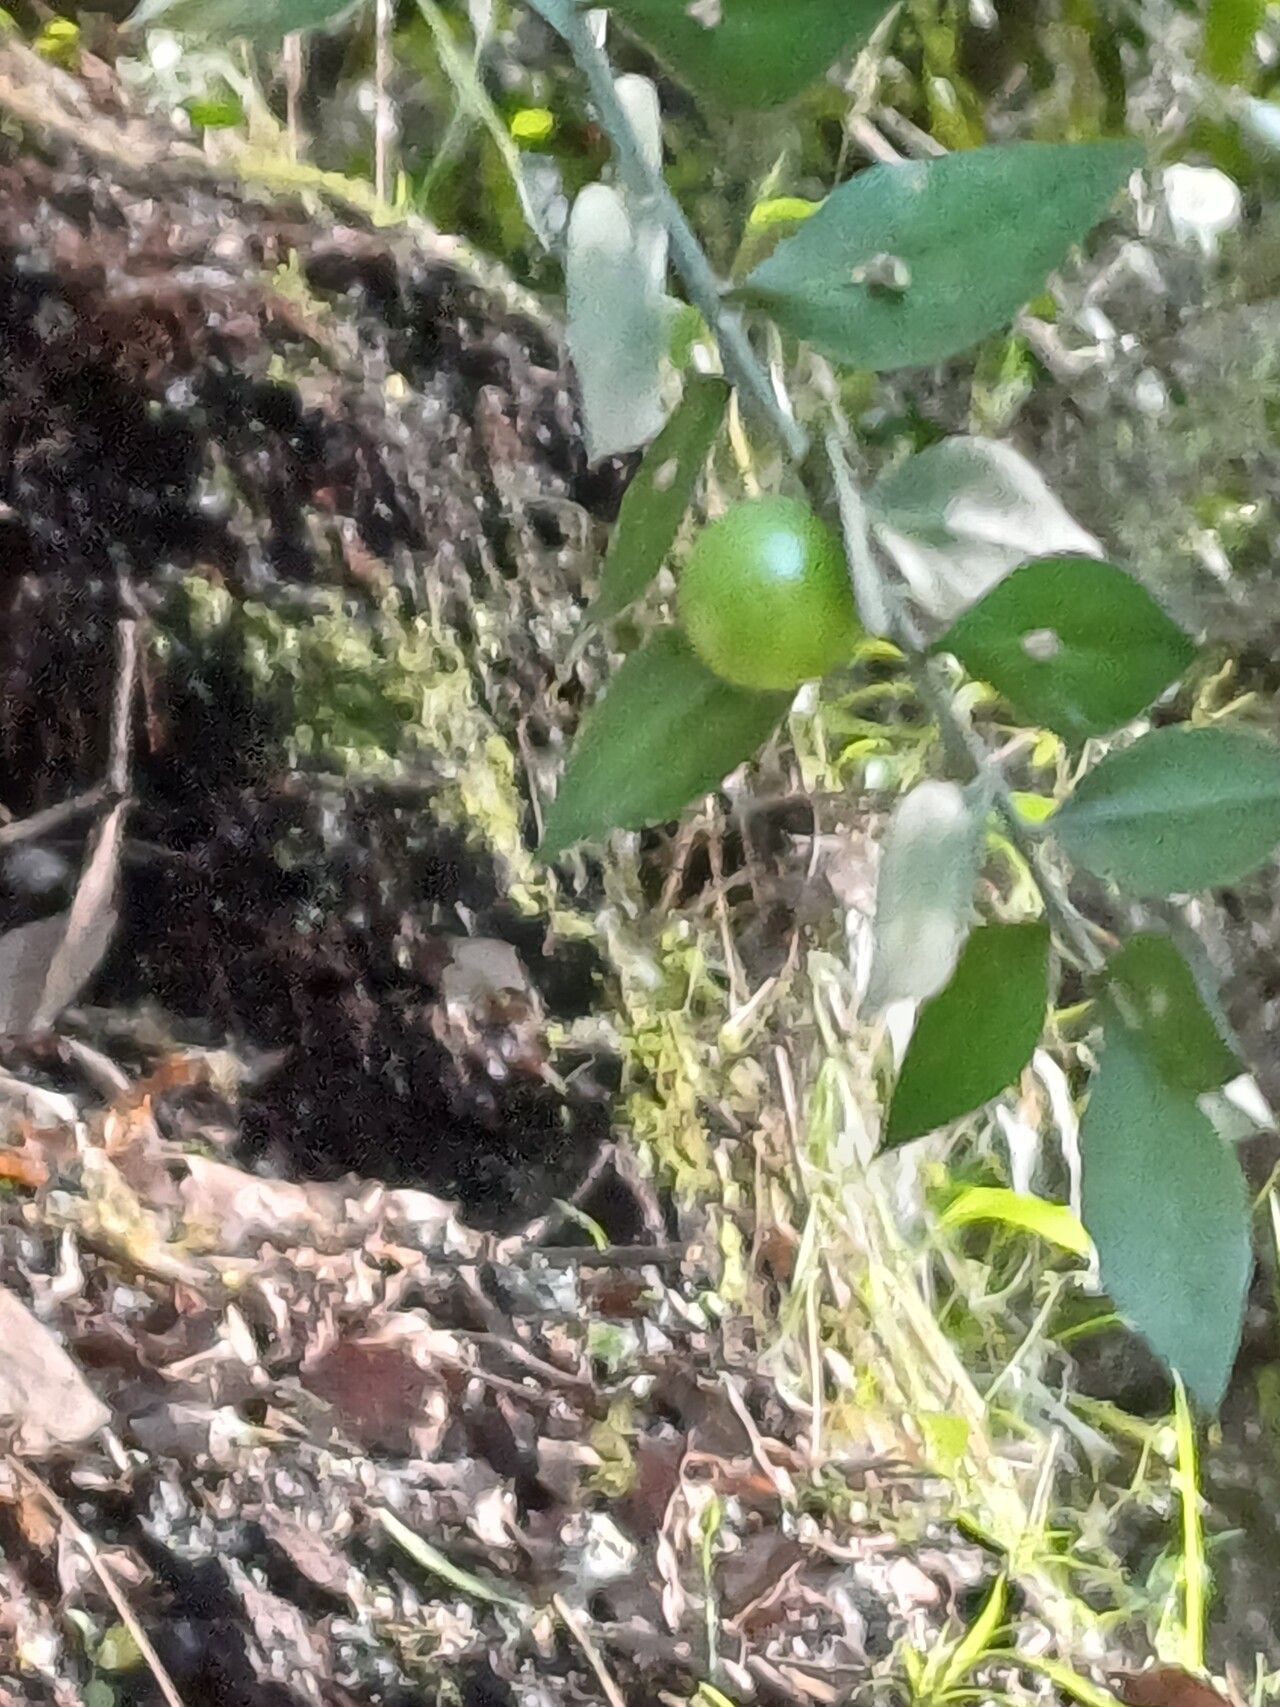
Oh, hello there! Come on in, grab a mug. I’m so glad you stopped by. Today, we’re diving into the wonderful world of propagating Ruscus colchicus. If you’ve seen this beauty in a garden – its glossy, evergreen foliage and slightly architectural look – you know why it’s such a gem. And the best part? You can easily create more of it yourself! It’s a truly rewarding process, and honestly, I find it quite forgiving even for those of you just starting out.
When to Get Your Hands Dirty
For Ruscus colchicus, the absolute sweet spot for propagation is late spring to early summer. This is when the plant is actively growing and has the energy reserves to put into developing those vital new roots. You want to look for stems that are firm and have developed but aren’t yet woody. Think of it as snatching that perfect moment before things get too hard and dry.
Your Propagation Toolkit
Gathering your supplies beforehand makes the whole process so much smoother, doesn’t it? Here’s what I always have on hand:
- Sharp Pruning Shears or a Knife: Clean cuts are crucial for healthy healing.
- Rooting Hormone (Optional but Recommended): This gives your cuttings a little boost. I usually go for a powdered form.
- Well-Draining Potting Mix: A good mix is key. I often use a blend of peat moss or coco coir with perlite or coarse sand. Think of it as giving your little ones a breathable home.
- Small Pots or Seed Trays: Clean pots are a must to prevent disease.
- Plastic Bags or a Clear Plastic Dome: To create a humid microclimate.
- Watering Can with a Fine Rose: Gentle watering is essential.
- Rubbing Alcohol: For sterilizing your tools between cuts.
Bringing New Life: Propagation Methods
Ruscus colchicus is a trooper, and thankfully, we have a couple of reliable ways to make more of them.
Stem Cuttings: My Go-To Method
This is my favorite for Ruscus colchicus. It’s straightforward, and I usually have a great success rate.
- Take the Cuttings: In late spring or early summer, select healthy, non-flowering shoots. Using your sterilized pruning shears, cut stems that are about 4-6 inches long. Try to get a cutting that includes at least a couple of leaf nodes – those little bumps where leaves emerge.
- Prepare the Cuttings: Gently remove the lower leaves from the cutting, leaving just a few at the top. This prevents them from rotting when you insert them into the soil. If you’re using rooting hormone, dip the cut end into it, tapping off any excess.
- Plant Them Up: Fill your clean pots with your well-draining potting mix. Make a small hole in the center with your finger or a pencil. Carefully insert the cut end of the stem into the hole, ensuring the nodes are buried. Gently firm the soil around the cutting.
- Create Humidity: Water the soil gently. Then, cover the pot with a plastic bag (propped up with a skewer so it doesn’t touch the leaves) or place it under a clear plastic dome. This traps moisture and keeps the humidity high, which cuttings absolutely love.
- Find a Cozy Spot: Place the pots in a bright location but out of direct sunlight. They don’t need intense sun at this stage.
Division: For the Established Plants
If you have an older, more established Ruscus colchicus that’s getting a bit crowded, division is a great option.
- Timing is Key: The best time for this is also late spring or early summer, right after flowering has finished.
- Gently Excavate: Carefully dig up the entire plant, trying to disturb the roots as little as possible. You can do this with a spade or trowel.
- Separate the Clumps: Gently tease apart the root ball with your fingers or a trowel. You’re looking to divide it into sections, each with its own healthy roots and shoots. If the clumps are really tight, don’t be afraid to use a clean, sharp knife to help them separate.
- Replant Immediately: Plant each division in a prepared spot in your garden or in pots filled with your good potting mix. Water them well and give them some time to settle in.
The “Secret Sauce”: My Insider Tips
Here are a few little tricks I’ve learned over the years that really help make propagation more successful:
- Don’t Let the Leaves Touch the Water (if using water propagation – though I find soil better for Ruscus): If you were to try rooting in water (less common for Ruscus colchicus but a general tip!), make sure no leaves are submerged. Any foliage below the water line will rot and invite fungal issues that can kill your cutting before it even has a chance.
- Bottom Heat is Your Friend: For stem cuttings, I’ve found that placing the pots on a heated propagator mat makes a world of difference. It encourages root development from below, giving your cuttings that extra “oomph” to get going. It’s not strictly necessary, but it speeds things up considerably!
- Sterilize, Sterilize, Sterilize: I can’t stress this enough. Always sterilize your cutting tools – whether it’s shears or a knife. A quick wipe with rubbing alcohol between each cut can prevent the spread of diseases and save your precious new plants.
Aftercare and What to Watch For
Once your cuttings have been in their humid environment for a few weeks, you’ll want to keep an eye on them.
- Check for Roots: Gently tug on a cutting. If you feel resistance, it means roots are starting to form! You can also look for new growth at the top. This usually takes 2-4 weeks, sometimes longer.
- Gradual Acclimation: Once you detect roots, slowly start to remove the plastic cover over a few days. This helps your new plants adjust to normal humidity levels.
- Watering: Keep the soil consistently moist but not waterlogged. Water from the bottom if possible to encourage the roots to grow downwards.
- Troubleshooting: The most common issue you might face is rot. If you see stems turning black and mushy, it’s usually a sign of too much moisture and poor air circulation. If this happens, try to remove the affected cutting immediately and ensure the remaining ones have better drainage and airflow. Yellowing leaves can sometimes indicate under-watering or not enough light.
Keep Growing!
Propagating plants is such a wonderful way to connect with nature and expand your garden on a budget. Be patient with your Ruscus colchicus cuttings. Like all good things, they take a little time to establish. Don’t be discouraged if a few don’t make it – that’s just part of the learning process! Enjoy the journey of nurturing those tiny beginnings into thriving new plants. Happy gardening!
Resource:
https://identify.plantnet.org/k-world-flora/species/Ruscus%20colchicus%20Yeo/data