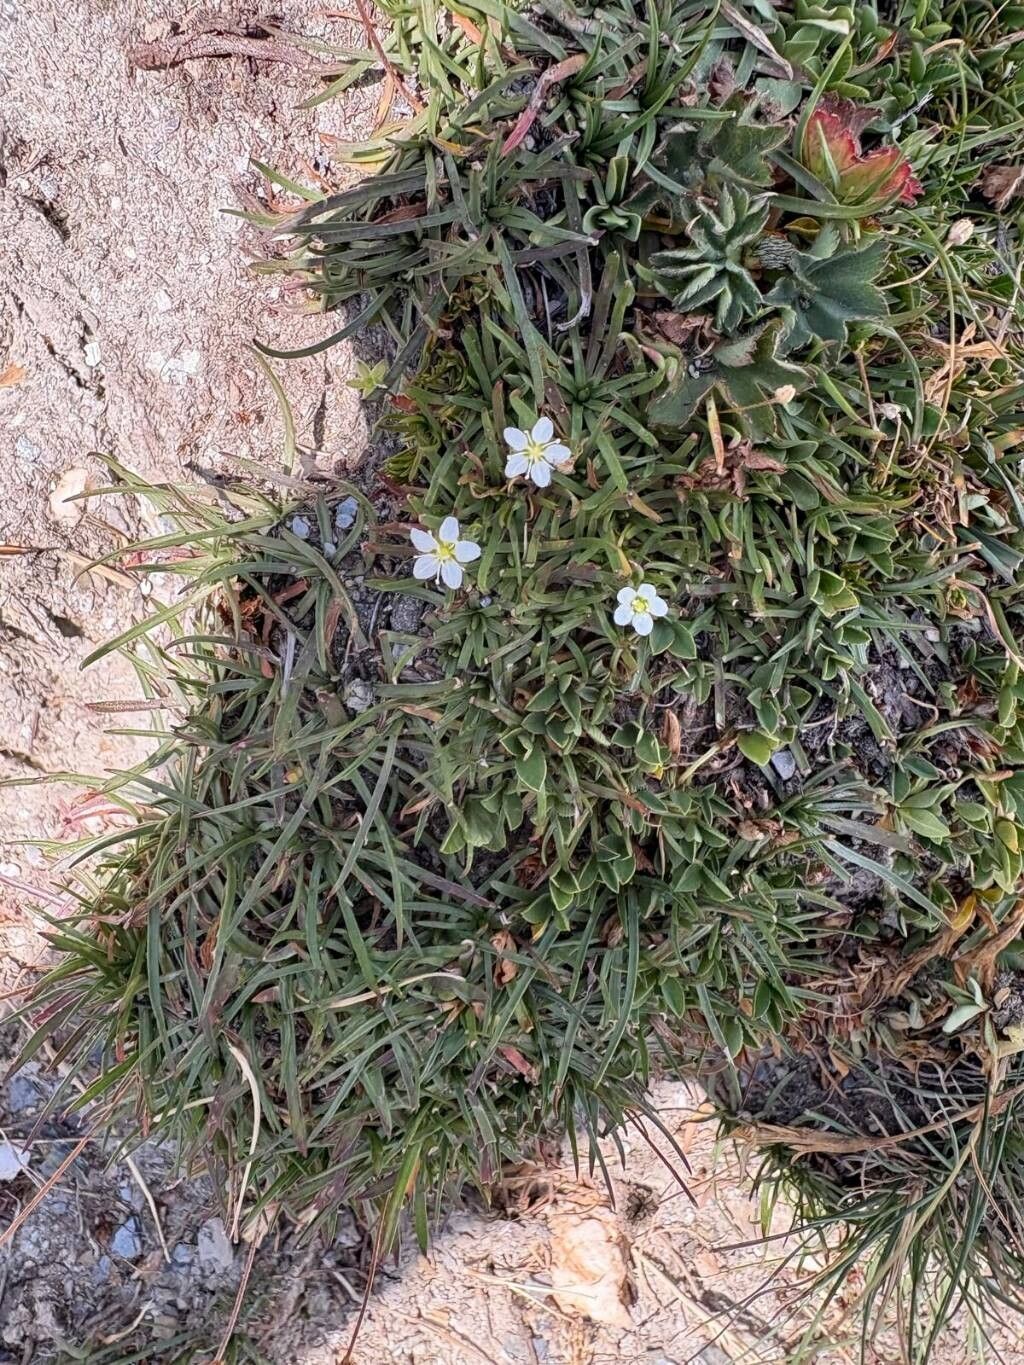
Oh, Sagina merinoi! Isn’t that stuff just delightful? It’s like having a fluffy, emerald green carpet in your garden, and it blooms with tiny, star-like white flowers that are just precious. If you’ve ever admired its lushness and thought, “I wish I had more of that!” then you’re in luck. Propagating Sagina merinoi is a wonderfully rewarding endeavor, and I’m happy to say, it’s quite achievable, even for those of you just starting your green journey.
The Best Time to Start
The sweet spot for getting Sagina merinoi to root is generally in the late spring or early summer. This is when the plant is actively growing, energized by longer days and warmer temperatures. Younger, more vigorous stems will have the best chance of success. You could also try in early fall, but you might find root development a bit slower as the plant prepares for cooler weather.
Supplies You’ll Need
Before we get our hands dirty, let’s gather our tools:
- Sharp Pruning Shears or a Clean Knife: For taking clean cuts.
- Well-Draining Potting Mix: A good seed starting mix or a blend of peat moss and perlite works beautifully.
- Small Pots or Trays: Clean containers to start your cuttings.
- Rooting Hormone (Optional but Recommended): A powder or gel can give your cuttings a helpful boost.
- Watering Can with a Fine Rose or a Spray Bottle: For gentle watering.
- Plastic Bag or Clear Dome: To create a mini-greenhouse environment.
- Labels: To keep track of what you’ve planted!
Propagation Methods
Sagina merinoi is quite amenable to a couple of easy propagation techniques. I find stem cuttings to be the most reliable, but division is also an option if you have a larger clump.
Stem Cuttings
This is my go-to method for Sagina.
- Select Your Material: Look for healthy, non-flowering stems that are about 2-3 inches long. You want stems that are somewhat firm but still pliable.
- Take Your Cuttings: Using your sharp shears or knife, make a clean cut just below a leaf node (where a leaf attaches to the stem). Remove the lower leaves from the cutting, leaving just a few at the top.
- Apply Rooting Hormone (If Using): Dip the cut end of each stem into your rooting hormone, tapping off any excess.
- Potting Up: Fill your small pots or trays with your damp potting mix. Make a small hole in the center of the mix with a pencil or your finger. Gently insert the cut end of the Sagina cutting into the hole and firm the mix around it.
- Water and Cover: Water the mix gently to settle it around the cuttings. Then, cover the pots loosely with a clear plastic bag or place them under a clear dome. This helps maintain humidity, which is crucial for cuttings.
Division
If your Sagina merinoi clump has gotten quite large and dense, you can carefully divide it.
- Gently Remove: Carefully lift the entire clump from its pot or from the ground.
- Separate the Roots: Gently tease apart the root ball, or use a clean trowel or your fingers to split the clump into smaller sections, ensuring each section has roots and some foliage.
- Pot Up: Plant each division into its own pot filled with well-draining soil, watering gently afterward.
The “Secret Sauce” (Pro Tips)
Here are a few things I’ve learned over the years that really make a difference:
- Don’t Let the Leaves Touch the Water (for Water Propagation): If you decide to try water propagation (less common for Sagina but possible for some), make sure only the very bottom of the stem is submerged. Any leaves in the water will likely rot and can kill your cutting. I stick to soil, though!
- Humidity is Your Best Friend: That plastic bag or dome isn’t just for show. It keeps the air around your cuttings humid and moist, mimicking the conditions they’d find in a humid environment where they naturally thrive. Check it daily and vent if you see excessive condensation.
- Bottom Heat is a Game Changer: If you have a heating mat designed for seed starting, placing your pots on it can significantly speed up rooting. Sagina, like many plants, loves a little warmth from below to encourage root development.
Aftercare & Troubleshooting
Once your cuttings have developed a good root system (you can gently tug on them – if there’s resistance, there are roots!), it’s time to move them out of the “greenhouse.”
- Gradually Acclimate: Remove the plastic cover for increasingly longer periods over a few days to let them adjust to normal humidity.
- Water Wisely: Continue to keep the soil consistently moist but not waterlogged. Overwatering is the most common cause of failure, leading to rot. The soil should feel damp to the touch.
- Light: Place your new plants in a bright, indirect light location. Avoid harsh, direct sunlight, which can scorch tender new growth.
- Troubleshooting Rot: If you notice your cuttings turning mushy, black, or slimy, it’s likely rot. This is usually due to too much moisture and poor air circulation. Unfortunately, you can’t save rotted cuttings. The best approach is to discard them and start again, paying close attention to watering and humidity levels.
A Little Patience Goes a Long Way
Propagating plants is one of my favorite ways to connect with nature. It’s a process that teaches you patience and observation. Your Sagina merinoi cuttings may not look like much for a while, and that’s perfectly okay. Trust the process, trust your instincts, and before you know it, you’ll have a whole new patch of that gorgeous green carpet to enjoy. Happy gardening!
Resource:
https://identify.plantnet.org/k-world-flora/species/Sagina%20merinoi%20Pau%20ex%20Merino/data