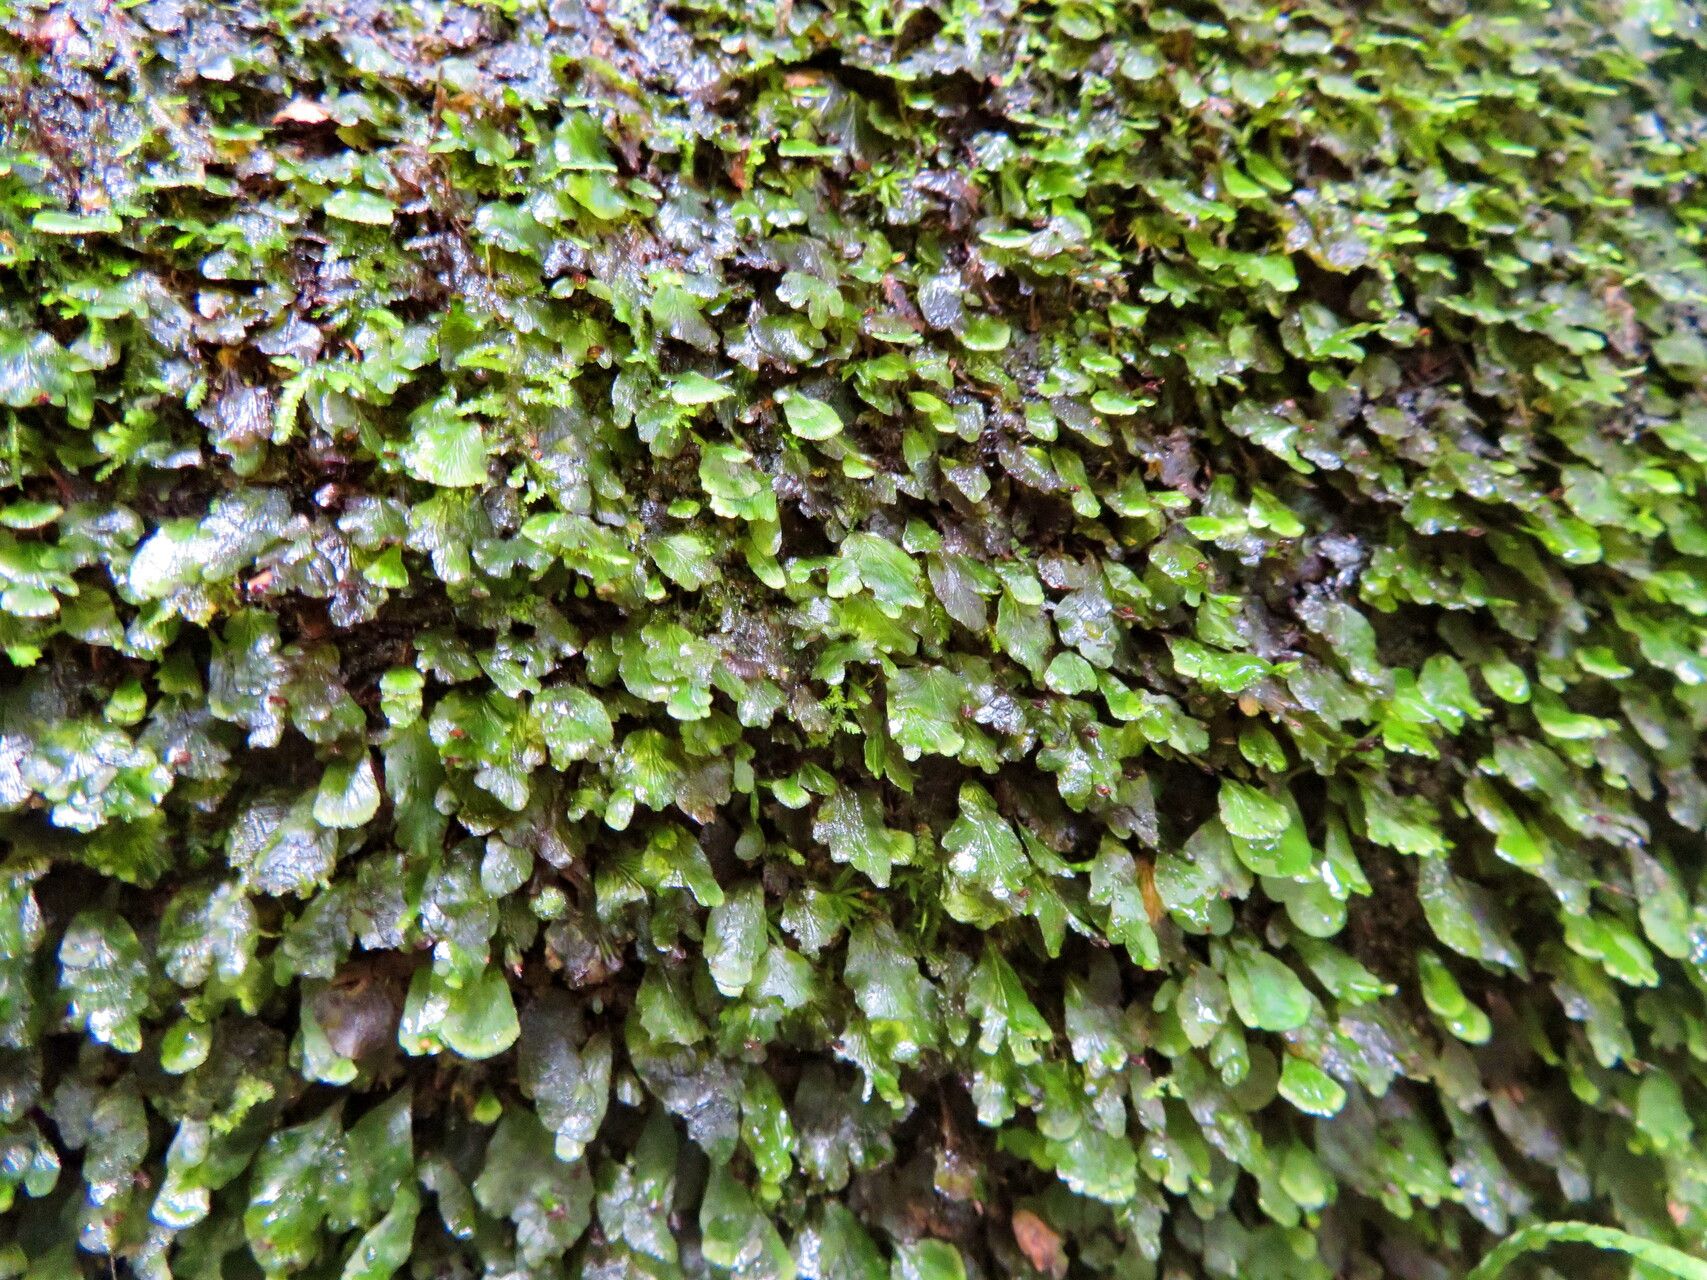
Hey there, fellow plant lovers! Today, we’re diving into the fascinating world of Trichomanes membranaceum, a lace fern that’s a real stunner. Its delicate, almost otherworldly fronds have a way of capturing your attention, and let me tell you, coaxing a new one to life from an existing plant is incredibly satisfying. Now, I won’t sugarcoat it – Trichomanes membranaceum can be a tad fussy. If you’re just starting your propagation journey, it might be a bit of a challenge, but don’t let that deter you! With a little care and patience, you can absolutely succeed.
The Best Time to Start
My personal sweet spot for propagating Trichomanes membranaceum is during its active growing season, which generally falls in late spring through summer. This is when the plant has abundant energy to put into developing new growth. You’ll notice new fronds unfurling, and these are prime candidates for taking cuttings. Trying to propagate when the plant is dormant will likely lead to disappointing results.
Supplies You’ll Need
Here’s what you’ll want to have on hand before you get your hands dirty:
- Sharp, sterile pruning shears or a clean razor blade: For making clean cuts.
- A good quality potting mix: I like a loose, airy blend that drains well. A mix designed for ferns or aroids often works beautifully. You can also create your own by combining peat moss, perlite, and orchid bark.
- Small pots or trays: Clean, with drainage holes, of course!
- Clear plastic bag or a propagator: To create a humid environment.
- Optional: Rooting hormone: While not always strictly necessary for Trichomanes membranaceum, it can give you a helpful boost.
- A spray bottle with filtered water: For misting.
Propagation Methods
While Trichomanes membranaceum isn’t the easiest plant to propagate via seeds, we can explore a couple of reliable methods more suited to its structure.
Division
This is often the most straightforward way to multiply your lace fern.
- Gently remove the parent plant from its pot.
- Inspect the root ball. Look for natural divisions where the rhizomes have branched and are already producing their own sets of fronds.
- Carefully separate these divisions using your fingers or a clean trowel. The goal is to keep as much of the root system attached to each division as possible.
- Pot up each division into its own small pot with your prepared potting mix. Ensure the rhizomes are just barely covered with soil.
- Water gently to settle the soil.
Rhizome Cuttings (with caution!)
This method is a bit more advanced and requires a keen eye for the plant’s structure.
- With your sterile shears, locate a healthy rhizome (the creeping stem) on the parent plant. Look for one that has a few healthy fronds attached and appears to be actively growing.
- Make a clean cut, ensuring you take a section of the rhizome that is at least an inch or two long and has at least one or two developing fronds.
- Prepare your new pot with a well-draining mix.
- Lay the rhizome cutting on top of the soil, with the frond end facing upwards. Lightly press it into the surface so it makes good contact. You don’t want to bury the rhizome deeply.
- Mist the surface lightly and cover the pot with a clear plastic bag or place it in a propagator.
The “Secret Sauce” (Pro Tips)
Here are a couple of little tricks I’ve picked up over the years that make a big difference:
- Humidity is your best friend. Trichomanes membranaceum absolutely loves high humidity. When you’re propagating, that plastic bag or propagator isn’t just for show; it’s crucial for trapping moisture. Check it daily and be prepared to mist if things start to look a bit dry.
- Don’t be tempted to overwater. While they need moisture, soggy soil is the fastest route to rot. Let the surface of the potting mix dry out slightly between waterings. A good soak followed by a drying period is much better than constant dampness.
Aftercare & Troubleshooting
Once your cuttings or divisions have started to show signs of new growth or established roots, it’s time to transition them to slightly less intense conditions.
- Gradually acclimate your new plants to lower humidity by opening the propagator or plastic bag for longer periods each day over a week or two.
- Continue to water consistently, but always check the soil moisture first.
- Keep them in bright, indirect light. Direct sun will scorch their delicate new fronds.
The most common sign of failure is rot. If your cuttings start to turn mushy and black, it’s usually a sign of too much moisture and not enough air circulation. If a division fails to take, it might be that the root ball was too small or damaged during separation. Don’t get discouraged!
A Word of Encouragement
Bringing a new plant to life is a journey. There will be times when it feels like nothing is happening, and other times when things go awry. Be patient, observe your plant closely, and trust your instincts. The reward of seeing a tiny new lace fern unfurl, knowing you helped it grow, is truly special. Happy propagating!
Resource:
https://identify.plantnet.org/k-world-flora/species/Trichomanes%20membranaceum%20L./data