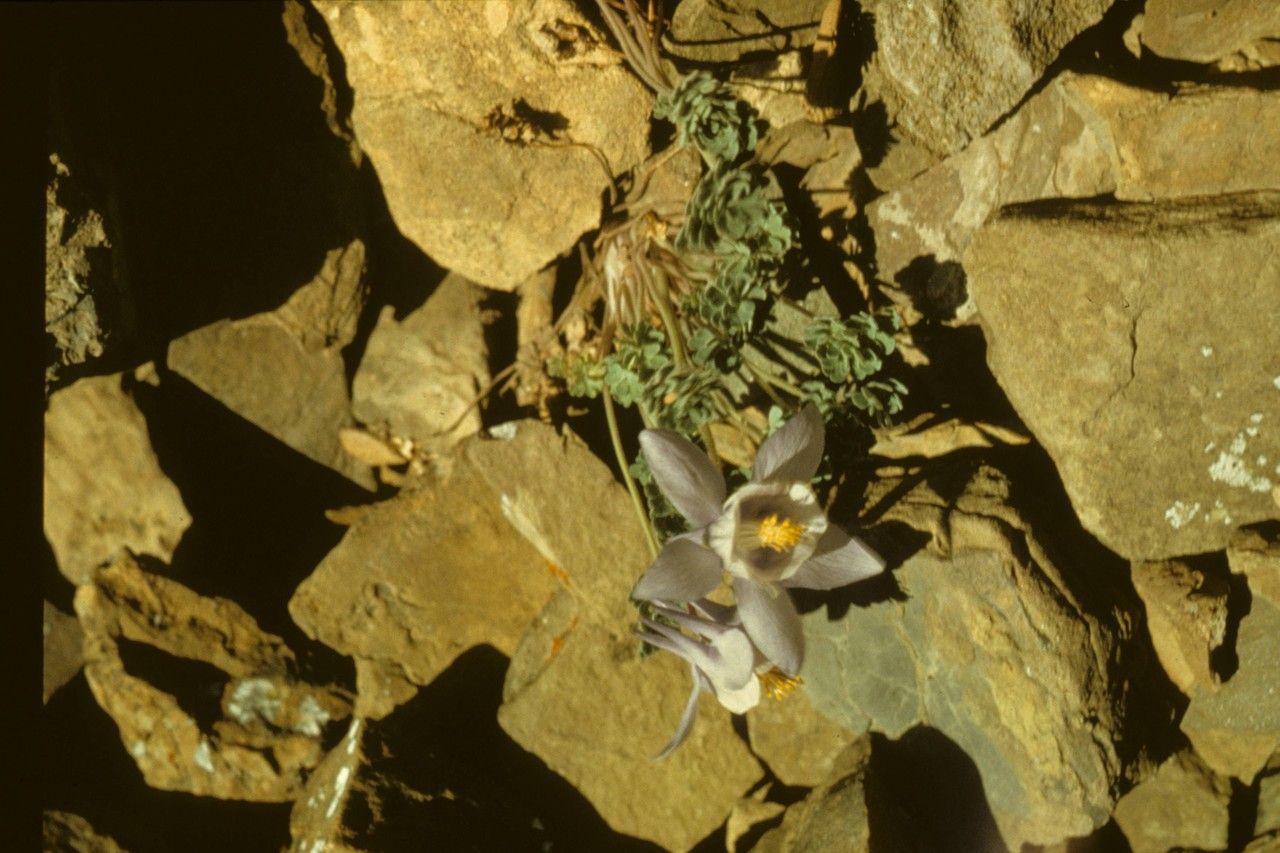
Oh, hello there! Come on in, grab a mug, let’s chat about Aquilegia jonesii. Isn’t this little beauty just something special? It’s one of those plants that makes you feel like you’ve uncovered a hidden gem. With its delicate, jewel-toned flowers and lovely, almost fern-like foliage, it’s a real charmer. And the best part? Being able to create more of these treasures from your existing plants is incredibly satisfying. Now, I’ll be honest, when it comes to propagation, Aquilegia jonesii isn’t the absolute easiest plant for a complete beginner, but with a little attention and care, you’ll find it quite manageable. It’s a rewarding challenge, for sure!
The Best Time to Start
For Aquilegia jonesii, the sweet spot for getting new plants going is generally in the late spring to early summer. This is when the plant is actively growing, having finished its main bloom cycle. You’ll find the stems are firm but not yet woody, which is perfect for taking cuttings. Trying too early or too late can make things a bit trickier, so timing your propagation efforts here will really boost your success rate.
Supplies You’ll Need
Here’s what I like to have on hand when I’m getting ready to propagate:
- Sharp Pruning Shears or a Clean Knife: For making nice, clean cuts.
- Seed Starting Mix or a Well-Draining Potting Mix: I often use a blend of peat moss, perlite, and a little compost. Good drainage is key!
- Small Pots or Trays: With drainage holes, of course!
- Rooting Hormone (Optional but Recommended): Especially for those trickier stem cuttings. Look for one with a medium strength.
- Watering Can with a Fine Rose: To water gently without disturbing things.
- Plastic Bags or a Small Propagator: To create a humid environment.
- Labels and a Pen: So you don’t forget what you’ve planted where!
- Optional: Heat Mat: For a little extra warmth.
Propagation Methods
Now, let’s get our hands dirty! For Aquilegia jonesii, I find two main methods work wonderfully:
1. Stem Cuttings:
This is my go-to method for increasing my collection.
- Select Your Cuttings: Look for healthy, non-flowering shoots. You want stems that are about 4-6 inches long. Give them a clean cut just below a leaf node (where a leaf attaches to the stem). Remove the lower leaves, leaving just a couple at the top.
- Dip in Rooting Hormone (Optional): If you’re using rooting hormone, moisten the cut end of the stem and dip it into the powder or gel. Tap off any excess.
- Plant Your Cuttings: Fill your small pots with your well-draining mix. Make a small hole with a pencil or your finger. Gently insert the cutting into the hole, ensuring the root hormone is covered by soil. Firm the soil around the base.
- Water Gently: Give the pots a good, but gentle, watering.
- Create Humidity: Place a plastic bag loosely over the pot, or if you have a propagator, use that. This helps keep the moisture in.
2. Division (Best for Established Plants):
If you have a mature Aquilegia jonesii that’s getting a bit crowded, division is a great option.
- Dig Up the Plant: In the early spring before new growth really takes off, carefully dig up the entire plant.
- Clean the Roots: Gently brush away excess soil from the root ball. You want to be able to see the different growing points.
- Divide Carefully: Using your hands or a clean spade, gently pull or cut the root ball apart into sections. Each section should have at least a few healthy roots and some visible shoots or buds.
- Replant Immediately: Prepare new planting holes in your garden or pot up the divisions. Plant them at the same depth they were growing before. Water them in well.
The “Secret Sauce” (Pro Tips)
Here are a few little tricks I’ve learned over the years that can really make a difference:
- Bottom Heat is Your Friend: For stem cuttings, placing your pots on a gentle heat mat can significantly speed up root development. It mimics the warmth of spring soil and encourages those roots to form. Just a little warmth is all they need.
- Don’t Let Leaves Touch Water: If you choose to try water propagation (though I’ve had better luck with soil for this specific plant), ensure that no leaves are submerged in the water. Rot sets in very quickly if foliage sits in water.
- Patience with the Mother Plant: After taking cuttings or dividing, don’t overwater your original plant. Let it recover naturally. It might look a little sad for a week or two, but it usually bounces back beautifully.
Aftercare & Troubleshooting
Once those little roots start to form (you might see new leaf growth as a sign!), it’s time for a little extra attention.
- Gradually Acclimate: Slowly remove the plastic bag or open the propagator vents over a few days to help the new plant adjust to lower humidity.
- Regular Watering: Keep the soil consistently moist but not waterlogged. Overwatering is the quickest way to invite trouble.
- Watch for Rot: The most common problem you’ll encounter is damping off or root rot. This often happens with too much moisture and poor air circulation. If you see stems wilting or looking mushy at the base, it’s a sign of rot. There’s not much you can do once it takes hold, so prevention is key. Make sure your soil drains well and you’re not watering too frequently.
- Transplant When Ready: Once your new plants have developed a good root system and are showing strong top growth, they’re ready to be transplanted into larger pots or their permanent garden spaces.
There you have it! Propagating Aquilegia jonesii might take a little patience, but the reward of seeing these beautiful plants thrive and expand in your garden is truly immense. Don’t be discouraged if your first attempt isn’t perfect; gardening is all about learning and trying again. Enjoy the process, and happy growing!
Resource:
https://identify.plantnet.org/k-world-flora/species/Aquilegia%20jonesii%20Parry/data