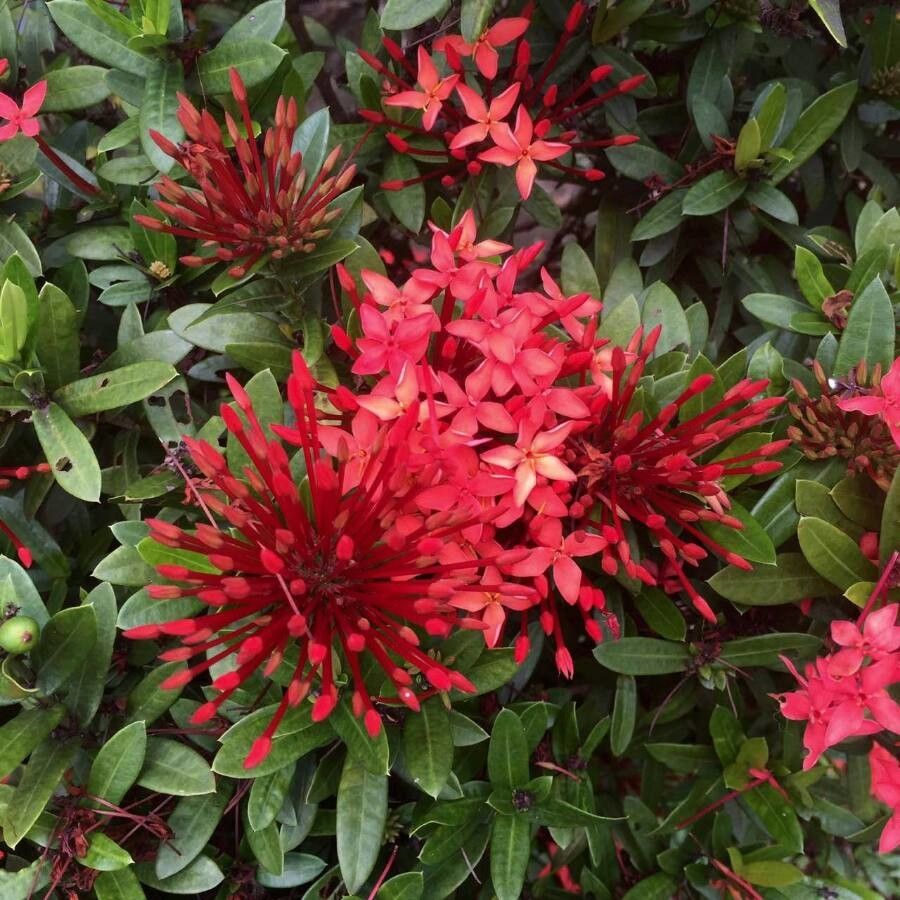
Ah, Ixora! Isn’t she a stunner? With those vibrant clusters of red, orange, or pink flowers, it’s no wonder so many of us fall for this tropical beauty. Growing Ixora coccinea, often called Flame of the Woods, brings such a splash of color to any garden or sunny windowsill. And the best part? You can create more of these beauties yourself! While it’s not the absolute easiest plant to propagate, with a few tricks up your sleeve, it’s definitely achievable, even for those of you just starting your green journey. It’s a truly rewarding feeling to watch a tiny cutting transform into a blooming plant.
The Best Time to Start
For Ixora, the sweet spot for propagation is definitely during its active growing season. Think late spring through summer. This is when the plant has the most energy to put into developing roots. You’ll want to select stems that are not brand new and tender, but not old and woody either – something in between, often called “semi-hardwood.” These stems have just the right balance of flexibility and sturdiness.
Supplies You’ll Need
Gathering your supplies beforehand makes the whole process much smoother. Here’s what you’ll want to have on hand:
- Sharp Pruning Shears or a Knife: Clean tools are essential to prevent disease.
- Rooting Hormone: A powder or gel can significantly boost your success rate.
- Well-Draining Potting Mix: A custom blend works wonders. I like to use a mix of equal parts peat moss or coco coir, perlite, and coarse sand. You could also find a good quality cactus and succulent mix.
- Small Pots or Seedling Trays: With drainage holes, of course!
- Plastic Bags or a Propagator: To create a humid environment.
- Gravel or Perlite (Optional): For the bottom of the pots if you’re worried about waterlogging.
- Watering Can or Spray Bottle: For gentle watering.
Propagation Methods
There are a couple of tried-and-true ways to get more Ixora plants, and stem cuttings are by far the most popular and effective.
Stem Cuttings:
-
Take Your Cuttings: Using your clean shears, select a healthy stem from your mature Ixora plant. Cut a piece that’s about 4-6 inches long. Make your cut just below a leaf node, which is the point where a leaf attaches to the stem. These nodes are prime spots for root development.
-
Prepare the Cuttings: Gently remove the lower leaves from your cutting, leaving just a few at the tip. This prevents them from rotting when you place the cutting in the soil. If the remaining leaves are very large, you can even snip them in half to reduce water loss through transpiration.
-
Apply Rooting Hormone: Dip the cut end of the stem into rooting hormone, tapping off any excess. This provides a little boost to encourage root formation.
-
Plant Your Cuttings: Fill your small pots or trays with your well-draining potting mix. Make a small hole in the center of the mix with your finger or a pencil. Insert the prepared cutting into the hole, ensuring the lowest leaf node is below the soil surface. Gently firm the soil around the cutting.
-
Create a Humid Environment: Water the soil gently. Then, cover the pot with a clear plastic bag or place it in a propagator. Prop it up with a few stakes so the plastic doesn’t touch the leaves. This micro-greenhouse effect keeps the humidity high, which is crucial for cuttings that don’t have roots yet to drink water.
-
Provide Warmth and Light: Place the pots in a warm spot that receives bright, indirect light. Avoid direct sun, as this can scorch the tender cuttings.
-
Be Patient and Monitor: Keep the soil consistently moist but not soggy. Check regularly for new growth, which is a sign the cutting has rooted. This can take anywhere from 4 to 8 weeks, sometimes longer. You can gently tug on a cutting – if there’s resistance, it means roots have formed.
The “Secret Sauce” (Pro Tips)
Over the years, I’ve learned a few little things that can really make a difference.
- Bottom Heat is Your Friend: If you can, place your pots on a heating mat designed for seedlings. Warmer soil temperatures encourage faster and more robust root development. Ixora loves a bit of warmth!
- Don’t Drown Them From Above: When watering, I prefer to water from the bottom if possible, by setting the pots in a tray of water. This encourages roots to grow downwards and prevents the soil surface from staying constantly wet, which can lead to rot. If you water from the top, do so very gently.
- Give Them Air! Even though you want humidity, it’s important to air out your cuttings daily for a few minutes. This helps prevent fungal diseases from taking hold in the enclosed, moist environment.
Aftercare & Troubleshooting
Once you see signs of new growth – tiny leaves unfurling or a slight resistance when you gently tug – your Ixora is officially on its way! Gradually acclimate your new plant to lower humidity by slowly opening the plastic bag over several days. Once it’s fully acclimated, you can transplant it into a slightly larger pot with fresh, well-draining potting mix. Continue to provide bright, indirect light and keep the soil consistently moist.
Now, what if things go wrong? The most common issue you might encounter is rot. If your cutting suddenly turns mushy and black, or if the soil surface looks slimy, it’s likely rot. This often happens due to overwatering, poor drainage, or insufficient air circulation. If you catch it early, you might be able to salvage a section by recutting the stem above the rotted part and starting again with fresh, drier medium. Unfortunately, sometimes nature just doesn’t cooperate, and that’s okay too.
A Encouraging Closing
Don’t be discouraged if your first attempt isn’t a runaway success. Gardening is a journey of learning, and every plant you try to propagate teaches you something new. Be patient with your Ixora cuttings, provide them with the right conditions, and celebrate each little success. Before you know it, you’ll have a small jungle of Flame of the Woods to enjoy or share with fellow plant lovers. Happy propagating!
Resource:
https://identify.plantnet.org/k-world-flora/species/Ixora%20coccinea%20L./data