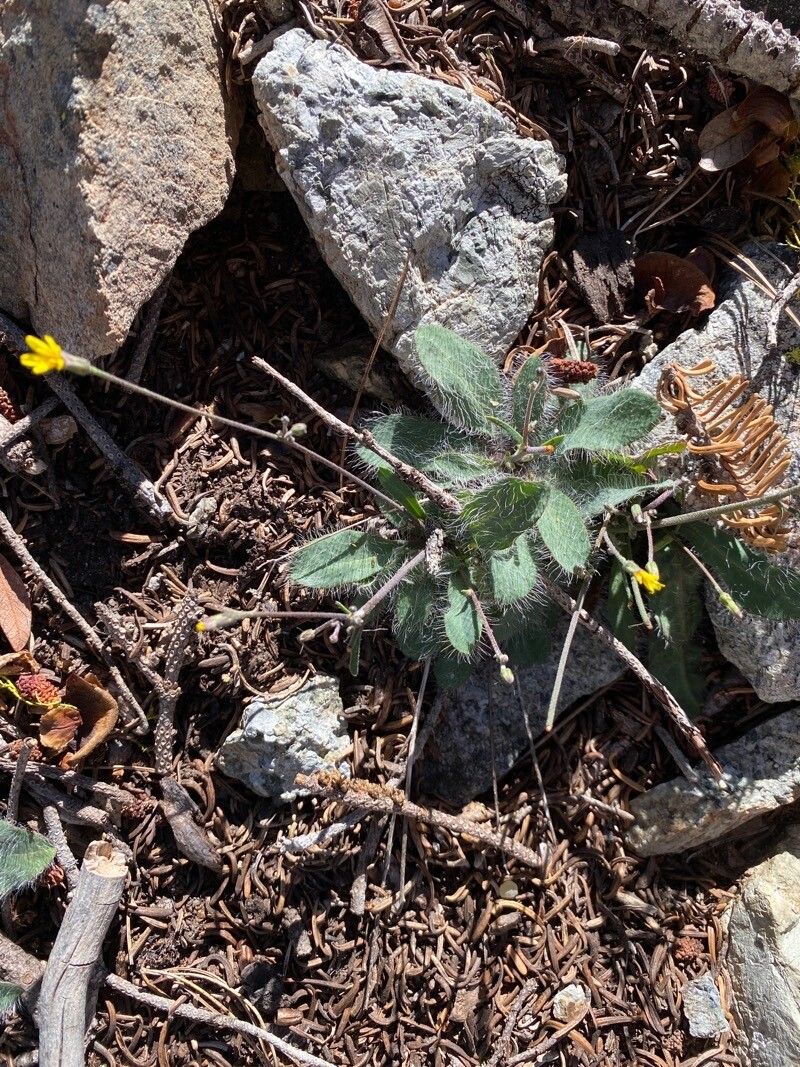
Ah, Hieracium horridum! You’ve got great taste. I just love that fuzzy texture and the way its cheerful yellow blooms pop against the foliage. It’s a real charmer in gravelly gardens or rockeries, and honestly, getting more of them for yourself is incredibly satisfying. Now, I’ll be upfront: Hieracium horridum isn’t quite a “stick it in the ground and forget it” kind of propagation. It requires a little more attention, especially for those just starting their propagation journey. But don’t let that deter you! With a bit of care, you’ll be rewarded with your own little clumps of sunshine.
The Best Time to Start
For the best success with Hieracium horridum, I always recommend working with healthy, actively growing material in late spring to early summer. This is when the plant is full of vigor and has plenty of energy to put into rooting. Avoid propagating when the plant is stressed by extreme heat or drought.
Supplies You’ll Need
Gathering your tools beforehand makes the whole process smoother. Here’s what I usually have on hand:
- Sharp, clean pruning shears or a sharp knife: Essential for making clean cuts.
- Rooting hormone powder or gel: This isn’t strictly mandatory, but it can give your cuttings a helpful boost.
- A well-draining potting mix: I often use a blend of equal parts perlite, coarse sand, and peat moss or coco coir. Or, a good quality cactus and succulent mix works wonders.
- Small pots or trays: Clean ones are key to preventing disease!
- A watering can with a fine rose or a spray bottle: To water gently without disturbing your cuttings.
- Labels and a marker: So you don’t forget what you’ve planted where!
Propagation Methods
Hieracium horridum can be propagated reliably through division and stem cuttings. I find division often yields the quickest results for me.
Division
This is my go-to method, especially if your plant is getting a bit crowded.
- Gently excavate the plant. Using your trowel, carefully dig around the base of your Hieracium horridum, aiming to lift the entire root ball.
- Inspect the root ball. You’ll likely see distinct crowns or clumps of growth. If the plant is well-established, you might even be able to gently pull apart sections with your hands.
- Separate the divisions. If they don’t pull apart easily, use your clean pruning shears or knife to cut through the root ball, ensuring each division has a good portion of roots and some leafy stems.
- Replant immediately. Pot up your new divisions into their own containers filled with your well-draining mix. Water them in lightly.
Stem Cuttings
This method takes a bit more patience, but it’s rewarding when you see those little roots form.
- Take your cuttings. In late spring or early summer, select healthy, non-flowering shoots that are about 3-4 inches long. Make your cut just below a leaf node (where the leaf attaches to the stem).
- Prepare the cuttings. Remove the lower leaves, leaving just a few at the top. This prevents them from rotting when planted.
- Apply rooting hormone (optional but recommended). Dip the cut end of each stem into rooting hormone, tapping off any excess.
- Pot them up. Fill small pots with your well-draining mix. Use a pencil or your finger to make a small hole in the soil.
- Insert the cuttings. Gently place the hormone-dipped end of each cutting into the hole, firming the soil around it.
- Water gently. Give them a light watering.
The “Secret Sauce” (Pro Tips)
Here are a few things I’ve learned over the years that just make a difference:
- The “Wiggle Test” for Cuttings: When you think your stem cuttings might be rooted (usually after 3-4 weeks), give them a very gentle tug. If there’s slight resistance, you’ve likely got roots! If they come out easily, they need more time.
- Humidity is Your Friend: For stem cuttings, I like to create a mini-greenhouse effect. You can do this by placing a clear plastic bag over the pot (making sure it doesn’t touch the leaves) or by using a propagator with a lid. This keeps the moisture in and helps the cuttings establish.
- Don’t Overwater! This is probably the most common pitfall. Hieracium horridum likes it on the drier side, even when propagating. Let the soil surface dry out slightly between waterings. Soggy soil is a fast track to rot.
Aftercare & Troubleshooting
Once your divisions are replanted or your stem cuttings show signs of rooting, the real nurturing begins!
- Continue to water sparingly. Keep the soil consistently moist but not waterlogged.
- Provide bright, indirect light. Avoid harsh, direct sun, which can scorch young plants or cuttings.
- Gradually acclimatize them. If you’ve used a plastic bag or propagator, start removing it for short periods each day, gradually increasing the duration until the covering is removed completely. This helps them adjust to normal humidity levels.
The most common sign of trouble is rot, which usually looks like a slimy, mushy stem base or leaves turning yellow and wilting despite adequate watering. This is almost always due to overwatering or poor drainage. If you see this, try to remove the affected part immediately and allow the remaining material to dry out more. Sometimes, sadly, the cutting or division is lost, but don’t be discouraged! It’s part of the learning process.
A Encouraging Closing
See? Not so daunting after all! Propagation is a journey, and each plant you successfully grow from a cutting or division is a small triumph. Be patient with your Hieracium horridum, observe them closely, and enjoy the quiet satisfaction of watching new life emerge. Happy gardening!
Resource:
https://identify.plantnet.org/k-world-flora/species/Hieracium%20horridum%20Fr./data