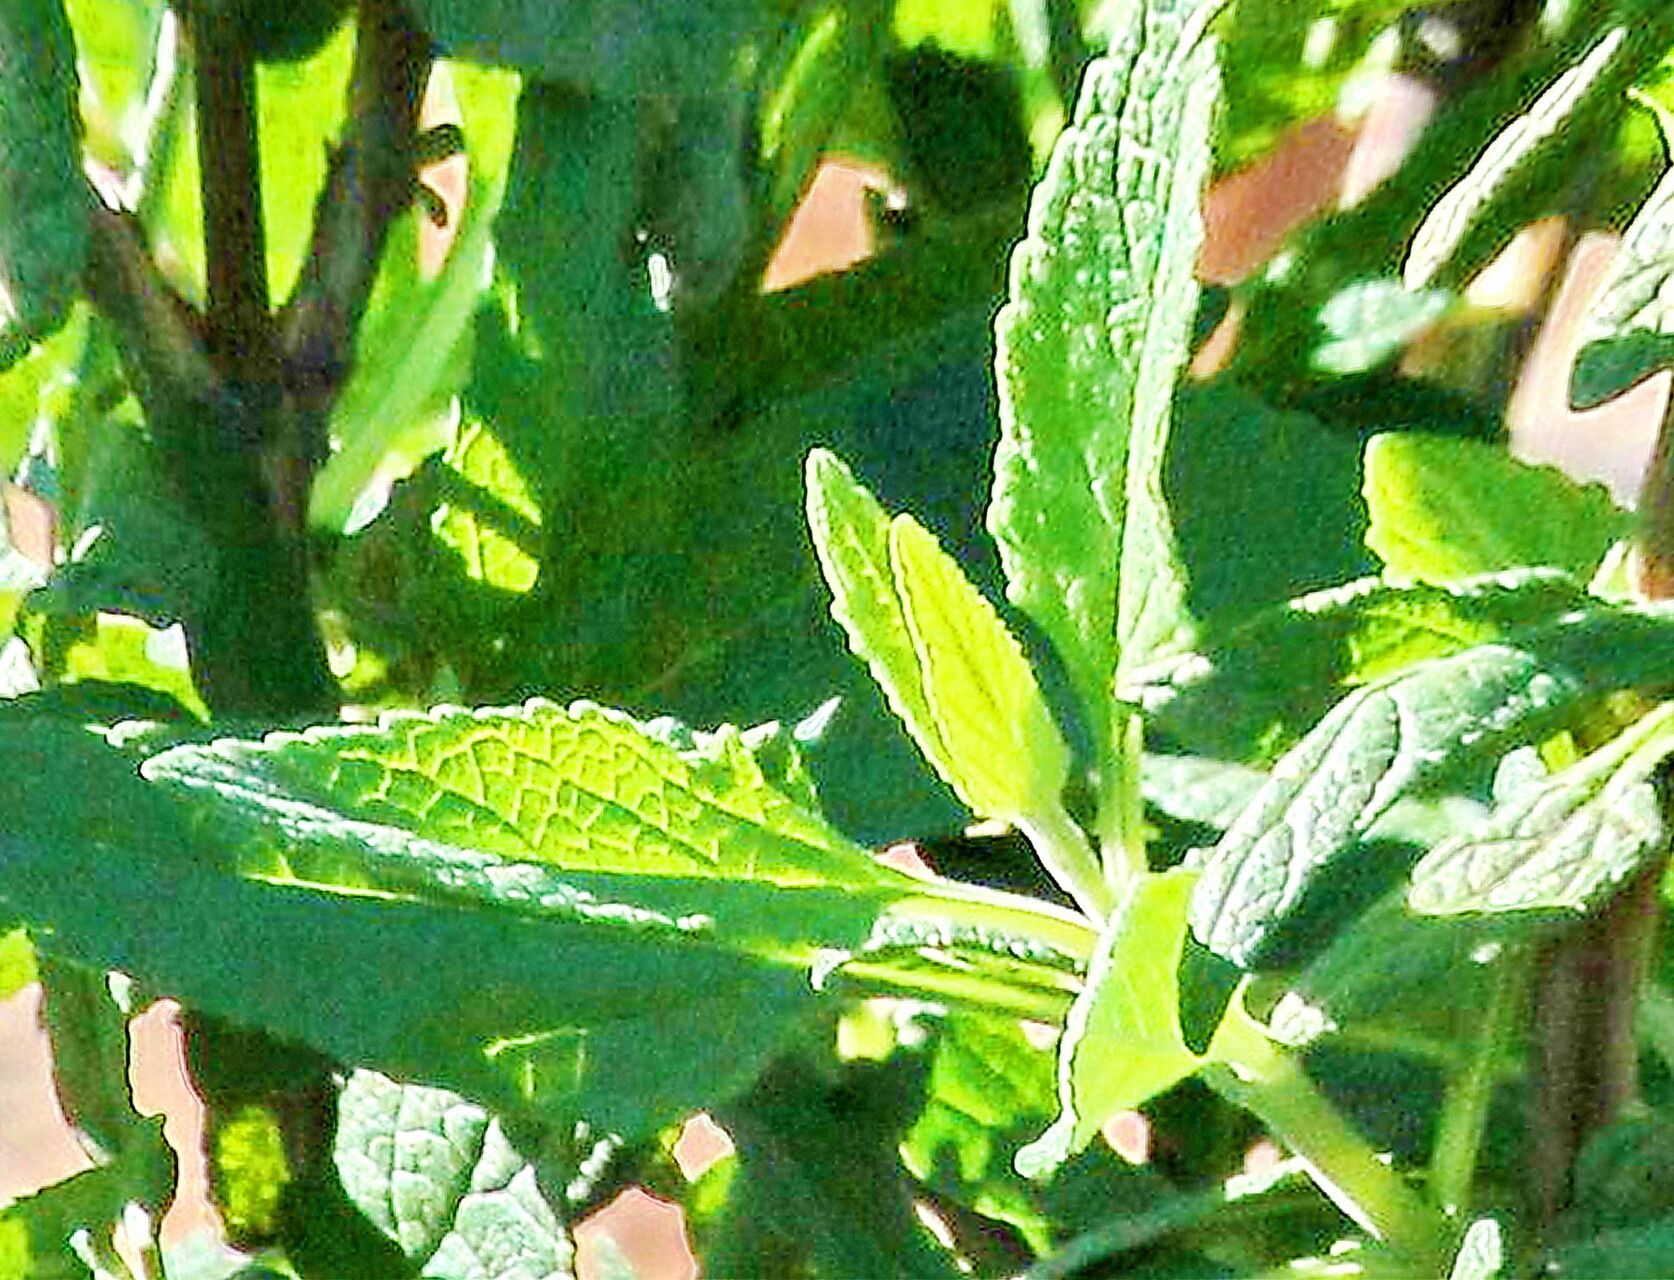
Hey there, fellow plant lovers! I’m so excited to chat with you today about a gem of a plant: Lepechinia ganderi. If you’re looking for something that brings a touch of California native charm and a lovely, herbaceous scent to your garden, this is it. Propagating this beauty is incredibly rewarding, and while it can seem a little daunting at first, I promise you, it’s very achievable. You might find it a tad more challenging than, say, a happy little succulent, but with a bit of know-how, you’ll be well on your way.
The Best Time to Start
When it comes to getting new Lepechinia ganderi plants, spring is absolutely your golden ticket. Think late spring, just as things are really warming up but before the intense heat of summer kicks in. This is when the plant is actively growing and has the most energy to put into developing new roots. You can also have some success with tip cuttings in early summer, but spring propagation generally gives you the best results and a stronger start for your new plants by the end of the growing season.
Supplies You’ll Need
Gathering your supplies beforehand makes the whole process so much smoother. Here’s what I find essential:
- Sharp Pruning Shears or a Knife: Cleanliness is key to preventing disease.
- A Well-Draining Potting Mix: I like a blend of equal parts perlite, coarse sand, and peat moss or coco coir. Good drainage is non-negotiable.
- Rooting Hormone: This isn’t strictly mandatory for Lepechinia, but it can give your cuttings a significant boost. Look for a powdered or gel form.
- Small Pots or Propagation Trays: Clean containers are a must.
- A Spray Bottle: For misting.
- Optional: A Heat Mat: This can speed up rooting, especially if your propagation area is on the cooler side.
Propagation Methods
Honestly, stem cuttings are my go-to for Lepechinia ganderi. It’s reliable and gives you the best chance of success.
Stem Cuttings:
- Select Your Cuttings: Head out to your healthy, established plant and look for vigorous, non-flowering stems. You want to take cuttings that are about 4-6 inches long.
- Make Your Cut: Using your clean shears or knife, make a clean cut just below a leaf node. A leaf node is where a leaf attaches to the stem, and it’s where roots are most likely to form.
- Prepare the Cutting: Gently remove the lower leaves from the stem, leaving just a few at the very top. This prevents the lower leaves from rotting underwater or in the soil. If your cutting is particularly long, you can pinch off the tip to encourage bushier growth later.
- Apply Rooting Hormone (Optional but Recommended): Dip the cut end of the stem into your rooting hormone, making sure it’s lightly coated. Tap off any excess.
- Plant Your Cuttings: Fill your small pots with your prepared, well-draining mix. Make a small hole with a pencil or your finger. Insert the cutting into the hole, ensuring the leaf nodes are buried. Gently firm the soil around the stem.
- Water and Cover: Water the soil thoroughly until it’s evenly moist but not waterlogged. I like to place the pots in a clear plastic bag or cover them with a plastic dome to create a humid environment. This stops the cuttings from drying out while they’re trying to root. Just make sure the leaves aren’t touching the plastic!
- Provide the Right Conditions: Place your potted cuttings in a bright location but away from direct, harsh sunlight. A spot with bright, indirect light is perfect. If you’re using a heat mat, place it underneath the pots. Keep the soil consistently moist by misting regularly, but avoid overwatering.
The “Secret Sauce” (Pro Tips)
Here are a couple of things I’ve learned over the years that really make a difference:
- Don’t Let the Leaves Touch the Water (or Each Other!): This is super important, especially in the humid environment you’re creating. If leaves sit in water or are squished together, they’re a prime spot for mold and rot to set in. Regularly check and prune any leaves that are getting too close to the edges or touching.
- The Gentle Tug Test: After a few weeks, you can give a cutting a very gentle tug. If you feel resistance, that’s a great sign that roots have formed! Don’t pull it out completely to check; just a light wiggle will usually tell you.
- Bottom Heat is Your Friend: For Lepechinia, and many woody-stemmed plants, a little warmth from below can be a game-changer. It encourages root development without drying out the top of the cutting. A dedicated heat mat is wonderful, but sometimes even placing pots on top of a router (if it’s not too hot!) can provide a gentle, consistent warmth.
Aftercare & Troubleshooting
Once you feel that resistance when you do the gentle tug test, your cutting has rooted! You can usually tell by new leaf growth appearing, too. At this stage, slowly acclimate it to normal conditions. Gradually open the plastic bag or remove the dome over a week or so. Water it as you would a small established plant, allowing the top inch of soil to dry out between waterings.
Troubleshooting: The most common issue you’ll face is rot. This usually happens if the soil stays too wet or if there’s poor air circulation. Cuttings that turn black and mushy at the base are a sure sign of rot. If you see this, sadly, that cutting is likely lost. To prevent it, make sure your soil is always well-draining, avoid overwatering, and ensure good air movement around your cuttings. If your cuttings show no signs of life after quite some time (a couple of months, perhaps), they might not have rooted. Don’t be discouraged; just try again with fresh material!
A Encouraging Closing
Propagating plants is an adventure, and with Lepechinia ganderi, it’s a journey well worth taking. Be patient, observe your cuttings closely, and celebrate every little bit of progress. Soon enough, you’ll have a whole new generation of these wonderful plants to share or enjoy in your own garden. Happy propagating!
Resource:
https://identify.plantnet.org/k-world-flora/species/Lepechinia%20ganderi%20Epling/data