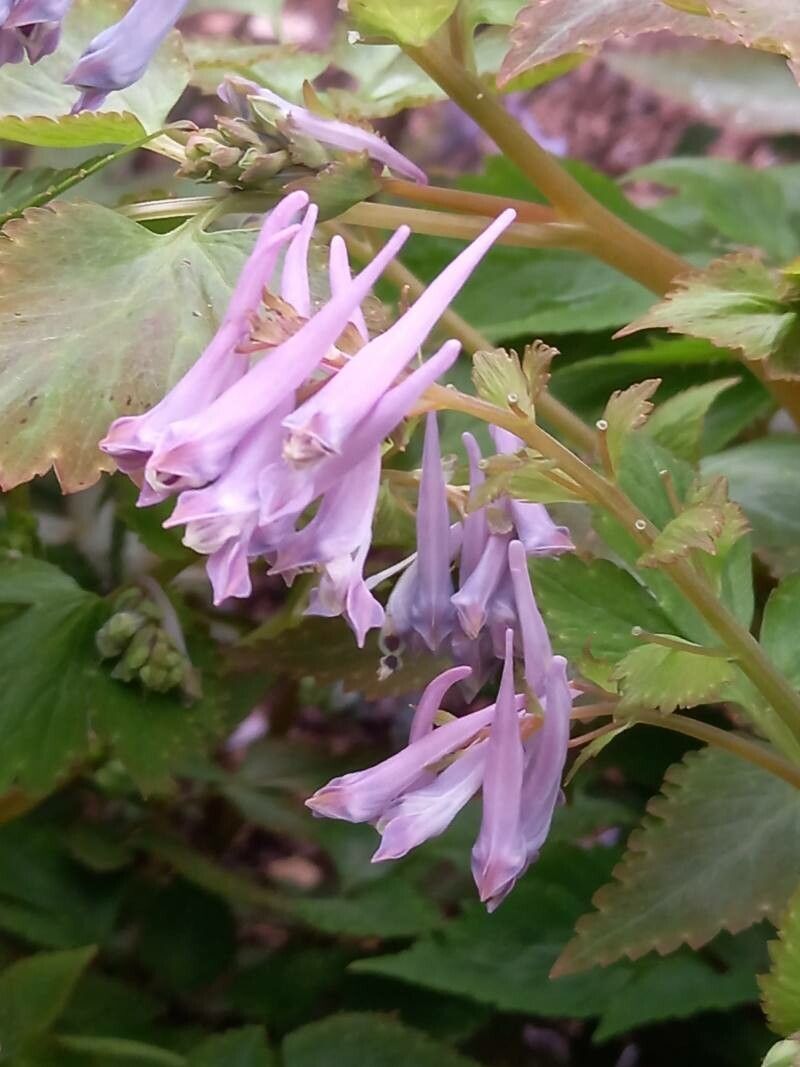
Hello fellow garden enthusiasts! I’m so excited to chat with you today about a truly special plant: Corydalis quantmeyeriana. If you’ve ever seen its delicate, ethereal plumes dancing in the breeze, you know why it captures our hearts. It’s not just beautiful; it’s a plant that whispers tales of woodlands and spring awakening. And the best part? You can easily bring more of that magic into your own garden by propagating it! For those of you just dipping your toes into the wonderful world of plant propagation, I’d say Corydalis quantmeyeriana is a moderately easy plant to work with. A little patience and the right approach will see you well on your way to success.
The Best Time to Start
When it comes to getting the most bang for your propagation buck, I’ve found that late spring to early summer is the sweet spot for Corydalis quantmeyeriana. This is when the plant is actively growing and has plenty of energy to invest in developing new roots. Look for stems that are firm and developing, not yet woody, but past that very tender seedling stage.
Supplies You’ll Need
Gathering your tools beforehand makes the whole process smoother. Here’s what I always have on hand:
- Sharp, clean pruning shears or a sharp knife: For making clean cuts. Sterilize them with rubbing alcohol between uses!
- Potting mix: A well-draining blend is key. I often use a mix of seed starting mix and perlite (about 50/50). You can also find specific succulent or cactus mixes that work beautifully.
- Small pots or seed trays: Clean ones, of course! Small peat pots or even recycled yogurt containers with drainage holes are perfect.
- Rooting hormone (optional but recommended): This can give your cuttings a significant boost. A powder or gel form works well.
- Plastic bags or a propagator: To create a humid environment for your cuttings.
- Watering can with a fine rose or spray bottle: For gentle watering.
- Labels and a marker: To keep track of what you’ve planted and when.
Propagation Methods
Corydalis quantmeyeriana is quite adaptable, and you can have success with a couple of approaches. I’ll walk you through the ones I use most often:
Stem Cuttings
This is my go-to method for increasing my Corydalis numbers.
- Take your cuttings: Gently select healthy, non-flowering stems from your established plant. Aim for stems that are about 4-6 inches long.
- Prepare the cuttings: Using your clean shears or knife, make a clean cut just below a leaf node (where a leaf attaches to the stem). This is where roots tend to form. Remove the lower leaves, leaving just a few at the top.
- Apply rooting hormone (if using): Dip the cut end of the stem into the rooting hormone, tapping off any excess.
- Plant your cuttings: Fill your small pots or trays with your prepared potting mix. Make a small hole with a pencil or your finger, then carefully insert the cut end of the stem. Gently firm the soil around the base.
- Water gently: Water thoroughly but gently, ensuring the soil is moist but not waterlogged.
- Create humidity: Cover the pots loosely with a plastic bag or place them in a propagator. This will trap moisture and help prevent the cuttings from drying out.
Division
If you have a mature clump of Corydalis, division is a wonderful way to get more plants and also rejuvenate the parent.
- Excavate carefully: In early spring or late fall, carefully dig up your Corydalis clump. It’s best to do this when the plant is somewhat dormant or at least not in its prime flowering stage.
- Gently tease apart: The root ball can often be gently pulled apart by hand. If it’s a bit stubborn, use a trowel or even a clean spade to help separate sections. You’re looking for divisions with a good amount of healthy roots and at least a few shoots.
- Replant immediately: Pot up your divisions into their own containers with fresh potting mix, or plant them directly into their new garden homes. Water them in well.
The “Secret Sauce” (Pro Tips)
Now, for a few little tricks that have made all the difference for me:
- Don’t let the leaves touch the water: If you ever dabble in water propagation (which can be a bit trickier for Corydalis), always make sure that no leaves are submerged. Rot sets in surprisingly fast in stagnant water.
- Bottom heat is your friend: For stem cuttings, placing your pots on a gentle heat mat can significantly speed up root development. It mimics the warmth of spring and encourages those roots to get going. Just keep an eye on moisture levels when using bottom heat.
- Patience with the parent: When taking cuttings, try not to over-harvest from a single plant. Give the parent plant time to recover and continue to thrive after you’ve taken your desired propagation material.
Aftercare & Troubleshooting
Once your cuttings show signs of rooting – usually a gentle tug resisting or new leaf growth appearing – it’s time to transition them.
- Acclimate slowly: Gradually remove the plastic cover over a few days to allow the new plants to adjust to normal humidity levels.
- Continue gentle watering: Keep the soil consistently moist but not soggy. Overwatering is the quickest way to invite root rot, which is the most common sign of a problem. If you see mushy, discolored stems or leaves, that’s a bad sign.
- Provide bright, indirect light: Avoid direct, harsh sun, which can scorch tender new growth. A bright windowsill or a lightly shaded spot outdoors is ideal.
- Transplant when ready: Once your new plants have a robust root system and are actively growing, you can transplant them into slightly larger pots or their permanent garden location.
Happy Propagating!
Don’t be discouraged if you have a few failures along the way. Every gardener, myself included, has had cuttings that just didn’t take. The beauty of propagation is the journey. It’s about learning, observing, and connecting with your plants. So, grab your tools, get your hands dirty, and enjoy the rewarding process of bringing more of that enchanting Corydalis quantmeyeriana into your life. Happy gardening!
Resource:
https://identify.plantnet.org/k-world-flora/species/Corydalis%20quantmeyeriana%20Fedde/data