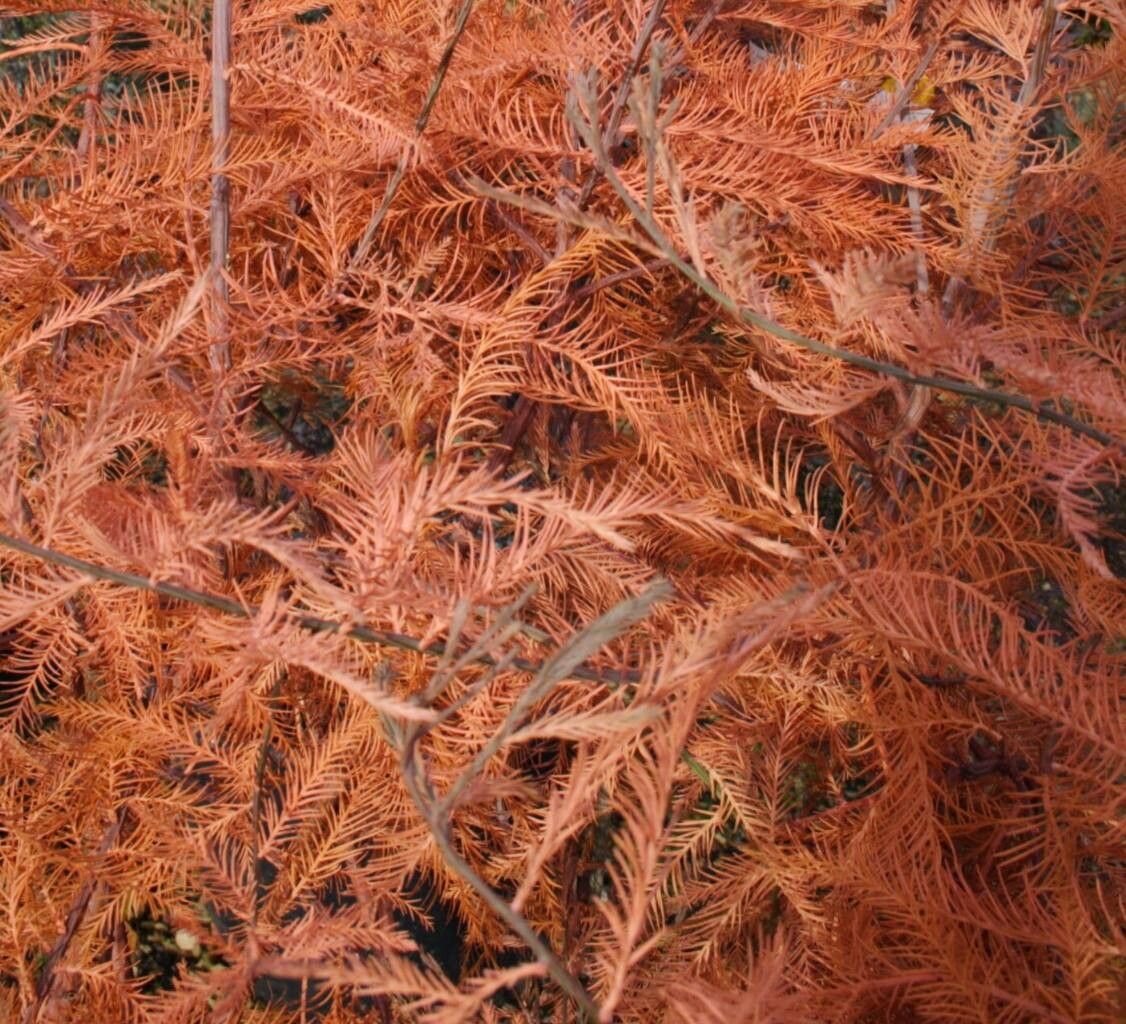
Oh, the Dawn Redwood, or Glyptostrobus pensilis if you’re feeling fancy! It’s one of those trees that just makes you sigh with contentment. Those delicate, feathery needles that turn from a vibrant spring green to a stunning russet in the fall? Utterly magical. And if you’ve ever seen one reflected in water, you know it’s a sight that stays with you. Growing your own brings that beauty right into your garden, and propagating them yourself? That’s a special kind of rewarding.
Now, I won’t sugarcoat it. Glyptostrobus pensilis can be a bit of a diva when it comes to propagation, so it’s not exactly a beginner’s weekend project. But with a little patience and the right approach, you can absolutely succeed and share this stunner with friends or expand your own collection.
The Best Time to Start
For the highest chance of success, you want to take cuttings in late spring to early summer. This is when the plant is actively growing. Look for new, soft growth that’s still a bit flexible. Older, woody stems are much less likely to root.
Supplies You’ll Need
Gathering your supplies beforehand makes the whole process smoother. Here’s what I usually have on hand:
- Sharp pruning shears or a clean knife: Sterilize them with rubbing alcohol first!
- Rooting hormone: A powdered or gel form works well. Look for one suitable for woody cuttings.
- Potting mix: A good, well-draining mix is crucial. I like a blend of coarse sand, perlite, and peat moss (or coco coir if you’re avoiding peat). Aim for about a 1:1:1 ratio.
- Small pots or trays: Clean containers with drainage holes are essential.
- Plastic bags or a propagation dome: To create a humid environment.
- Optional: Bottom heat mat: This can significantly speed up root development.
Propagation Methods
We’ll focus on stem cuttings, as this is the most common and usually the most successful method for Glyptostrobus pensilis.
-
Taking the Cuttings: Select healthy branch tips that are about 4-6 inches long. Make a clean cut just below a leaf node (where a leaf attaches to the stem). Try to get cuttings with a bit of semi-hardwood, meaning they are not brand new, flimsy growth but not old and woody either. Remove any lower leaves, leaving just a few at the top.
-
Preparing the Cuttings: This is where the rooting hormone comes in. Dip the cut end of each cutting into the rooting hormone, ensuring it’s coated well. Gently tap off any excess.
-
Planting the Cuttings: Fill your pots or trays with your prepared potting mix. Make a small hole in the center with your finger or a pencil. Carefully insert the treated end of the cutting into the hole, making sure the lowest leaf nodes are below the soil surface. Gently firm the soil around the cutting.
-
Creating Humidity: Water the soil thoroughly until water drains from the bottom. Then, cover the pots loosely with a plastic bag or place them under a propagation dome. This traps moisture and humidity, which is vital for cuttings. You want the leaves to be misted, but not sitting in standing water within the bag.
The “Secret Sauce” (Pro Tips)
Over the years, I’ve learned a few tricks that can really make a difference:
- Don’t let the leaves touch the water in the pot itself. If any leaves are submerged when you water, trim them off again or tilt the pot slightly. Waterlogged leaves can lead to rot before roots even have a chance to form.
- Bottom heat is your best friend. Placing your pots on a propagation mat set to a consistent warm temperature (around 70-75°F or 21-24°C) encourages the root cells to activate and grow much faster and more vigorously. It’s a game-changer for trickier woody plants.
- Be patient with the misting. Instead of watering from the top every day, which can disturb developing roots, try misting the leaves or the inside of the humidity dome every few days. This keeps the humidity high without waterlogging the soil.
Aftercare & Troubleshooting
Once you’ve got your cuttings potted up, find them a spot that gets bright, indirect light. Avoid harsh, direct sun, which can scorch those delicate new leaves and dry out the cuttings.
Check the soil moisture regularly. It should feel consistently moist, but never soggy. If you’re using a plastic bag, you’ll likely need to ventilate it for a few minutes each day to prevent mold.
Rooting can take anywhere from 4 weeks to several months. You’ll know they’ve rooted when you see new growth appearing, or gently tugging on the cutting reveals resistance.
The most common issue you’ll face is rot. If a cutting turns black and mushy, it’s likely succumbed to rot. This is usually caused by too much moisture and poor air circulation. Unfortunately, there’s no saving a rotten cutting, so clean your pot and start again, paying close attention to drainage and humidity levels. Yellowing leaves could mean they’re not getting enough light, or that the soil is drying out too much.
A Encouraging Closing
Propagating a Dawn Redwood is a journey, not a race. There will be moments of doubt, and sometimes, things just don’t work out. That’s part of gardening! Don’t get discouraged. Each attempt teaches you something new. So, gather your supplies, find a good spot, and give it a go. Watching those tiny roots emerge and a new little tree begin its life is an incredibly satisfying experience. Happy propagating!
Resource:
https://identify.plantnet.org/k-world-flora/species/Glyptostrobus%20pensilis%20(D.Don)%20K.Koch/data