Sharing the Love: Propagating the Beautiful Dalea carthagenensis
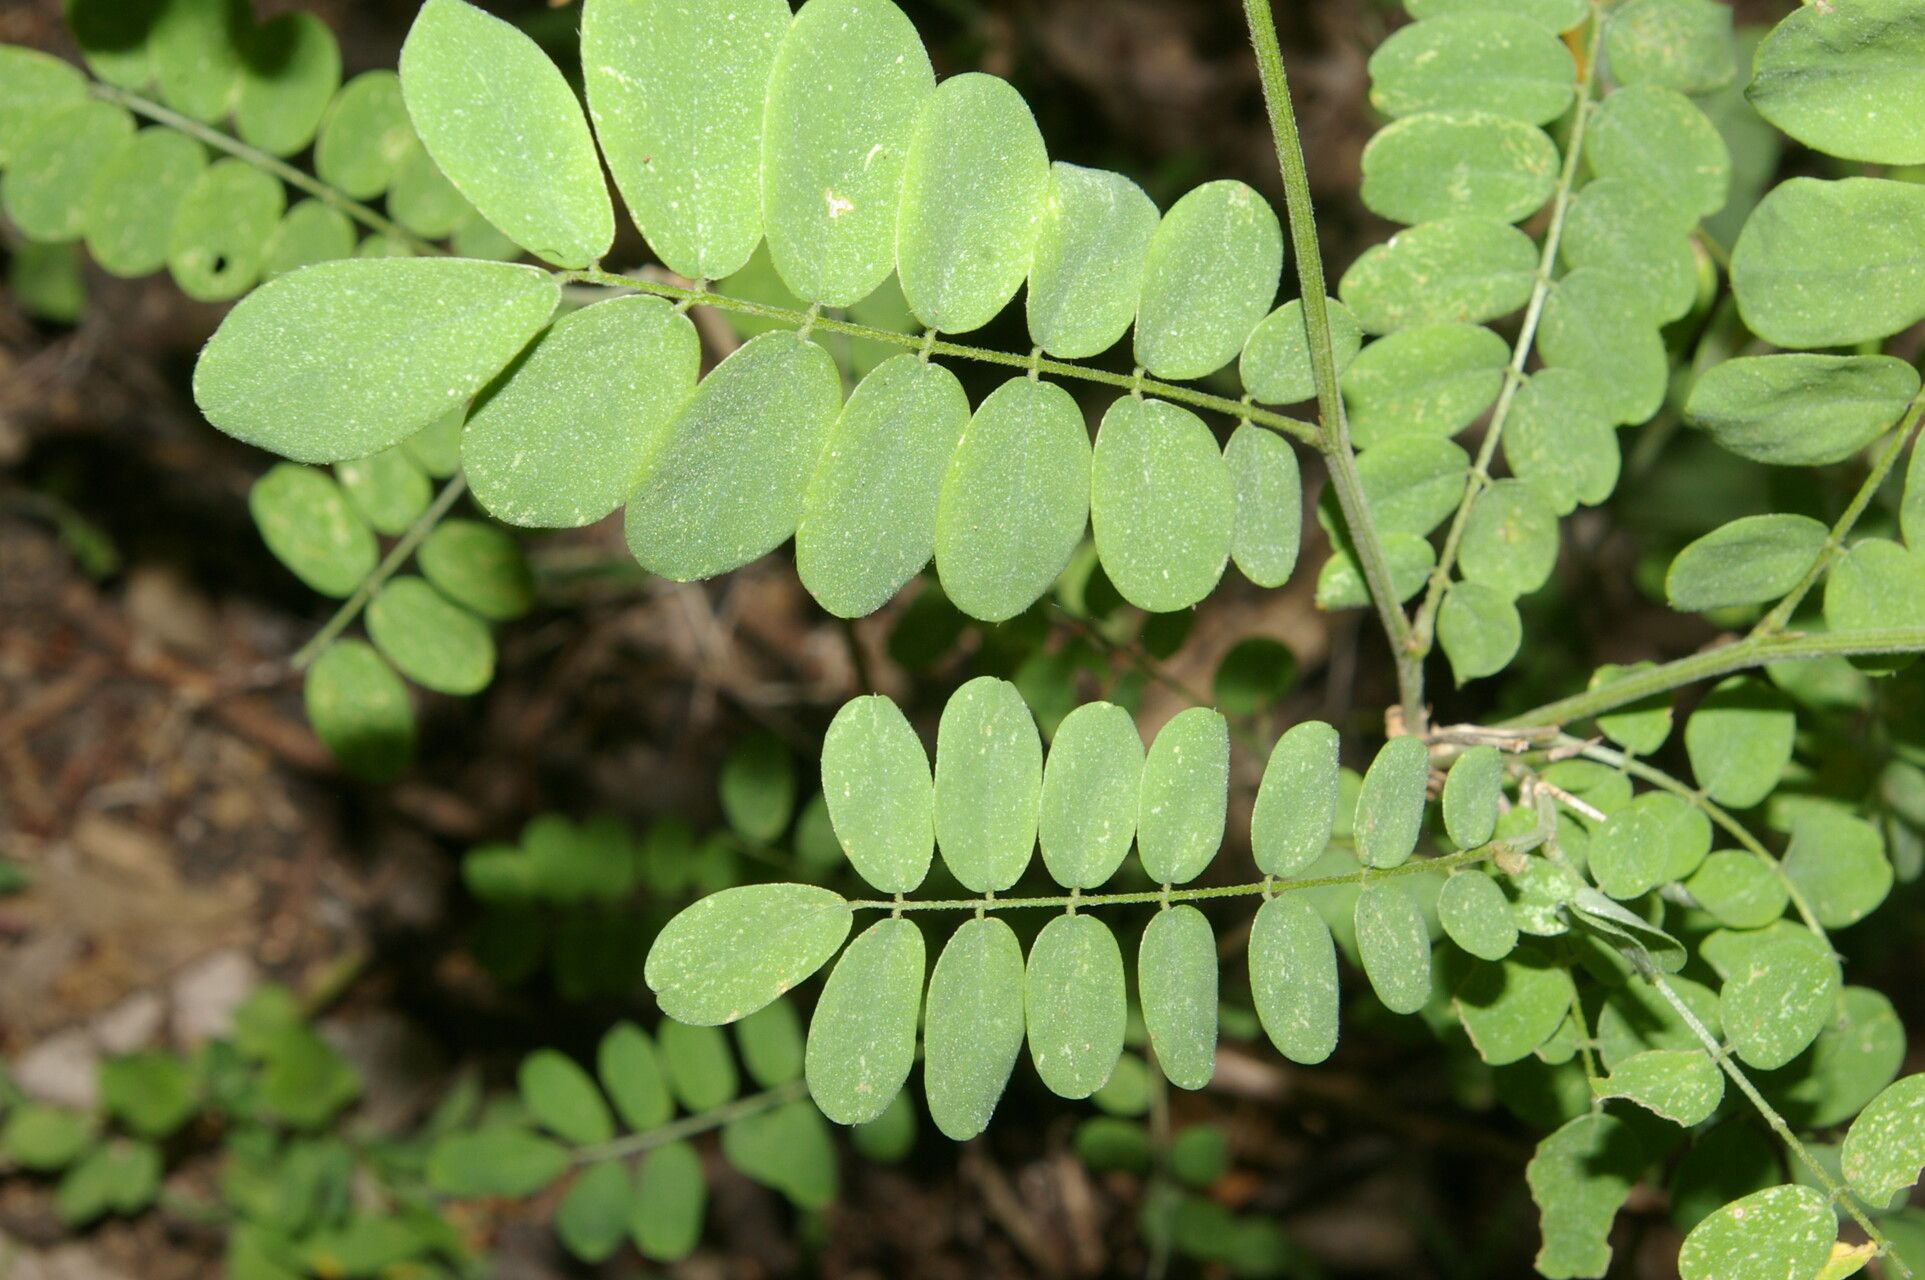
Ah, Dalea carthagenensis! If you’ve ever seen this lovely plant gracing a garden, you know exactly what I mean when I say it has a certain charm. Its delicate, almost lacy foliage, often paired with beautiful blooms, makes it a real standout. What I find so rewarding about propagating this little beauty is the sheer joy of multiplying something so lovely. You get to share it with friends, fill in those empty spots in your own garden, or simply enjoy the satisfaction of nurturing new life.
Now, for the big question: is it easy? Well, Dalea carthagenensis can be a little fussy, but with a few well-placed tricks, even a beginner can have success. Think of it as a plant that appreciates a bit of thoughtful attention.
The Best Time to Start
For the highest chance of success, I always aim to start my Dalea carthagenensis propagations in late spring or early summer. This is when the plant is actively growing and has plenty of energy to put into developing new roots. You’re looking for stems that are firm but not yet woody. Think of them as a happy medium – flexible but holding their shape.
Supplies You’ll Need
To get your propagation station ready, here’s what I usually have on hand:
- Sharp pruning shears or a clean knife: For making clean cuts.
- Rooting hormone (optional, but helpful): I find it gives cuttings a little boost. Look for one formulated for stem cuttings.
- Small pots or seed trays: Clean and with drainage holes, of course!
- A well-draining potting mix: I like a blend of equal parts peat moss or coco coir and perlite or coarse sand. This ensures good aeration and prevents waterlogging.
- A plastic bag or humidity dome: To keep the humidity nice and high around your cuttings.
- Watering can with a fine rose: For gentle watering.
Propagation Methods
My go-to method for Dalea carthagenensis is stem cuttings. It’s reliable and yields great results.
Here’s how I do it:
- Take Your Cuttings: Using your sharp pruning shears or knife, take a cutting from a healthy, non-flowering stem. Aim for a piece that’s about 4-6 inches long. Make your cut just below a leaf node (where a leaf attaches to the stem). This is where roots are most likely to form.
- Prepare the Cutting: Gently remove the lower leaves, leaving just a few at the very top. This prevents them from rotting once you plant the cutting.
- Apply Rooting Hormone (Optional): If you’re using rooting hormone, dip the cut end of the stem into the powder. Tap off any excess.
- Potting Up: Fill your small pots or trays with your prepared potting mix. Gently insert the cut end of your Dalea carthagenensis cutting into the soil, about an inch deep.
- Water Gently: Water thoroughly but gently, so the soil is moist but not soggy.
- Create a Humid Environment: Place your pots inside a plastic bag or cover them with a humidity dome. You want to create a mini greenhouse effect. Make sure the leaves aren’t touching the plastic if you’re using a bag.
The “Secret Sauce” (Pro Tips)
Over the years, I’ve picked up a few little tricks that seem to make all the difference:
- Don’t Drown Your Leaves: This is crucial, especially when I’m water propagating (which I sometimes do for Dalea before potting). Ensure that no leaves are submerged in the water. They’ll rot and take your cutting down with them.
- Bottom Heat is Your Friend: If you have a propagation mat or can place your pots on a warm surface (like the top of a refrigerator), gentle bottom heat can significantly speed up root development. It mimics ideal growing conditions.
- Patience with a Capital P: Dalea carthagenensis isn’t always the fastest rooter. Don’t be tempted to pull your cuttings up too soon to check for roots! Give them at least 3-4 weeks, sometimes longer.
Aftercare & Troubleshooting
Once you start to see new leaf growth on your cuttings, that’s usually a good sign that roots are developing! Gradually reduce the humidity by opening the plastic bag a little more each day or by lifting the humidity dome for increasing periods. Keep the soil consistently moist but not waterlogged.
The most common sign of failure is rot. If your cuttings turn black and mushy, it’s usually due to too much moisture and not enough air circulation. Don’t be discouraged if you lose a few; it happens to all of us! Start again with fresh cuttings and adjust your watering or humidity levels.
Keep Nurturing!
There’s nothing quite like watching those tiny roots emerge and seeing a new plant unfurl its first set of leaves. Be patient with your Dalea carthagenensis cuttings. Enjoy the process of nurturing them, and soon you’ll have a whole collection of these delightful plants to share or enjoy. Happy propagating!
Resource: