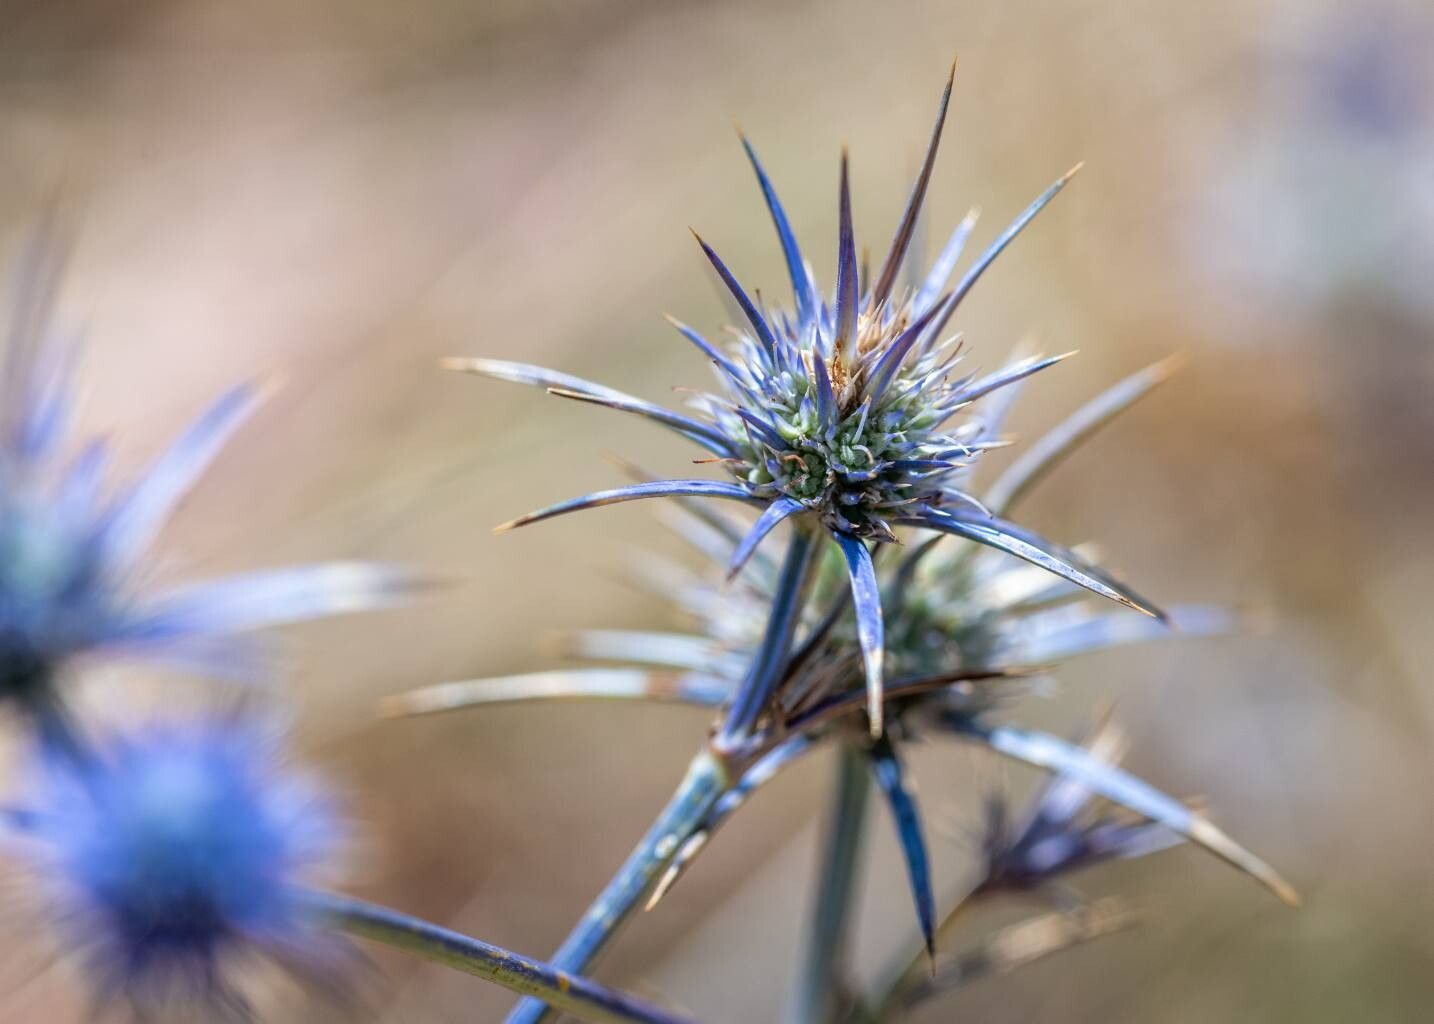
Oh, hello there! Pull up a chair, let’s chat about a plant that’s captured my heart over the years: Eryngium creticum, or the Cretan Sea Holly. If you’re looking for a plant that brings a touch of the wild, Mediterranean coast to your garden, this is it. Its spiky, silvery-blue blooms are like little architectural wonders, attracting all sorts of beneficial pollinators. They add such gorgeous texture and long-lasting color, especially when dried. Now, you might be wondering if it’s a finicky plant to propagate. Honestly, it’s not for the absolute beginner who’s just starting with a packet of marigold seeds, but if you’ve got a bit of gardening under your belt, you’ll find it quite manageable. The reward of seeing those unique plants emerge from a tiny cutting or division is truly something special.
The Best Time to Start
For Eryngium creticum, timing is everything, and I’ve found the sweet spot for propagation is late spring to early summer. This is when the plant is actively growing, and the stems have a bit of maturity to them, but they aren’t overly woody. You want to catch them at that stage where they’re putting out new shoots but still have some give to them.
Supplies You’ll Need
Gathering your tools beforehand makes the whole process so much smoother. Here’s what I always have on hand:
- Clean, sharp pruning shears or a craft knife: For making clean cuts.
- Seedling trays or small pots: Free of any old soil or debris.
- A well-draining potting mix: I like a blend of perlite, coarse sand, and a good quality potting compost. A mix designed for succulents or cacti works wonderfully too.
- Rooting hormone (optional but recommended): A powder or gel formulation.
- Small plastic bags or a propagator: To create a humid environment.
- Watering can with a fine rose: For gentle watering.
- Labels: To keep track of what you’ve planted and when.
Propagation Methods
Eryngium creticum is best propagated through stem cuttings or division. I’ll walk you through both.
Stem Cuttings
This is my go-to method for increasing my stock.
- Take Your Cuttings: On a mild, overcast day (or early in the morning), use your clean shears to take cuttings from healthy, non-flowering stems. Aim for pieces that are about 4-6 inches long. Make your cut just below a leaf node.
- Prepare the Cuttings: Gently remove the lower leaves from the cuttings, leaving just a couple at the top. This prevents them from rotting in the soil.
- Apply Rooting Hormone (Optional): Dip the cut end of each stem into rooting hormone, tapping off any excess.
- Pot Them Up: Fill your trays or pots with your well-draining mix. Make a small hole in the center of each spot with a pencil or your finger.
- Insert Cuttings: Gently insert the prepared cuttings into the holes, ensuring the bottom leaf nodes are buried in the soil. Firm the soil around each cutting.
- Water Gently: Water the soil thoroughly but gently, making sure not to dislodge the cuttings.
- Create Humidity: Cover the tray or pots with a plastic bag or place them in a propagator. This is crucial for keeping the humidity high, which helps the cuttings root. You can use stakes to keep the plastic from touching the leaves.
Division
If you have an established Eryngium creticum plant, division is a straightforward way to get more.
- Timing is Key: The best time to divide is usually in early spring as new growth is just beginning, or in early autumn after flowering has finished.
- Lift the Plant: Carefully dig around the plant and lift it from the ground. Try to get as much of the root ball as possible.
- Separate the Roots: Gently tease apart the root ball into sections. You can use your hands or a clean trowel. Ensure each division has a good amount of roots and at least one or two growing points.
- Replant: Replant the divisions immediately into well-prepared soil, watering them in well.
The “Secret Sauce” (Pro Tips)
Here are a couple of things I’ve learned over the years that really make a difference:
- Don’t Overwater! This is probably the biggest mistake people make. Eryngium creticum absolutely hates soggy feet. Ensure your potting mix is very free-draining and only water when the top inch of soil feels dry. For cuttings, while they need humidity, the soil shouldn’t be waterlogged.
- Bottom Heat is Your Friend: For stem cuttings, I’ve found that placing the tray on a gentle heated propagator mat significantly speeds up root formation. It mimics the warmth of spring and encourages those roots to get going faster. You don’t need it blazing hot, just a gentle warmth.
Aftercare & Troubleshooting
Once your cuttings have successfully rooted (you can gently tug on them; if there’s resistance, they’ve rooted!), it’s time to switch gears.
- Acclimatize: Gradually remove the plastic cover from your cuttings over a few days to help them adjust to normal humidity levels.
- Potting Up: Once the cuttings are well-rooted and have developed a few new leaves, you can pot them up into individual pots with a slightly richer, but still well-draining, compost.
- Watering: Continue to water sparingly. Let the soil dry out slightly between waterings.
- Light: Place your new plants in a bright spot, but protect them from direct, scorching sun while they establish.
Troubleshooting is part of the gardening journey! The most common sign of failure is rot. If your cuttings look limp, soggy, and discolored, it’s usually a sign of overwatering or poor drainage leading to fungal issues. Sometimes, they just won’t root, and that’s okay too. Not every cutting will be a success, and that’s why we take several!
So there you have it! I encourage you to give propagating Eryngium creticum a try. Be patient with your little green babies, observe them closely, and enjoy the thrill of seeing them grow. Happy gardening!
Resource:
https://identify.plantnet.org/k-world-flora/species/Eryngium%20creticum%20Lam./data