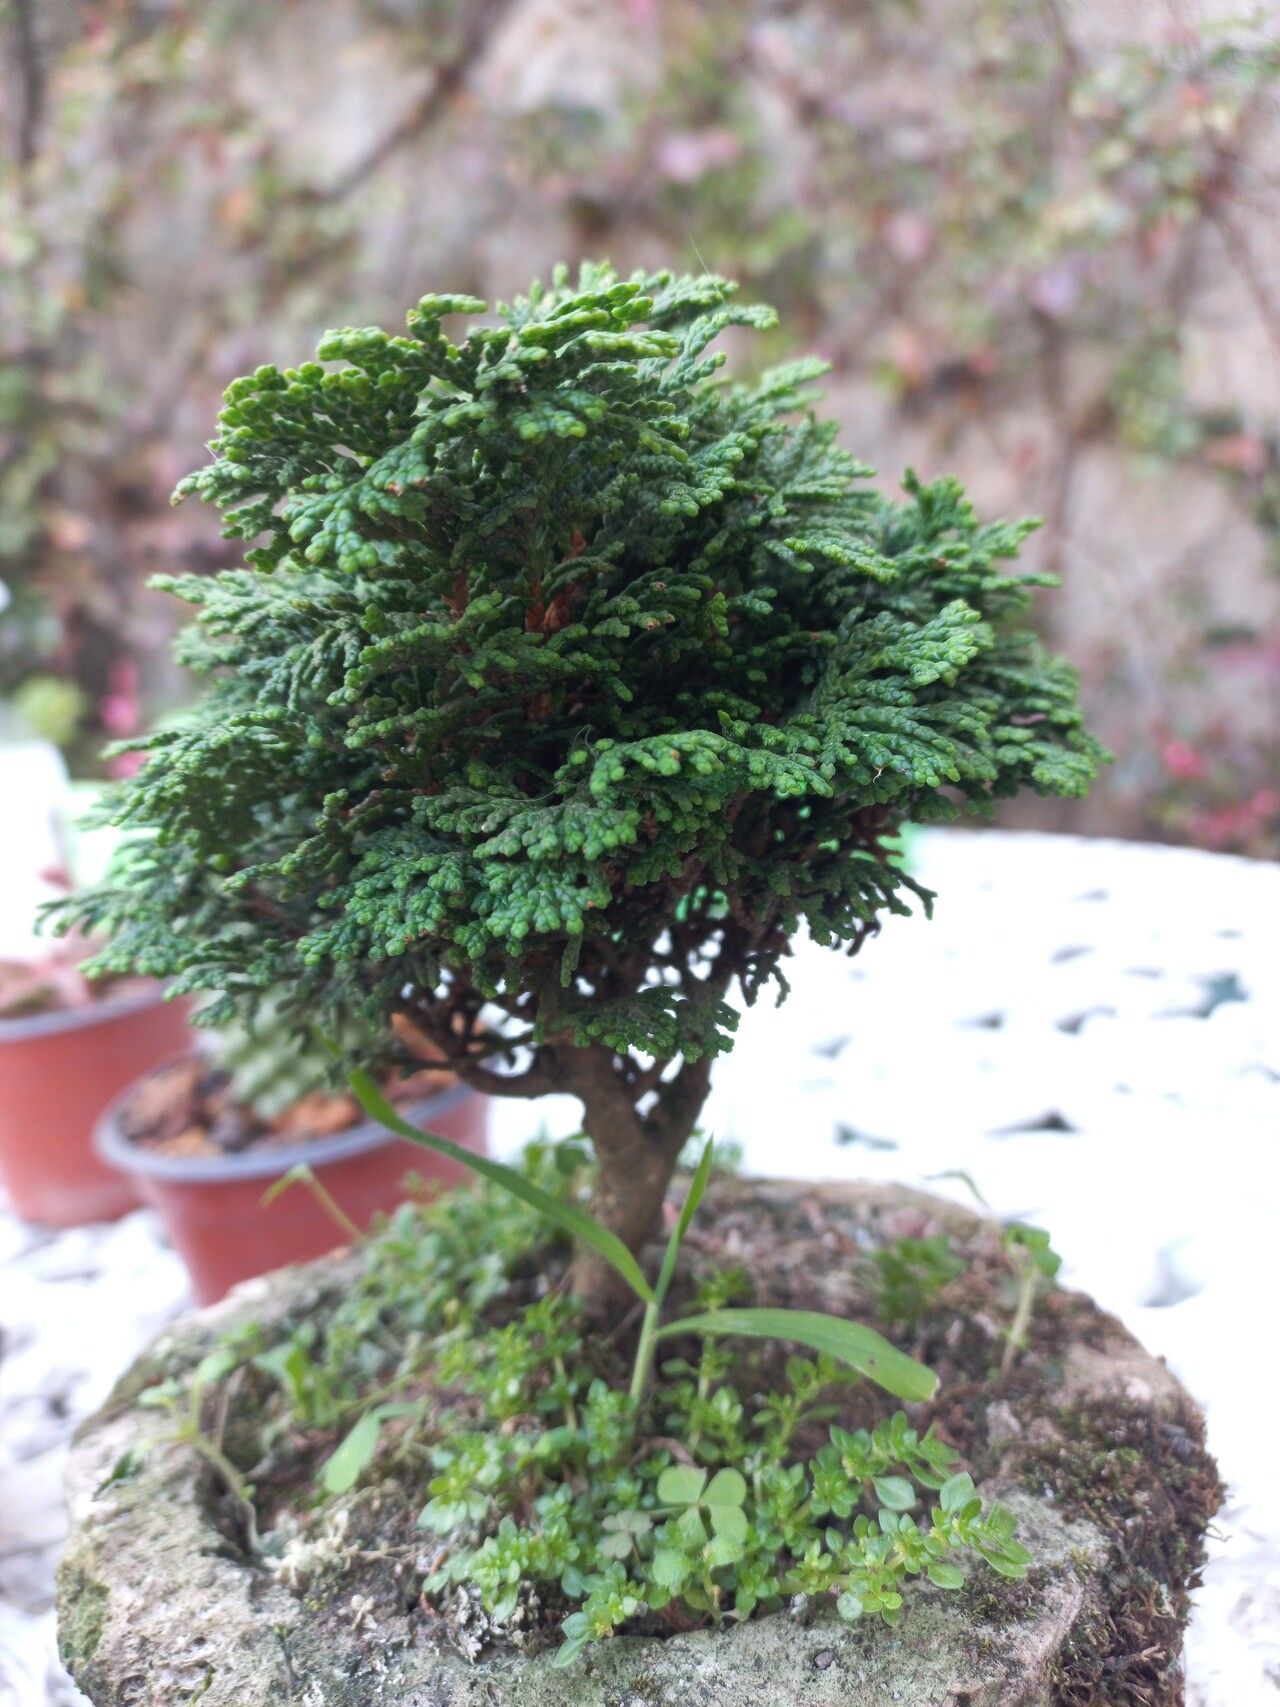
Ah, Chamaecyparis obtusa! Isn’t it just a delight? These Hinoki cypress trees, with their flattened, fan-like sprays of foliage, bring such a lovely, serene texture to any garden. They remind me of little woodland sprites, don’t they? And the fragrance! That faint, woody aroma is pure nature’s perfume.
If you’ve ever admired a particularly beautiful specimen, or perhaps have a beloved tree that’s just begging to be shared, propagating your own is an incredibly rewarding experience. It’s like giving life itself a gentle nudge. Now, for those of you just dipping your toes into the wonderful world of plant propagation, I’ll be honest – Chamaecyparis obtusa can be a little on the finicky side. It’s not impossible, mind you, but it definitely requires a bit of patience and attention to detail. Think of it as a lovely challenge that, when you succeed, feels like a true accomplishment.
The Best Time to Start
For my money, the sweet spot for taking cuttings of Chamaecyparis obtusa is mid-summer, usually from late June through August. This is when the plant is actively growing, and you’re looking for stems that are semi-hardwood. What does that mean? Well, they’re not brand new, oh-so-soft growth, nor are they old, woody branches. They’re somewhere in between – firm enough to hold their shape but still flexible. You want to be able to snap a stem cleanly, not have it bend limply.
Supplies You’ll Need
Before you get your hands dirty, let’s gather our tools. Having everything ready beforehand makes the whole process so much smoother.
- Sharp Pruning Shears or a Craft Knife: Clean cuts are essential for preventing disease.
- Rooting Hormone: This is a game-changer! I prefer a powder form, but liquid works too.
- Small Pots or Seedling Trays: Ensure they have drainage holes!
- Propagation Mix: A blend of equal parts perlite and peat moss is my go-to. It’s airy and drains well, which is crucial. You can also find specialized succulent or seedling mixes that work.
- Clear Plastic Bags or Domes: To create a humid environment for your cuttings.
- Labels and a Permanent Marker: So you don’t forget what you’ve planted!
Propagation Methods
While Chamaecyparis obtusa can be a bit shy to root, stem cuttings are generally your best bet. Let’s dive in.
Stem Cuttings
This is the most common and generally successful method for these beauties.
- Gather Your Cuttings: On a cool, overcast morning is ideal. Look for healthy, vigorous growth that’s semi-hardwood. Take cuttings that are about 4 to 6 inches long.
- Prepare the Cuttings: Gently strip off the lower foliage, leaving about an inch or two of bare stem. This prevents leaves from rotting when they’re buried in the soil. If the leaves are very large, you might even cut them in half to reduce water loss.
- Apply Rooting Hormone: Dip the cut end of each cutting into your rooting hormone, tapping off any excess. Make sure the entire cut surface is coated.
- Plant Your Cuttings: Fill your pots with your propagation mix and moisten it thoroughly. Make a small hole in the center of the soil with a pencil or your finger. Insert the treated end of the cutting into the hole, ensuring it’s firm and upright. Gently firm the soil around the base.
- Create a Humid Environment: You can stick a few cuttings into one pot. Water them gently to settle the soil. Then, either cover the pot with a clear plastic bag (propping it up with skewers so it doesn’t touch the leaves) or place a clear plastic dome over your tray. The goal is to trap humidity.
The “Secret Sauce” (Pro Tips)
Here are a few things I’ve learned over the years that really make a difference.
- Bottom Heat is Your Friend: If you have access to a heat mat, place your pots on it. This gentle warmth encourages root development from below, while the top stays cooler. It’s a simple trick that significantly boosts success rates for trickier propagations.
- Don’t Drench, Just Dampen: While humidity is key, you don’t want soggy soil. Stick your finger about an inch into the mix. If it feels dry, give it a gentle watering. Overwatering is a quick route to rot.
- Location, Location, Location: Find a bright spot with indirect light. Direct sun will scorch those tender cuttings. An east-facing window or a spot on a covered porch works wonderfully.
Aftercare & Troubleshooting
Once your cuttings are planted, the waiting game begins.
- Monitor Humidity: Check the plastic cover or bag daily. If you see a lot of condensation, open it up for a bit to air things out and prevent fungal issues.
- Patience is Paramount: It can take several weeks, even months, for Chamaecyparis obtusa cuttings to root. Resist the urge to tug on them to check!
- Signs of Rooting: The best sign is new growth. You might see tiny little leaves or shoots emerging. Another indicator is when you gently tug on the cutting and feel some resistance.
- Troubleshooting: The most common problem is rot. If you see your cuttings turning black and mushy, it’s usually due to too much moisture and poor air circulation. If you catch it early, you might be able to save a cutting by moving it to drier soil and improving airflow, but often it’s best to discard the rotten ones to prevent spreading. Yellowing leaves can be a sign of stress, but new growth is the definitive positive indicator.
A Encouraging Closing
So there you have it! Propagating Chamaecyparis obtusa is a journey that asks for a little extra care, but oh, the satisfaction when you see those first roots emerge and tiny new plants unfurl. Don’t be discouraged if your first attempt isn’t perfect. Every gardener learns through trial and error, and each experience teaches us something new. Be patient, enjoy the quiet dedication that propagation calls for, and celebrate the small victories. Happy planting!
Resource: