Hey there, fellow garden enthusiast! I’m so delighted you’ve stumbled upon my little corner of the web. Today, we’re diving into the wonderful world of propagating Karpatiosorbus bristoliensis. If you’ve ever admired this plant’s unique foliage and robust nature, you’re in for a treat.
Why Propagate Karpatiosorbus bristoliensis?
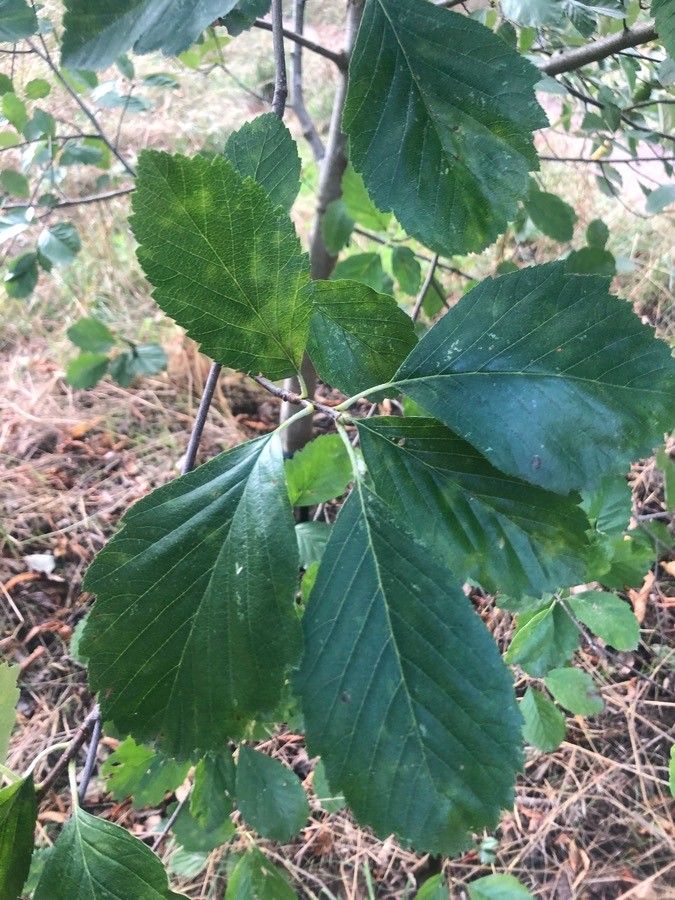
Honestly, there’s something incredibly satisfying about growing a new plant from a piece of an old one. Karpatiosorbus bristoliensis is a gem. Its deep, textured leaves and often vibrant new growth make it a standout in any garden or indoor collection. Plus, it’s a fantastic way to share this beauty with friends or simply expand your own green family without breaking the bank. For many, propagating this particular sorbus is moderately easy, especially if you have a bit of patience. It’s a rewarding project that doesn’t require a full-blown horticultural degree!
When is the Best Time to Start?
Spring is your best bet for propagating Karpatiosorbus bristoliensis. Think about when your mature plant is just waking up from its winter slumber and putting on brand new growth. Late spring or early summer, just as the new shoots are becoming firm but still somewhat flexible, is prime time. This is when the plant has plenty of energy reserves to dedicate to rooting and establishing itself.
Your Propagation Toolkit
Here’s what you’ll want to have on hand to ensure your propagation efforts go smoothly:
- Sharp Pruning Shears or a Clean Knife: For making clean cuts so the plant doesn’t struggle to heal.
- Rooting Hormone (Optional but Recommended): This isn’t strictly necessary, but it can give your cuttings a significant boost. Look for one with auxin.
- Well-Draining Potting Mix: A mix of perlite, peat moss, and compost works wonders. You want something that doesn’t hold too much moisture.
- Small Pots or Seedling Trays: Clean, empty containers are perfect.
- Marker and Labels: So you don’t forget what you’ve propagated and when!
- Clear Plastic Bags or a Propagation Dome: To create a humid environment for your cuttings.
- A Spray Bottle: For misting.
Easy Ways to Multiply Your Karpatiosorbus bristoliensis
The most reliable way I’ve found to propagate Karpatiosorbus bristoliensis is through stem cuttings.
- Select Your Cuttings: Look for healthy, non-flowering stems that are about 4-6 inches long. They should be firm but bendy – not woody yet, and not too soft and floppy.
- Take the Cuttings: Using your sharp pruning shears or knife, make a clean cut just below a leaf node (where a leaf attaches to the stem). Remove the lower leaves, leaving just a few at the top.
- Apply Rooting Hormone (If Using): Dip the cut end of the stem into your rooting hormone for a few seconds, tapping off any excess.
- Plant Your Cuttings: Fill your small pots with your well-draining potting mix and lightly moisten it. Make a small hole in the center of the soil, and gently insert the cutting, ensuring the leaf nodes are buried. Firm the soil gently around the stem.
- Create Humidity: Water the soil lightly again. Then, place a clear plastic bag over the pot, or cover it with a propagation dome. This is crucial for keeping the humidity high, which helps prevent the cuttings from drying out before they can root.
- Place in Bright, Indirect Light: Find a spot that gets plenty of bright, indirect sunlight. Avoid direct sun, which can scorch the delicate cuttings.
My “Secret Sauce” for Success
Over the years, I’ve picked up a few tricks that seem to make all the difference.
- Bottom Heat is Your Friend: If you have a heat mat designed for seedlings, place your pots on it. This gentle warmth encourages root development from below, giving your cuttings a significant advantage. It’s like a little spa treatment for their roots!
- Don’t Drown Them! While humidity is key, soggy soil is the enemy. Check the moisture by gently pressing the soil. It should feel moist, not waterlogged. If it feels too wet, leave the plastic off for a few hours to allow it to dry out a bit. Overwatering leads to rot, and that’s heartbreaking.
- A Gentle Mist is Better Than a Soak: Instead of watering from the top, I prefer to lightly mist the leaves and the inside of the plastic bag every few days as needed if they look dry. This helps maintain that humid microclimate without saturating the soil.
Aftercare and When Things Go Wrong
Once you start to see signs of new growth, like tiny leaves unfurling or the cutting resisting a gentle tug (a sign of developing roots!), you’re on the right track! Gradually acclimatize your new plant to normal conditions by opening the plastic bag or dome for longer periods over a week or two.
The most common issue you’ll encounter is rot. If a cutting turns black and mushy, it’s a sign of too much moisture and not enough air circulation. Unfortunately, there’s no saving a rotted cutting, so remove it immediately to prevent it from affecting others. If your cuttings simply don’t show any signs of life after several weeks and look withered, they might have dried out too much or didn’t get enough energy to start. Don’t get discouraged!
Go Forth and Grow!
Propagating Karpatiosorbus bristoliensis is a journey. It’s about observation, a little bit of patience, and a lot of love for your plants. Don’t be afraid to experiment and learn from each attempt. Enjoy the process of nurturing these new lives – there’s truly nothing quite like it. Happy growing!
Resource: