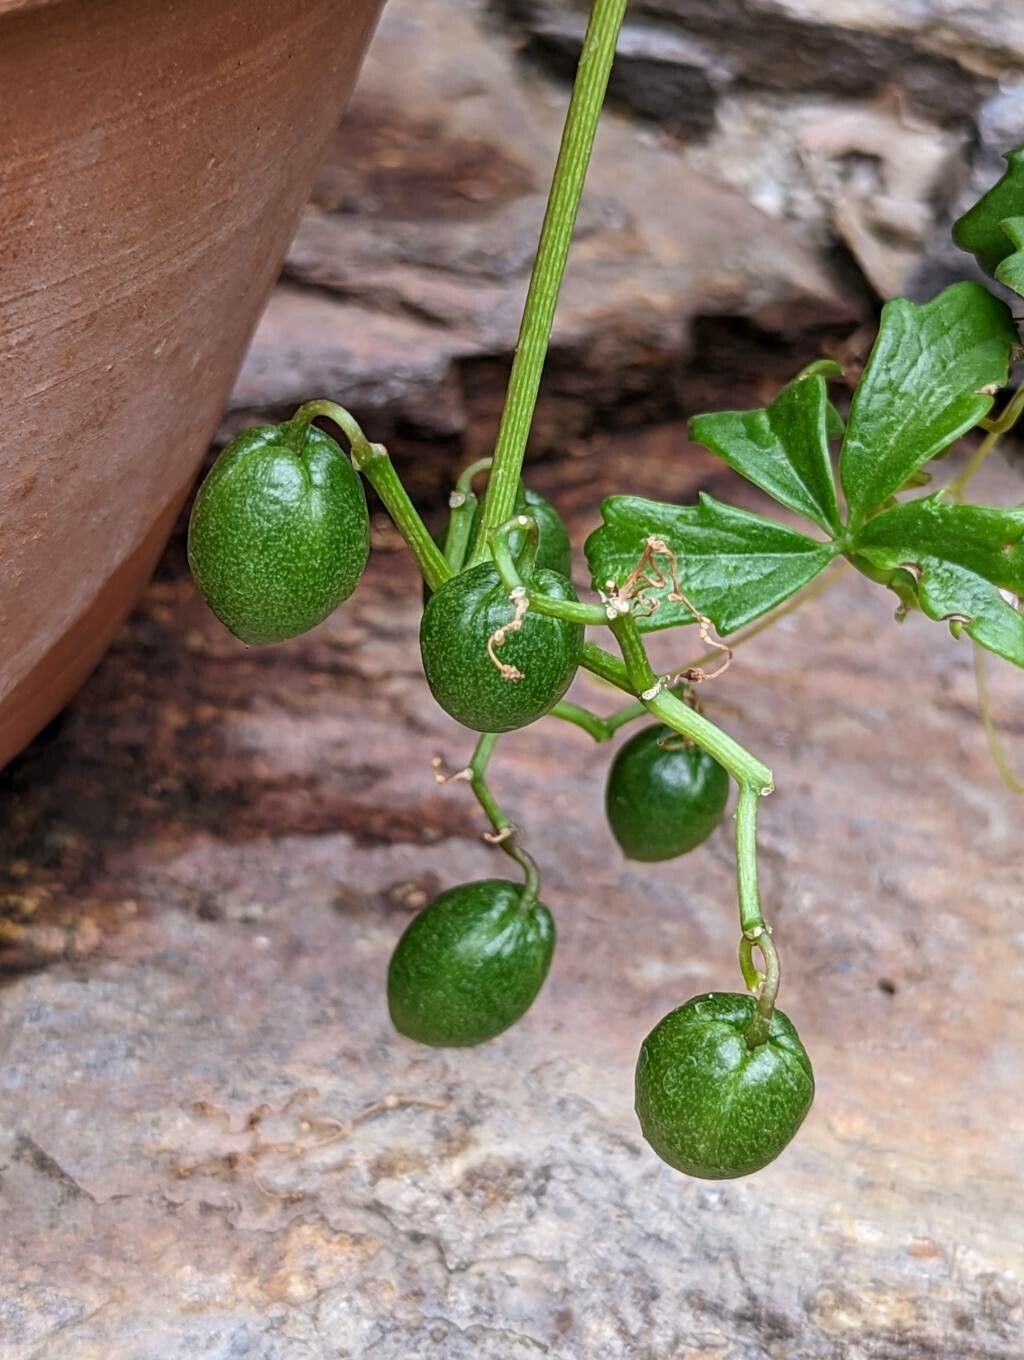
Oh, hello there! Come on in, pull up a chair. I’m so glad you’re interested in the darling Cyphostemma quinatum. Isn’t she a beauty? What I love most about this plant is its lovely, trailing habit and those gorgeous, almost succulent-like leaves. They have such a unique texture, don’t they? And the satisfaction of growing your own from scratch? Absolutely priceless. Now, you might be wondering if it’s a tricky one to propagate. Honestly, it’s a medium-difficulty plant. Not impossible for a beginner, but a little patience and attention to detail go a long way.
The Best Time to Start
For the best chance of success with Cyphostemma quinatum, you want to catch it when it’s actively growing. That means late spring through summer is your prime time. You’re looking for healthy, new growth – shoots that are flexible but not still super weak and wispy. Older, woody stems are much harder to get to root.
Supplies You’ll Need
Here’s what I like to have on hand when I’m propagating:
- Sharp pruning shears or a clean knife: We want clean cuts for the best healing.
- Rooting hormone (optional but recommended): This gel or powder really gives your cuttings a boost.
- Well-draining potting mix: A cactus/succulent mix is perfect, or you can amend regular potting soil with perlite or pumice.
- Small pots or propagation trays: Even small plastic cups with drainage holes will do in a pinch!
- Watering can or spray bottle: For gentle hydration.
- Plastic bag or propagation dome: To create a humid environment for your cuttings.
- Perlite or sand (optional): For adding extra drainage to your mix.
- Warmth source (optional, but helpful): A heat mat is fantastic for encouraging root development.
Propagation Methods
The most reliable way I’ve found to propagate Cyphostemma quinatum is through stem cuttings. It’s straightforward once you get the hang of it.
Stem Cuttings:
- Select your cuttings: Look for healthy stems that are about 4-6 inches long. Make sure each cutting has at least a couple of leaf nodes – those little bumps where leaves emerge. This is where the magic of root formation happens!
- Make the cut: Using your sharp shears or knife, make a clean cut just below a leaf node. Remove any leaves from the bottom inch or so of the stem. This prevents rot when you plant it.
- Apply rooting hormone (optional): Dip the cut end into your rooting hormone. Tap off any excess.
- Pot them up: Fill your small pots with your well-draining potting mix. Make a small hole with your finger or a pencil. Gently insert the cut end of the stem into the hole, ensuring it’s firm but not compacted.
- Water gently: Water lightly to settle the soil around the cutting.
- Create humidity: Place the potted cuttings into a plastic bag or cover them with a propagation dome. This keeps the humidity high, which is crucial for rooting. You can prop the bag up with chopsticks so it doesn’t touch the leaves.
- Provide light and warmth: Place the pots in a bright spot, but out of direct sunlight. If you have a heat mat, place the pots on it. This gentle warmth from below really speeds things up.
The “Secret Sauce” (Pro Tips)
Now, for a couple of little tricks I’ve picked up over the years. These really make a difference!
- The “Callus” Trick: After you take your cuttings, I like to let them air dry for a day or two before potting them. This allows the cut end to form a dry callus. It sounds counterintuitive, but this actually helps prevent rot and encourages stronger root growth.
- Don’t Drown Them: When you water your newly potted cuttings, err on the side of caution. You want the soil to be consistently moist, but never soggy. Overwatering is the quickest way to invite rot, and we absolutely don’t want that! A good rule of thumb is to water when the top inch of soil feels dry.
- Patience is a Virtue (and a Rooting Accelerator!): Seriously, don’t get discouraged if you don’t see roots immediately. Sometimes it takes 4-8 weeks, or even longer, for cuttings to establish themselves. Keep them in their humid environment and continue to check the moisture.
Aftercare & Troubleshooting
Once you start to see signs of new growth – maybe a tiny leaf unfurling or you feel a gentle tug when you very carefully try to pull on a cutting – you’re almost there!
- Acclimate them: Gradually remove the plastic bag or dome over a week or so. Let them get used to the ambient humidity.
- Watering: Continue to water when the top inch of soil is dry. They’ll still appreciate consistent moisture as they establish.
- Light: Once they are showing good growth, you can slowly move them to a spot with brighter, indirect light.
The most common sign of failure is rotting. If your cutting turns black and mushy, or the leaves shrivel and fall off very quickly, it’s likely due to too much moisture or not enough drainage. If this happens, don’t beat yourself up! Just try again with fresh cuttings, ensuring your soil is super well-draining and you’re not overwatering. Sometimes, a stem cutting might just not take – that’s nature!
A Encouraging Closing
Propagating plants is such a rewarding journey, and Cyphostemma quinatum is a joy to multiply. Remember to be patient, enjoy the process of watching new life emerge, and don’t be afraid to experiment. Happy propagating, and I can’t wait to see your new little plants thrive!
Resource: