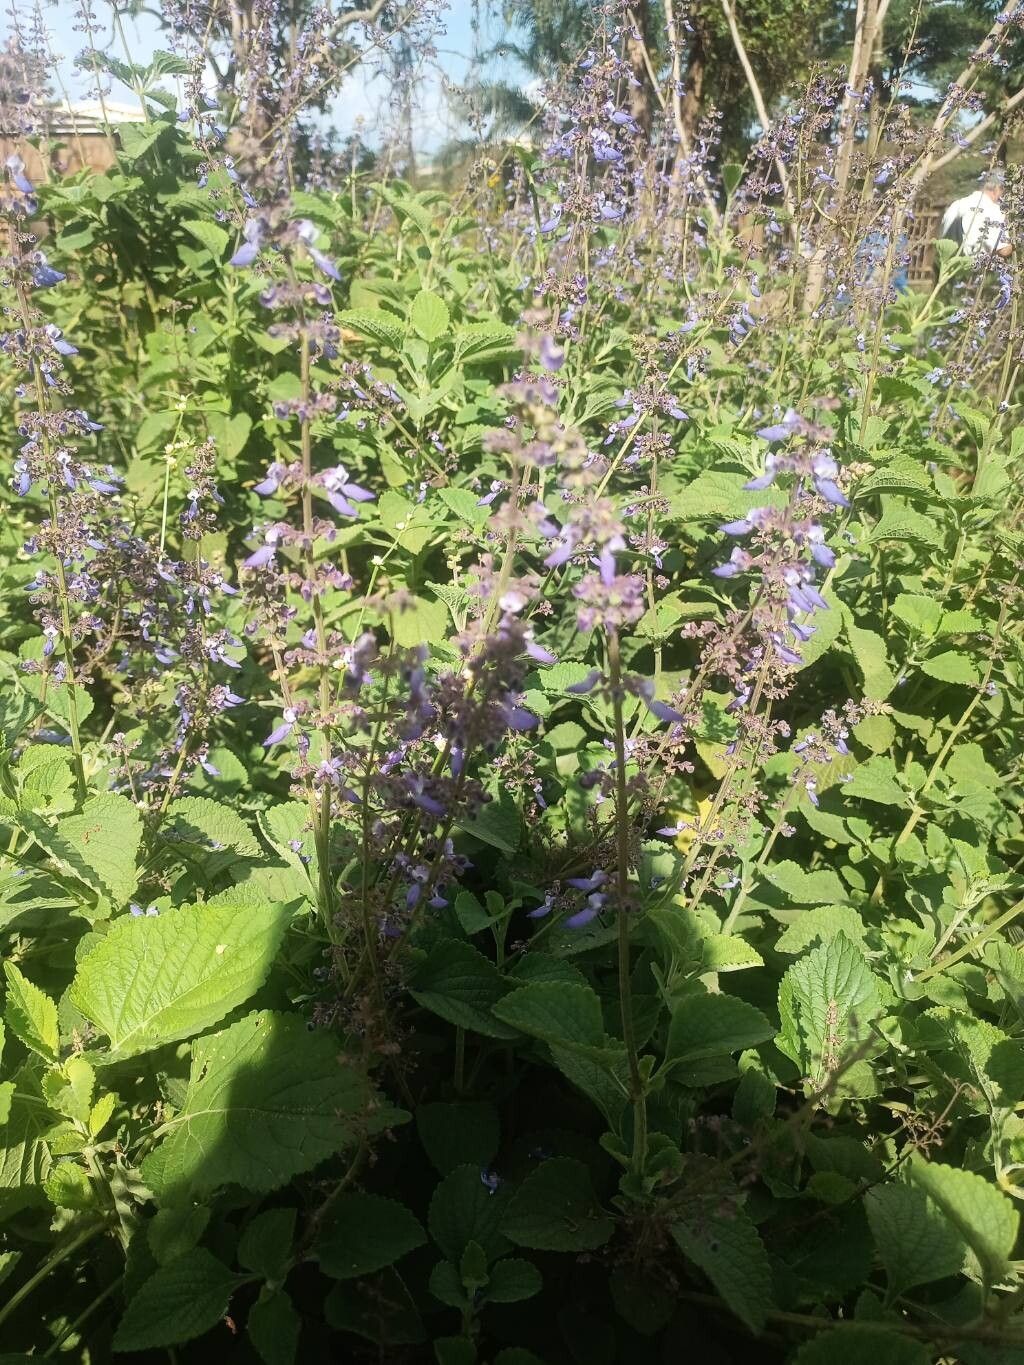
Oh, hello there! Come on in and grab a mug. Let’s chat about Coleus bojeri. If you’ve ever seen this beauty in a garden, you know what I mean. Those intricate, lacy leaves and that delicate, almost ethereal quality? It’s enough to make any gardener swoon. And the best part? Propagating it yourself is absolutely doable! It’s like having a little piece of magic you can share. For beginners, I’d say Coleus bojeri is a delightful plant to start with. It’s forgiving and really shows you what you’re doing right.
The Best Time to Start
The sweet spot for propagating Coleus bojeri is generally during its active growing season, which means late spring through summer. You’ll find it’s most responsive when the days are longer and the weather is warm. Essentially, when the plant is happy and putting on new growth, it’s ready to share that energy.
Supplies You’ll Need
Here’s what you should gather before we get our hands dirty:
- Sharp Pruning Shears or a Clean Knife: For taking clean cuttings.
- Small Pots or Trays: With drainage holes, of course.
- Propagating Mix: A light, airy blend. I usually use a mix of perlite, coco coir, and a little bit of peat moss. You want something that drains well but also holds some moisture.
- Rooting Hormone (Optional but Recommended): This little helper can really speed things up. Look for a powdered or liquid form.
- Watering Can or Spray Bottle: For gentle watering.
- Clear Plastic Bag or Dome: To create a mini-greenhouse effect.
Propagation Methods
The easiest and most rewarding way to propagate Coleus bojeri for me is through stem cuttings. It’s incredibly successful!
- Select Your Parent Plant: Find a healthy, vigorous Coleus bojeri. Look for stems that have plenty of leaves and are not flowering. Flowering can sometimes divert the plant’s energy away from root development.
- Take Your Cuttings: Using your sharp shears, cut a stem that is about 4-6 inches long. Make your cut just below a leaf node (where a leaf attaches to the stem). This is where the magic happens, as roots are most likely to emerge from these points.
- Prepare the Cuttings: Gently remove the lower leaves from the cutting, leaving only the top two or three sets of leaves. This prevents leaves from rotting in the soil or water. If you’re using rooting hormone, dip the cut end into the powder or liquid.
- Planting: Fill your small pots with your propagating mix. Make a small hole in the center with your finger or a pencil. Carefully insert the cut end of your Coleus bojeri stem into the hole. Gently firm the soil around the stem.
- Water and Cover: Water the soil gently until it’s evenly moist but not soggy. Then, cover the pot with a clear plastic bag or a propagator lid. This helps maintain humidity, which is crucial for cuttings to root. Stake up the bag if needed to keep it from touching the leaves directly.
Alternatively, you can try water propagation:
- Follow steps 1 and 2 above for taking cuttings.
- Place the cuttings in a clean jar or vase filled with room-temperature water.
- Crucially, make sure no leaves are submerged in the water. This is where many beginners go wrong.
- Place the jar in a bright spot, but out of direct sunlight.
- Change the water every few days to keep it fresh. You should start to see little white roots appearing in a week or two. Once the roots are about an inch long, you can transplant them into your propagating mix, following step 4 above.
The “Secret Sauce” (Pro Tips)
Here are a few things I’ve learned over the years that really make a difference:
- Warmth is Your Friend: Coleus bojeri, like many tropical plants, absolutely loves a bit of bottom heat. If you have a heat mat designed for seedlings, pop your pots on it. It truly speeds up root development and can be the difference between success and a slow fade.
- Don’t Overwater! This is probably the biggest pitfall. Cuttings need moisture, yes, but soggy soil is a recipe for rot. A good rule of thumb is to water when the top inch of the soil feels dry to the touch. The plastic cover helps retain moisture, so you won’t need to water as often as you might think.
- Air Circulation Matters: While we want to create humidity, stagnant air can also encourage fungal issues. If you’re using a plastic bag, open it up for a few minutes each day to allow for some air exchange. This helps prevent mold and disease.
Aftercare & Troubleshooting
Once you see new growth emerging from your cuttings, or roots poking through the drainage holes, that’s your cue! Congratulations, you have a new plant!
- Gradual Acclimation: If you used a plastic bag or dome, gradually remove it over a few days. Open it for a few hours, then a full day, before removing it entirely. This lets your new plant adjust to the drier ambient air.
- Move Up in Size: Once the roots have filled the small pot, it’s time to pot up into a slightly larger container with your regular potting mix.
- Watering: Continue to water when the top inch of soil feels dry. As the plant matures, it will become a bit more forgiving, but consistency is still key.
The most common problem you’ll encounter is rot. If your cutting turns mushy and black, it’s a sign of too much moisture and not enough air. Don’t be discouraged; just start again with fresh cuttings and adjust your watering schedule. Sometimes, cuttings simply fail to root. That’s part of the process. Not every single one will make it, and that’s okay!
A Little Encouragement to Close
Propagating plants is a journey, and Coleus bojeri is such a rewarding one. Be patient with your new little sprouts. Watch them closely, learn from them, and enjoy the magical feeling of creating new life from a simple stem. Happy gardening!
Resource:
https://identify.plantnet.org/k-world-flora/species/Coleus%20bojeri%20Benth./data