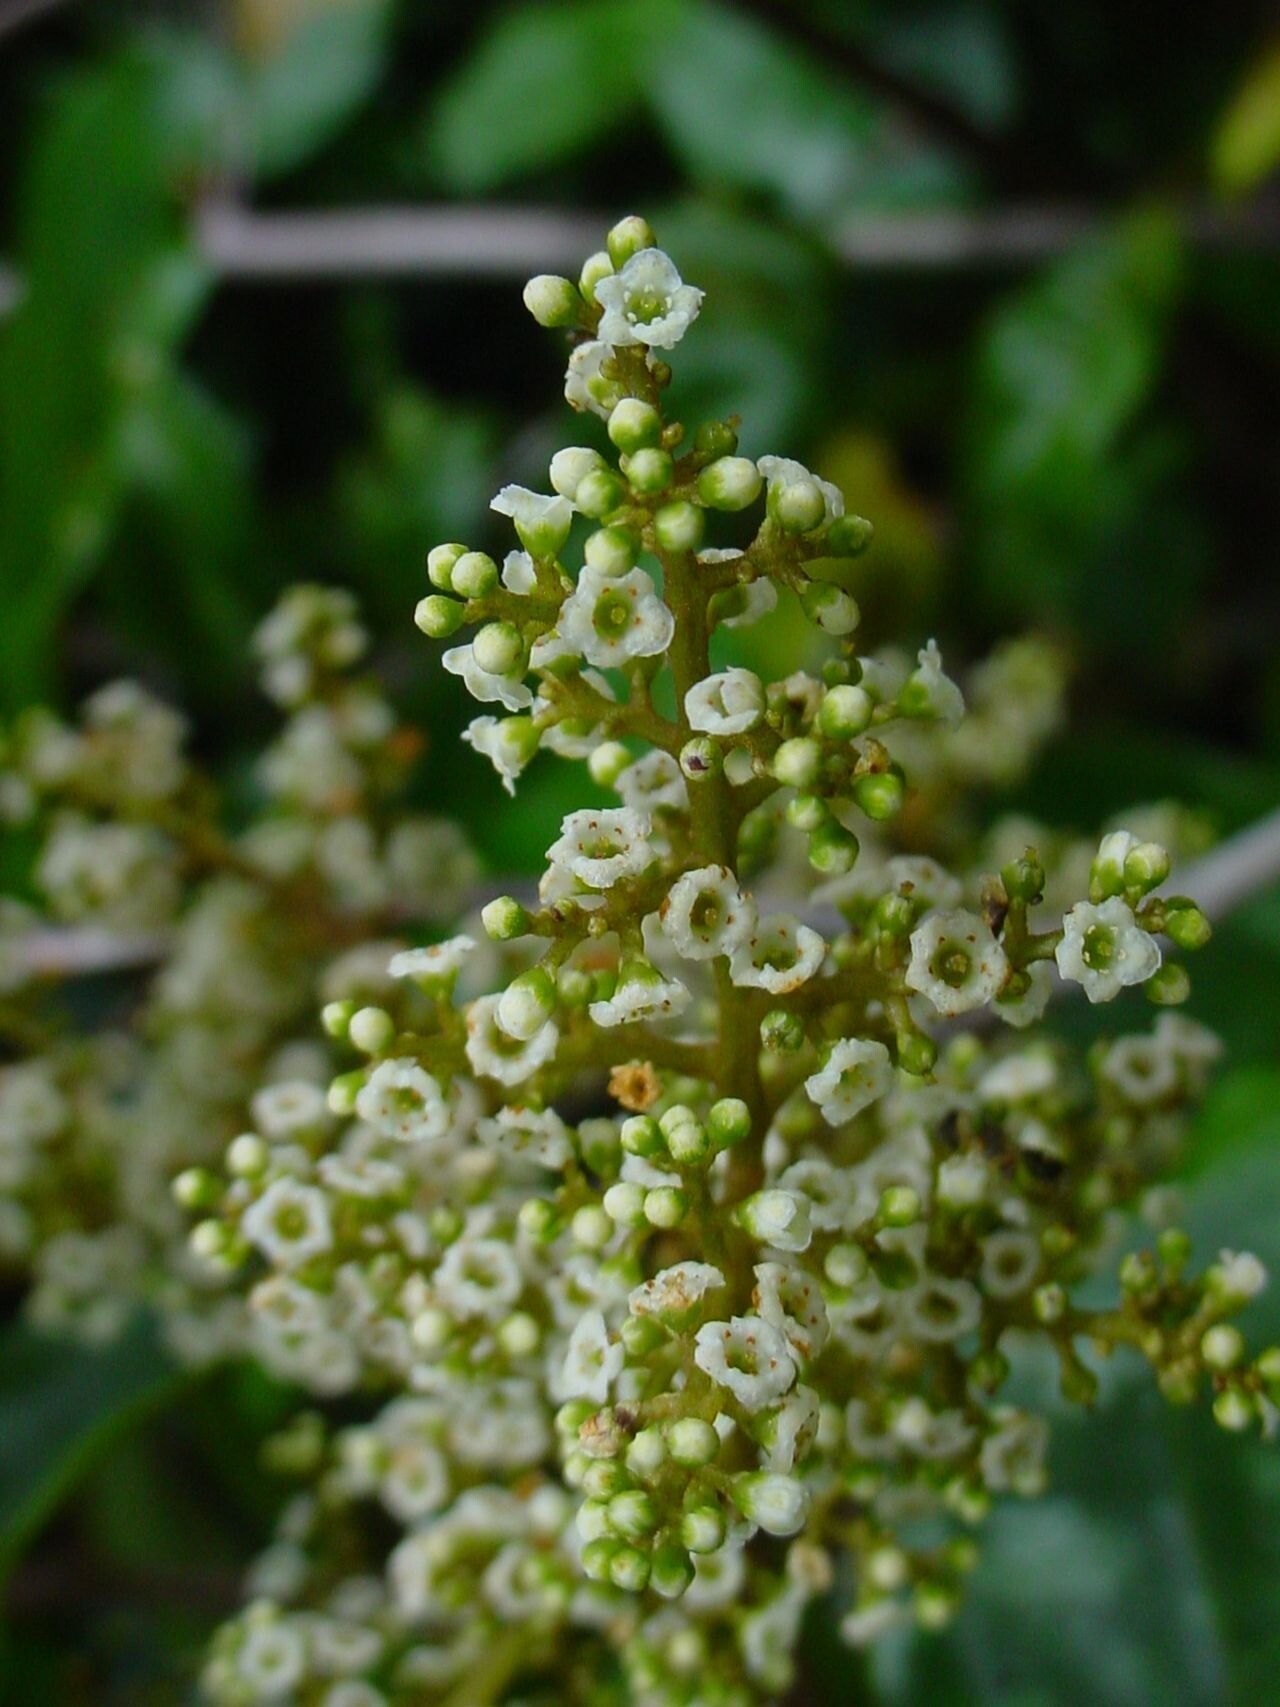
Hello, fellow plant lovers! Today, we’re diving into the fascinating world of propagating Maesa novocaledonica. If you’ve ever admired its lush foliage and elegant habit, you’re in for a treat. Trust me, bringing more of this beauty into your life is incredibly rewarding. And the best part? It’s quite achievable for most gardeners. Don’t let it intimidate you; we’ll walk through it together.
The Best Time to Start
For Maesa novocaledonica, spring is your golden ticket. Think of it as the plant waking up from its winter slumber, full of energy and ready to grow. You’ll want to take cuttings when the plant is actively growing, ideally when new shoots are firm but still somewhat flexible. Avoid taking them from old, woody stems.
Supplies You’ll Need
Gathering your tools beforehand makes the whole process so much smoother. Here’s what I usually have on hand:
- Sharp pruning shears or a clean knife: For making clean cuts.
- Rooting hormone (optional but recommended): Helps give your cuttings a boost.
- Well-draining potting mix: A blend of peat moss, perlite, and a little bit of compost works wonders. You can also find specific seed starting or cutting mixes.
- Small pots or trays: With drainage holes, of course!
- Plastic bags or a clear propagator: To create a humid environment.
- Watering can with a fine rose: For gentle hydration.
Propagation Methods
While Maesa novocaledonica can be a bit temperamental, stem cuttings are generally your most reliable bet.
Stem Cuttings
- Select a healthy stem: Look for a new growth shoot that’s about 4-6 inches long.
- Make the cut: Using your sharp shears or knife, make a clean cut just below a leaf node (where a leaf attaches to the stem).
- Prepare the cutting: Gently remove the lower leaves, leaving just a couple at the very top. This prevents them from rotting in the soil.
- Dip in rooting hormone (optional): If you’re using it, dip the cut end into the rooting hormone powder, tapping off any excess.
- Plant your cuttings: Fill your small pots with your prepared potting mix. Make a small hole with a pencil or your finger and insert the cut end of the stem, firming the soil gently around it.
- Water gently: Give them a good, but not soaking, drink.
- Create humidity: Cover the pots with a clear plastic bag or use a propagator lid. Make sure the leaves don’t touch the plastic. You can use stakes to prop it up if needed.
- Place in bright, indirect light: Avoid direct sunlight, which can scorch the tender cuttings.
The “Secret Sauce” (Pro Tips)
Here are a couple of things I’ve learned over the years that can really make a difference:
- The “Wiggle Test” for Readiness: When you think your cuttings have rooted, give them a very gentle tug. If you feel resistance, that’s a good sign roots have formed. If they pull out easily, they haven’t rooted yet.
- Bottom Heat is Your Friend: Providing a little warmth from underneath your propagator or pots can significantly speed up root development. A heating mat designed for plants is perfect for this. Just ensure it’s not too hot – you don’t want to cook those precious roots before they even form!
- Don’t Rush the Acclimation: Once roots have developed, don’t immediately rip off the plastic cover. Gradually introduce your new plants to drier air by opening the bag or propagator a little more each day for a week or so. This helps them adjust without shock.
Aftercare & Troubleshooting
Once those little roots have taken hold and you’ve started the acclimation process, it’s time to treat them like any other young plant. Keep the soil consistently moist but not waterlogged. You’ll know they’re thriving when you see new leaf growth.
The most common enemy your cuttings will face is rot. If you notice your stem turning mushy and black, it’s likely too much moisture and not enough air circulation. Sometimes, if it’s just one or two, you can salvage others, but often it means the cutting is lost. Good drainage and not overwatering are your best defense. And if they simply don’t root after several weeks, don’t get discouraged! Sometimes, it just takes a second try, or perhaps the conditions weren’t quite right.
A Encouraging Closing
Propagating plants is a journey of patience and observation. Each cutting is a little experiment, and the thrill of seeing those first tiny roots emerge is immense. So, gather your supplies, get your hands in the soil, and enjoy the process of creating new life. Happy propagating!
Resource:
https://identify.plantnet.org/k-world-flora/species/Maesa%20novocaledonica%20Mez/data