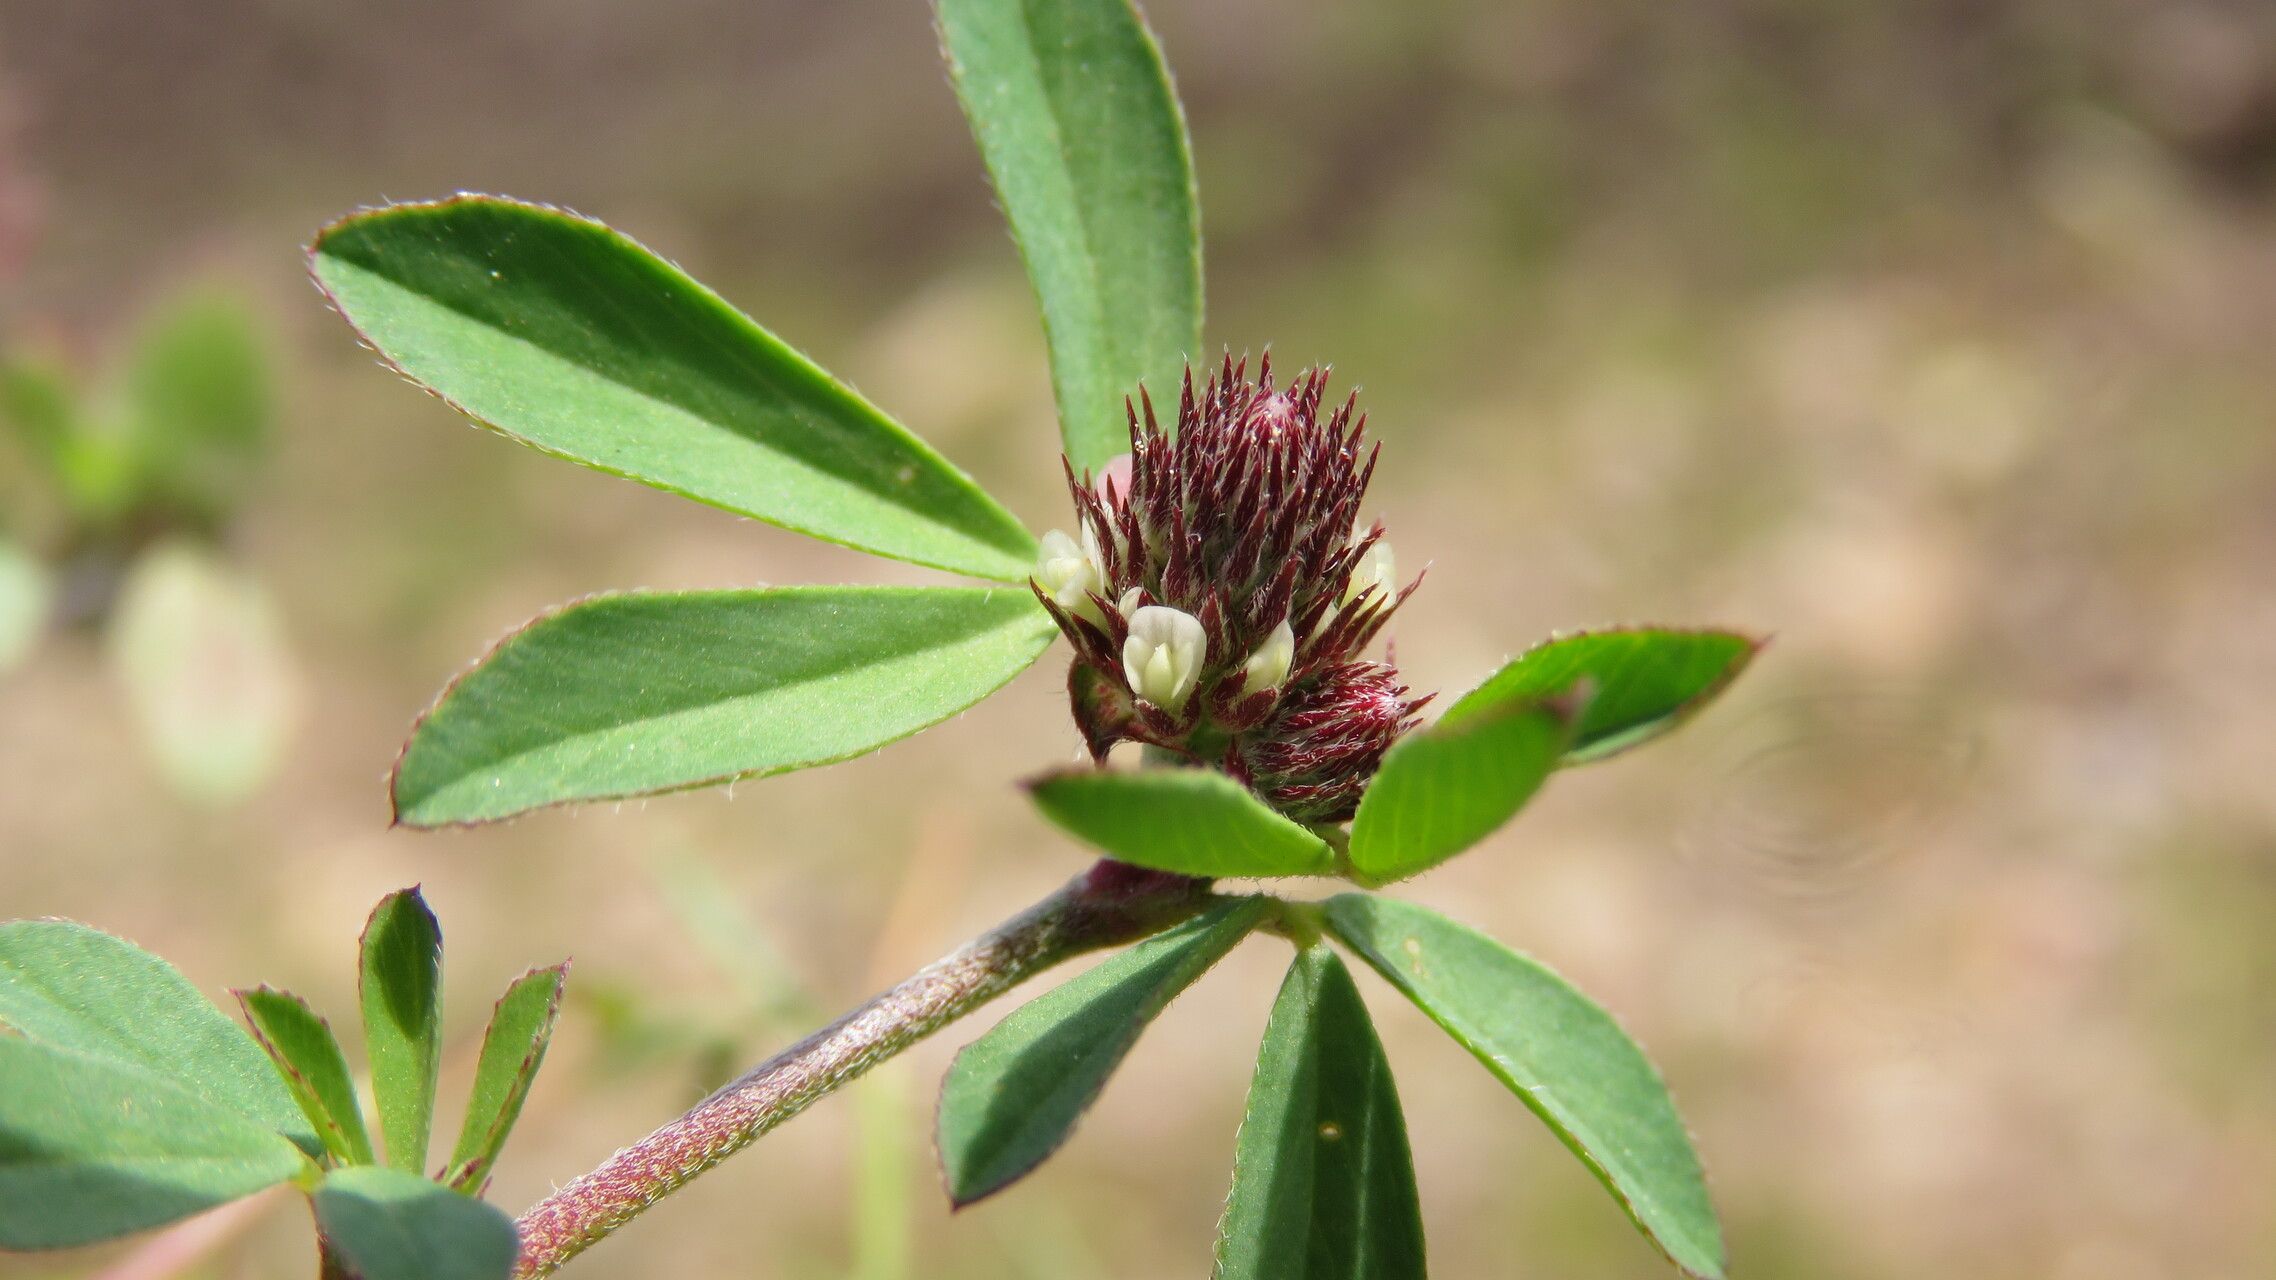
Hello there, fellow plant lovers! I’m so excited to chat with you today about a truly delightful little treasure: Trifolium bocconei. If you haven’t encountered it before, imagine delicate, clover-like leaves in a lovely shade of green, sometimes with a hint of silver, often crowned with charming clusters of small, pinkish-purple flowers. It’s just the kind of plant that brings a touch of subtle magic to any garden, rockery, or even a charming container.
Propagating Trifolium bocconei is such a rewarding experience. There’s immense satisfaction in nurturing a tiny piece of the mother plant into its own independent life. For beginners? I’d say it’s moderately easy. It’s not quite as foolproof as some of the more robust plants, but with a little attention and the right approach, you’ll be well on your way to success.
The Best Time to Start
For Trifolium bocconei, the sweet spot for propagation is definitely late spring to early summer. This is when the plant is actively growing, full of energy, and has plenty of new, pliable stems to work with. Starting here gives your cuttings plenty of time to establish before the cooler weather sets in. Aim for stems that are firm but not yet woody.
Supplies You’ll Need
Gathering your tools beforehand makes the whole process smoother. Here’s what I like to have on hand:
- A sharp, clean pair of pruning shears or a sharp knife. Cleanliness is crucial to prevent disease!
- A well-draining potting mix. I often use a blend of equal parts peat moss, perlite, and compost. For something like clover, you want it light and airy.
- Small pots or seedling trays with drainage holes.
- Rooting hormone powder or gel (optional but helpful, especially for slightly trickier propagations).
- A small watering can or spray bottle for gentle moisture.
- Labels to note what you’ve planted and when.
Propagation Methods
Trifolium bocconei is a generous plant when it comes to propagation, and we can happily use a couple of methods.
Stem Cuttings
This is my go-to for increasing my Trifolium bocconei numbers.
- Take your cuttings: Look for healthy, non-flowering stems that are about 4-6 inches long. Using your clean shears or knife, make a clean cut just below a leaf node. A leaf node is where a leaf joins the stem – this is where new roots will emerge.
- Prepare the cuttings: Gently remove the leaves from the lower half of the stem. You want to expose at least two nodes. If there are any flower buds, pinch them off.
- Apply rooting hormone (if using): Dip the cut end of the stem into your rooting hormone powder or gel, tapping off any excess.
- Plant the cuttings: Fill your small pots or trays with your prepared potting mix. Make a small hole in the center with a pencil or your finger. Insert the cut end of the stem into the hole, ensuring at least one node is below the soil surface. Gently firm the soil around the stem.
- Water gently: Water thoroughly but gently, making sure the soil is moist but not waterlogged. A light misting is often best.
Division (Less Common for This Specific Clover, but Possible)
If you have a well-established, clump-forming Trifolium bocconei and want to divide it, this is how you’d approach it, usually in early spring.
- Gently unearth the plant: Carefully dig up the entire plant, trying to keep as much of the root ball intact as possible.
- Separate the clumps: Using your hands or a clean trowel, gently tease apart the root ball into smaller sections. Each section should have both roots and leafy shoots.
- Replant immediately: Pot up the divisions into new pots filled with fresh potting mix and water them in.
The “Secret Sauce” (Pro Tips)
After years of playing with plants, a few little tricks always seem to make a big difference.
- “Air Layering” the Tips: Sometimes, especially with slightly more mature stems, you can encourage rooting while the stem is still attached. Select a healthy stem, lightly wound a section just below a leaf node with your knife, apply rooting hormone to the wounded area, and then wrap it securely with damp sphagnum moss. Cover that moss with plastic wrap. Once you see roots forming through the moss, you can then cut the stem below the new roots and pot it up. It’s like giving the stem a head start!
- Bottom Heat is Your Friend: For cuttings, a little gentle warmth from below can significantly speed up root development. A seedling heat mat, set to a low temperature, placed under your trays makes a world of difference. It mimics the cozy conditions nature provides.
- Don’t Drown Them: This is so important! While cuttings need moisture, they absolutely cannot sit in soggy soil. Overwatering is the number one killer of new propagations. Ensure good drainage and only water when the top inch of soil feels dry to the touch.
Aftercare & Troubleshooting
Once those little roots have started to form, you’re on the home stretch!
- Continued Moisture: Keep the soil consistently moist but not soggy. As roots develop, you can gradually increase the watering frequency.
- Bright, Indirect Light: Once you see new leafy growth appearing, it’s a good sign roots are forming! Move your little plantlets to a spot with bright, indirect light. Direct sun can scorch delicate new growth.
- Acclimatization: If you’ve used bottom heat or a plastic cover, start to gradually acclimatize your new plants to normal room conditions by removing the cover for increasing periods over a week.
Now, what if things aren’t going quite as planned?
- Wilting: This is often a sign of underwatering or the cutting hasn’t rooted yet and can’t take up enough moisture. Check the soil moisture. If it’s dry, water it. If the soil is consistently wet and the plant is wilting, it’s a sign of rot.
- Rotting Stems: This is usually due to overwatering and poor air circulation. Make sure your pots have drainage, don’t overwater, and consider ensuring some airflow around your cuttings. If a stem turns mushy and black, it’s best to discard it to prevent it from spreading.
- No Growth: Be patient! Sometimes it just takes a while. Ensure your cuttings have adequate light and warmth.
Happy Growing!
Propagating plants, especially something as charming as Trifolium bocconei, is a beautiful journey. There will be successes, and yes, there might be a few failures along the way – that’s just part of the learning curve, my friends. Don’t get discouraged! Each attempt teaches you something new. Take your time, enjoy the process of nurturing these new lives, and soon you’ll have a delightful patch of clover to admire. Happy gardening!
Resource:
https://identify.plantnet.org/k-world-flora/species/Trifolium%20bocconei%20Savi/data