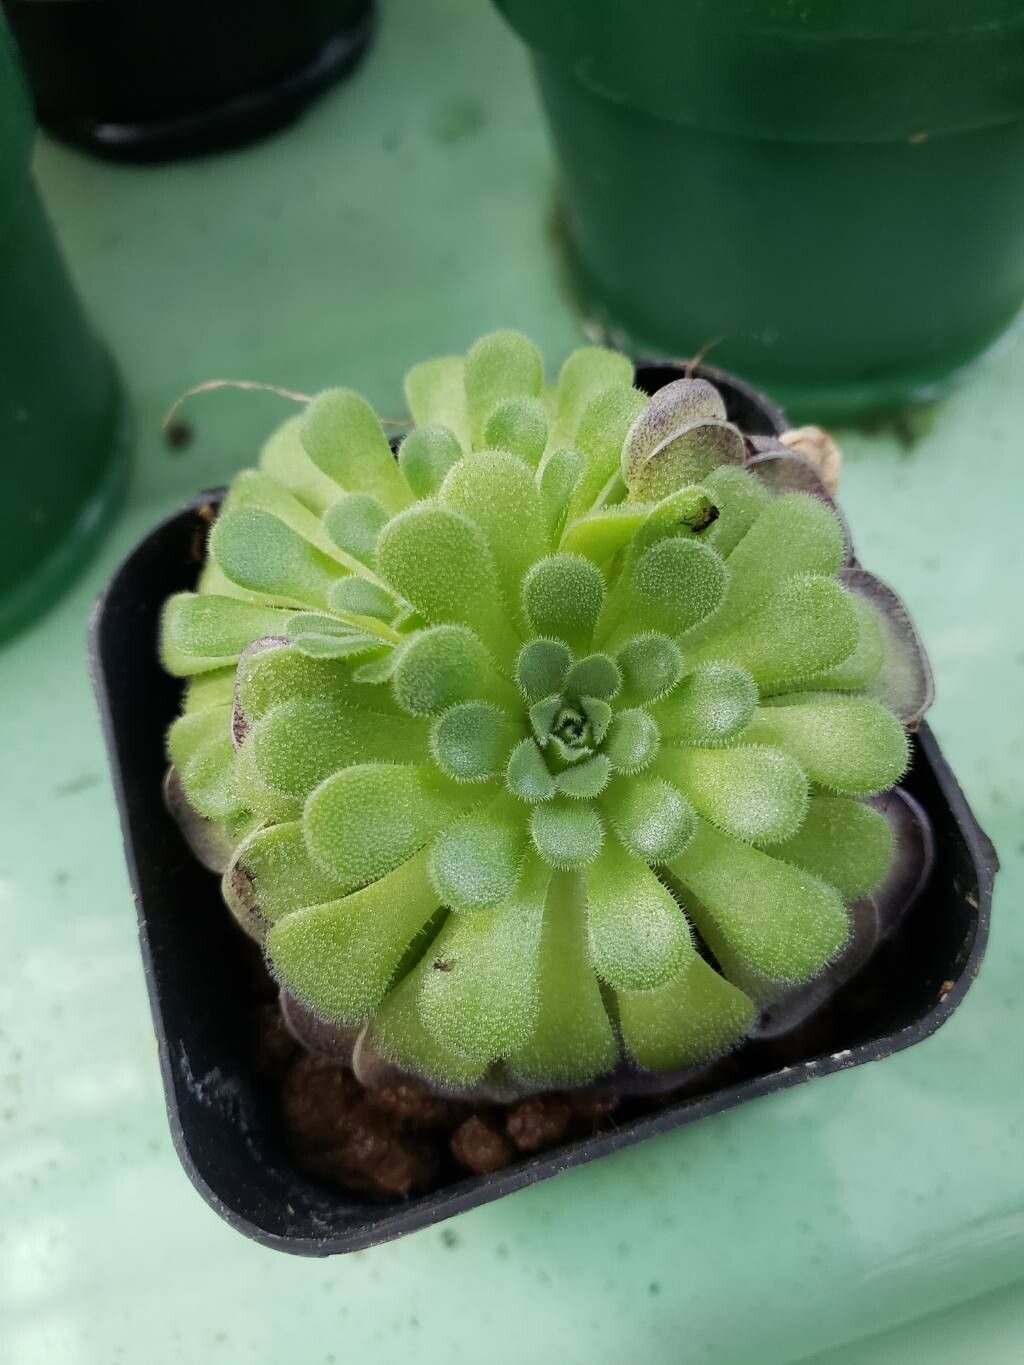
Oh, hello there! Pull up a chair, grab a mug. Today, we’re diving into the delightful world of Pinguicula cyclosecta. Isn’t she a beauty? I just love the delicate, almost otherworldly charm of these little butterworts. Their sticky leaves are a natural marvel, catching tiny insects with an elegance that always brings a smile to my face.
Propagating them might sound a bit intimidating, but honestly, Pinguicula cyclosecta is a pretty forgiving plant. It’s a wonderful way to share these treasures with friends, or simply to build up your own collection without breaking the bank. I find it incredibly rewarding, watching those tiny leaves unfurl and eventually form a whole new plant. It truly feels like a little bit of magic unfolding in your hands.
The Best Time to Start
For butterworts like Pinguicula cyclosecta, the springtime is really your golden ticket. Think of it as their wake-up call after a period of rest. When you see them actively growing, sending out fresh, healthy leaves, that’s your cue. This vigorous growth phase means they have plenty of energy to put into developing new roots and shoots. Trying to propagate when the plant is dormant or stressed is like asking someone to run a marathon right after they’ve had the flu – not really fair, and not likely to be successful!
Supplies You’ll Need
Gathering your supplies beforehand makes the whole process so much smoother. Here’s what you’ll want to have on hand:
- A good quality carnivorous plant mix. This is crucial. It needs to be airy and nutrient-poor. Think peat moss and perlite, or sphagnum moss. Avoid anything with added fertilizers.
- A clean, sharp razor blade or small pruning shears. Sterilize them with rubbing alcohol before use to prevent disease.
- A small spray bottle. For keeping things gently moist.
- A small pot or tray. Anything that can hold your new propagations without being too large can work.
- Optional: A clear plastic bag or a small propagator lid. To create a humid environment.
- Optional: Carnivorous plant-specific rooting hormone. While Pinguicula often roots readily, this can give an extra boost, especially for larger leaves.
Propagation Methods
Butterworts are wonderfully versatile, but for my money, leaf cuttings are the most effective and easiest way to go with Pinguicula cyclosecta.
- Select a Healthy Leaf: Look for a mature, plump, and fully formed leaf. Avoid any that look yellowed, damaged, or are at the very edge of the plant.
- Make the Cut: Using your sterilized blade or shears, gently cut the leaf away from the parent plant. Try to get a tiny bit of the white part of the stem attached, if possible. This is where the magic happens!
- Prepare the Cutting: If you’re using rooting hormone, lightly dip the cut end of the leaf into it.
- Position the Leaf: Place the leaf on top of your pre-moistened carnivorous plant mix. The cut end should be lightly touching the substrate. You don’t need to bury it deep, just make good contact.
- Mist Gently: Lightly mist the surface of the soil and the leaf. You want it moist, but never waterlogged.
- Provide Humidity: If you’re using a plastic bag or lid, gently place it over the pot to create a humid environment. Open it for a few minutes each day to allow for air circulation and prevent mold.
The “Secret Sauce” (Pro Tips)
Here are a couple of things I’ve learned from years of butterwort wrangling that really make a difference:
- Don’t let the leaves touch standing water. While they love humidity, having the leaf sitting directly in water can encourage rot. The goal is moist substrate, not a swamp. If you’re water propagating (though I prefer the soil method for these), ensure only the very base of the stem is submerged.
- Bottom heat can be a game-changer. If you have a seedling heat mat that you use for other plants, placing your propagation tray on it can significantly speed up root formation. Just make sure it’s on a low setting, as these plants don’t like extreme heat. Aim for a gentle warmth.
Aftercare & Troubleshooting
Once you’ve got your leaf cuttings set up, be patient! In a few weeks to a couple of months, you should start to see tiny plantlets forming at the base of the leaf, sometimes accompanied by minuscule roots.
When you see these little signs of life, keep them in their humid environment. As the new plantlets grow larger and more robust, you can gradually introduce them to less humidity by opening the bag or lid more frequently. Eventually, you’ll be able to transplant them into their own small pots if they were in a tray.
Troubleshooting: The most common issue you’ll encounter is rot. If a leaf starts to turn black and mushy, it’s usually a sign of too much moisture or perhaps a lack of air circulation. Don’t be discouraged! Just remove the rotting leaf immediately to prevent it from spreading. If it’s just the leaf that’s gone, but you see tiny plantlets emerging, they are likely fine on their own.
A Little Encouragement to Finish
Nurturing a new life from a single leaf is one of the most rewarding aspects of gardening, in my opinion. It requires a bit of patience, a gentle touch, and a willingness to observe. Don’t be afraid to experiment a little; every gardener’s environment is unique. Just remember to keep things moist but not soggy, provide good air circulation, and celebrate those tiny victories. Happy propagating!
Resource:
https://identify.plantnet.org/k-world-flora/species/Pinguicula%20cyclosecta%20Casper/data