Hey there, fellow plant lovers! I’m absolutely thrilled to chat with you today about one of my absolute favorites: Catasetum fimbriatum. If you’ve ever seen this orchid in bloom, you’ll know exactly why it captures our hearts. Those fascinating, often fragrant flowers are like botanical jewels. And the best part? You can multiply this beauty yourself! Propagating Catasetum fimbriatum can be a wonderfully rewarding journey, bringing you even more of those incredible blooms. Now, I’ll be honest, while not the absolute easiest orchid to start with, it’s definitely far from impossible with a little know-how and patience.
The Best Time to Start
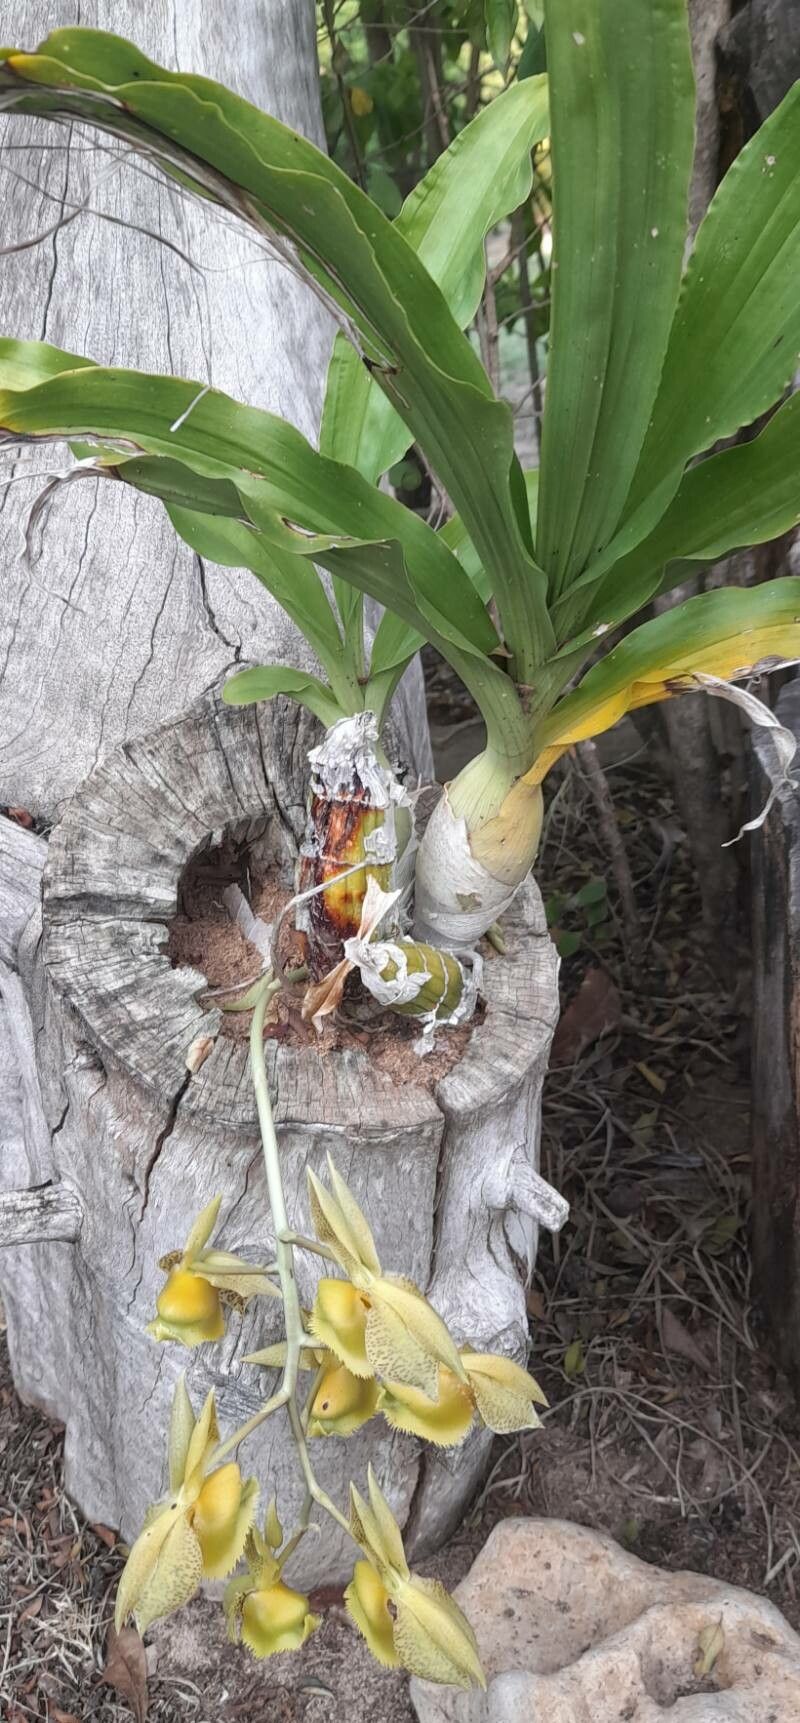
For Catasetum fimbriatum, the sweet spot for propagation is definitely after the plant has completed its active growth cycle and is entering a resting period. Think late fall or early winter. This is when the plant has stored up energy and is less stressed, making it more receptive to division. You’ll usually notice that the leaves have begun to yellow and drop naturally.
Supplies You’ll Need
Ready to get your hands dirty? Here’s what you’ll want to have on hand:
- Sharp, sterile pruning shears or a clean knife. Sterilize with rubbing alcohol or a bleach solution.
- Bark-based orchid potting mix. A good mix for epiphytic orchids will do nicely. Look for medium to coarse grades.
- Sphagnum moss. Long-fibered is best.
- Plastic pots or containers. Make sure they have excellent drainage.
- Rooting hormone (optional but recommended). This can give your new divisions a helpful boost.
- A spray bottle. For a gentle mist.
- A tidy, well-ventilated spot. With good indirect light.
Propagation Methods: The Gentle Art of Division
Catasetum fimbriatum is best propagated through division, which is essentially separating a mature plant into smaller sections, each with its own healthy roots and pseudobulbs.
- Gently remove the plant from its pot. You might need to coax it out. If it’s stuck, running a knife around the inside edge of the pot can help.
- Carefully clean the roots. Gently remove as much of the old potting medium as you can. This allows you to clearly see the pseudobulbs (those swollen stems) and where new growths are emerging.
- Identify natural divisions. Look for areas where there are at least two or three healthy pseudobulbs and visible roots attached. Avoid separating single pseudobulbs without any roots, as they have a much lower chance of survival.
- Make your cut. Using your sharp, sterile tool, make a clean cut between the divisions. Ensure each section you are separating has at least a couple of pseudobulbs and some healthy roots.
- Allow the cuts to air dry. This is crucial! Let the separated pieces sit out in a dry, airy spot for 24-48 hours. This allows the cut surfaces to callus over, preventing rot.
- Pot up your divisions. Fill your clean pots with your bark-based orchid mix. Make a small divot in the center and place your division, spreading the roots around. The base of the pseudobulbs should be at or slightly above the surface of the mix. Gently firm the mix around the roots.
The “Secret Sauce” (Pro Tips)
Here are a couple of tricks I’ve learned over the years that really make a difference:
- Don’t bury those pseudobulbs too deeply! They need air to breathe. The top of the pseudobulb should be visible, or at most, just barely covered by the potting medium. Over-watering or burying them too deep is a fast track to rot.
- Use misting sparingly for the first few weeks. After potting, resist the urge to water thoroughly. Instead, lightly mist the surface of the potting mix every few days, or as needed to keep it slightly moist but never waterlogged. The plant will rely on the stored moisture in its pseudobulbs. Once you see new growth emerging, you can gradually increase watering.
Aftercare & Troubleshooting
Once your divisions are potted, place them in a location with bright, indirect light. Avoid direct sun, which can scorch new growth. Humidity is good, but excellent air circulation is paramount to prevent fungal issues.
If you see yellowing leaves that aren’t tied to natural dieback, or if the pseudobulbs start to shrivel excessively or turn mushy and black, you’re likely dealing with rot. This usually happens from overwatering or insufficient air movement. If rot sets in, you might need to unpot the division, cut away the rotten parts, and let the healthy sections air dry for longer before repotting. It’s not the end of the world, just a learning moment! If you see new leaf or root growth, that’s a fantastic sign!
A Little Patience Goes a Long Way
Propagating orchids is a journey that requires a bit of patience. Don’t be discouraged if every single division doesn’t make it. Celebrate the successes, learn from any setbacks, and most importantly, enjoy the process of nurturing new life. Happy growing!
Resource: