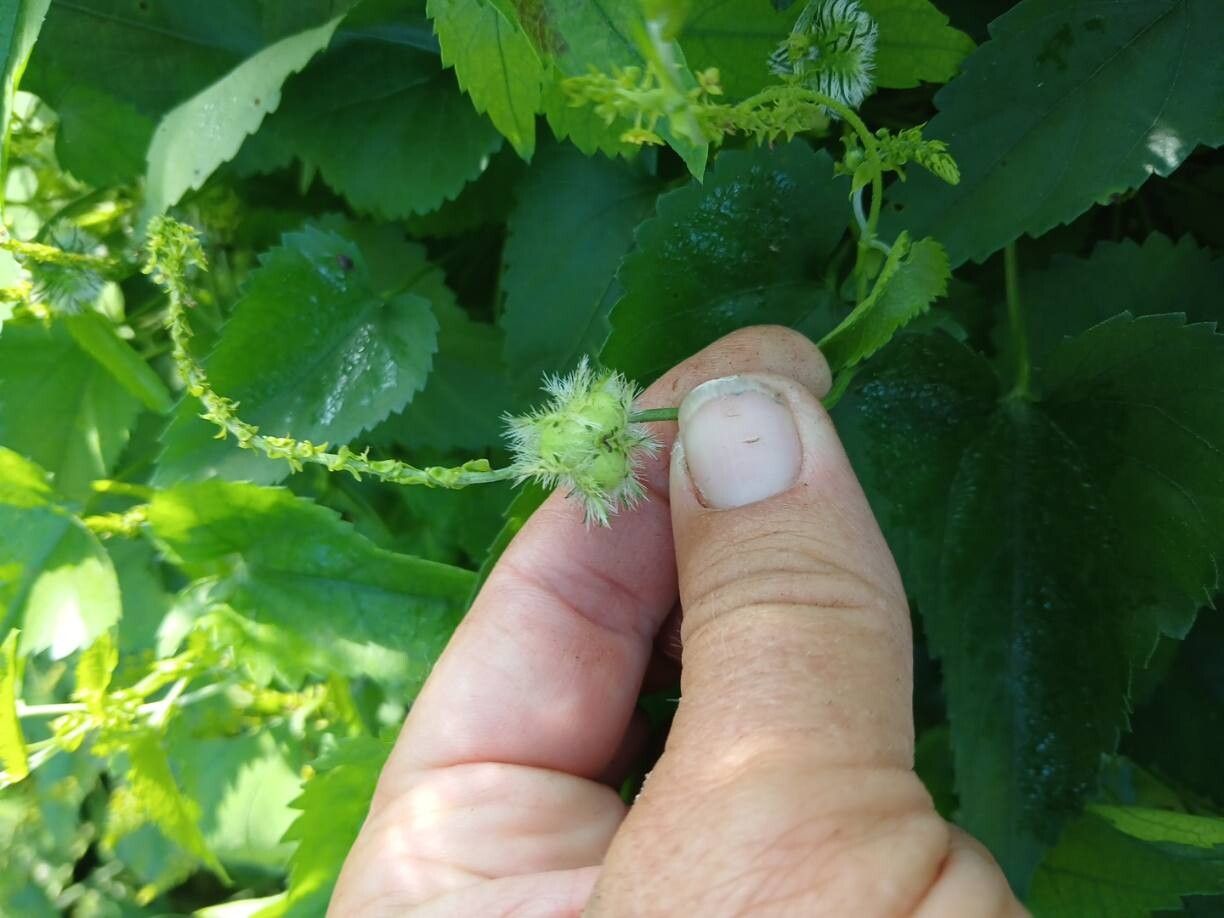
Oh, hello there! Pull up a chair, let’s chat about Tragia furialis, shall we? If you’ve ever admired these beauties in someone’s garden – with their delicate, almost ethereal foliage and a certain je ne sais quoi that just brightens any corner – then you’re in for a treat. Propagating them is a truly satisfying pursuit, like watching a tiny miracle unfold right before your eyes. For those of you just starting out, I’d say Tragia furialis falls into the “moderately rewarding” category. A little patience and observation go a long way, but it’s certainly not out of reach for a keen beginner!
The Best Time to Start
For the highest success rate with Tragia furialis, I always recommend starting in late spring or early summer. This is when the plant is actively growing and has abundant energy to put into developing new roots. You want to take cuttings from healthy, vigorous stems that are neither too soft and new nor too woody and old. Think of it as capturing that perfect moment of peak vitality!
Supplies You’ll Need
Gathering your tools beforehand really makes the process smoother. Here’s what I usually have on hand:
- Sharp, clean pruning shears or a craft knife: Essential for making clean cuts.
- Rooting hormone (powder or gel): This isn’t strictly mandatory, but it can give your cuttings a significant boost.
- A well-draining potting mix: I like to use a blend of about 50% perlite and 50% coco coir or a good quality seed-starting mix.
- Small pots or propagation trays: Clean containers are key to preventing disease.
- A plastic bag or humidity dome: To create a mini-greenhouse effect.
- Water: For cleaning tools and, of course, for watering.
- Labels and a marker: So you don’t forget what you planted and when!
Propagation Methods
We’ll focus on the most reliable method for Tragia furialis, which is stem cuttings.
- Take Your Cuttings: With your sharp tool, select a healthy stem and make a cut just below a leaf node (that little bump where a leaf meets the stem). Each cutting should be about 4-6 inches long and have at least two leaf nodes.
- Prepare the Cuttings: Gently remove the lower leaves from the cutting, leaving only the top 2-3 leaves. If your remaining leaves are very large, you can even cut them in half to reduce water loss.
- Apply Rooting Hormone (Optional but Recommended): Dip the cut end of the stem into your rooting hormone, tapping off any excess. This step really helps encourage those roots to form.
- Plant Your Cuttings: Gently insert the cut end of each cutting into your prepared potting mix. Make sure the leaf nodes where you removed the lower leaves are covered by the soil.
- Create a Humid Environment: Water the soil lightly. Then, cover the pots or tray with a plastic bag or a humidity dome. This traps moisture around the cuttings, which is crucial for them to root.
- Place in Bright, Indirect Light: Find a spot for your cuttings that receives plenty of bright, indirect light. Direct sunlight can scorch them, so avoid that.
The “Secret Sauce” (Pro Tips)
Here are a couple of little tricks I’ve picked up over the years that can make a big difference:
- Bottom Heat is Your Friend: If you have a seedling heat mat, placing your propagation tray on it can significantly speed up rooting. The gentle warmth mimics spring soil temperatures and really encourages root development.
- Don’t Overwater (but keep it moist!): This is a delicate balance. You want the soil to be consistently moist, but not soggy. Check the moisture level by gently pressing your finger into the soil. It should feel damp, not wet and heavy. If you can, err on the side of slightly drier rather than too wet to prevent rot.
Aftercare & Troubleshooting
Once your cuttings have been in their mini-greenhouse for a few weeks, you’ll hopefully start to see some signs of life. A good indicator that roots are forming is when you start to see new leaf growth on the top of the cutting.
Once you see that, you can gradually begin to acclimate your new plants to normal conditions. Start by opening the plastic bag or dome for a few hours each day. After about a week of this, you can remove the cover entirely. Continue to water them when the top inch of soil feels dry. Be gentle when you pot them up into slightly larger containers – they have delicate roots at this stage!
Now, what if things don’t go as planned? The most common issue is rot. If your cuttings look mushy, brown, or are just collapsing, it’s usually a sign of too much moisture and not enough air circulation. Unfortunately, once rot sets in, it’s hard to recover the cutting. Be sure your potting mix is super well-draining, and always use clean tools and pots to minimize the risk. Don’t be discouraged if you lose a few; it happens to all of us!
A Encouraging Closing
Propagating Tragia furialis is a journey, and like any good garden endeavor, it’s about the process as much as the outcome. Be patient, observe your little sprigs closely, and celebrate every bit of progress, from that first tiny root thread to a robust new plant. Happy propagating!
Resource:
https://identify.plantnet.org/k-world-flora/species/Tragia%20furialis%20Bojer/data