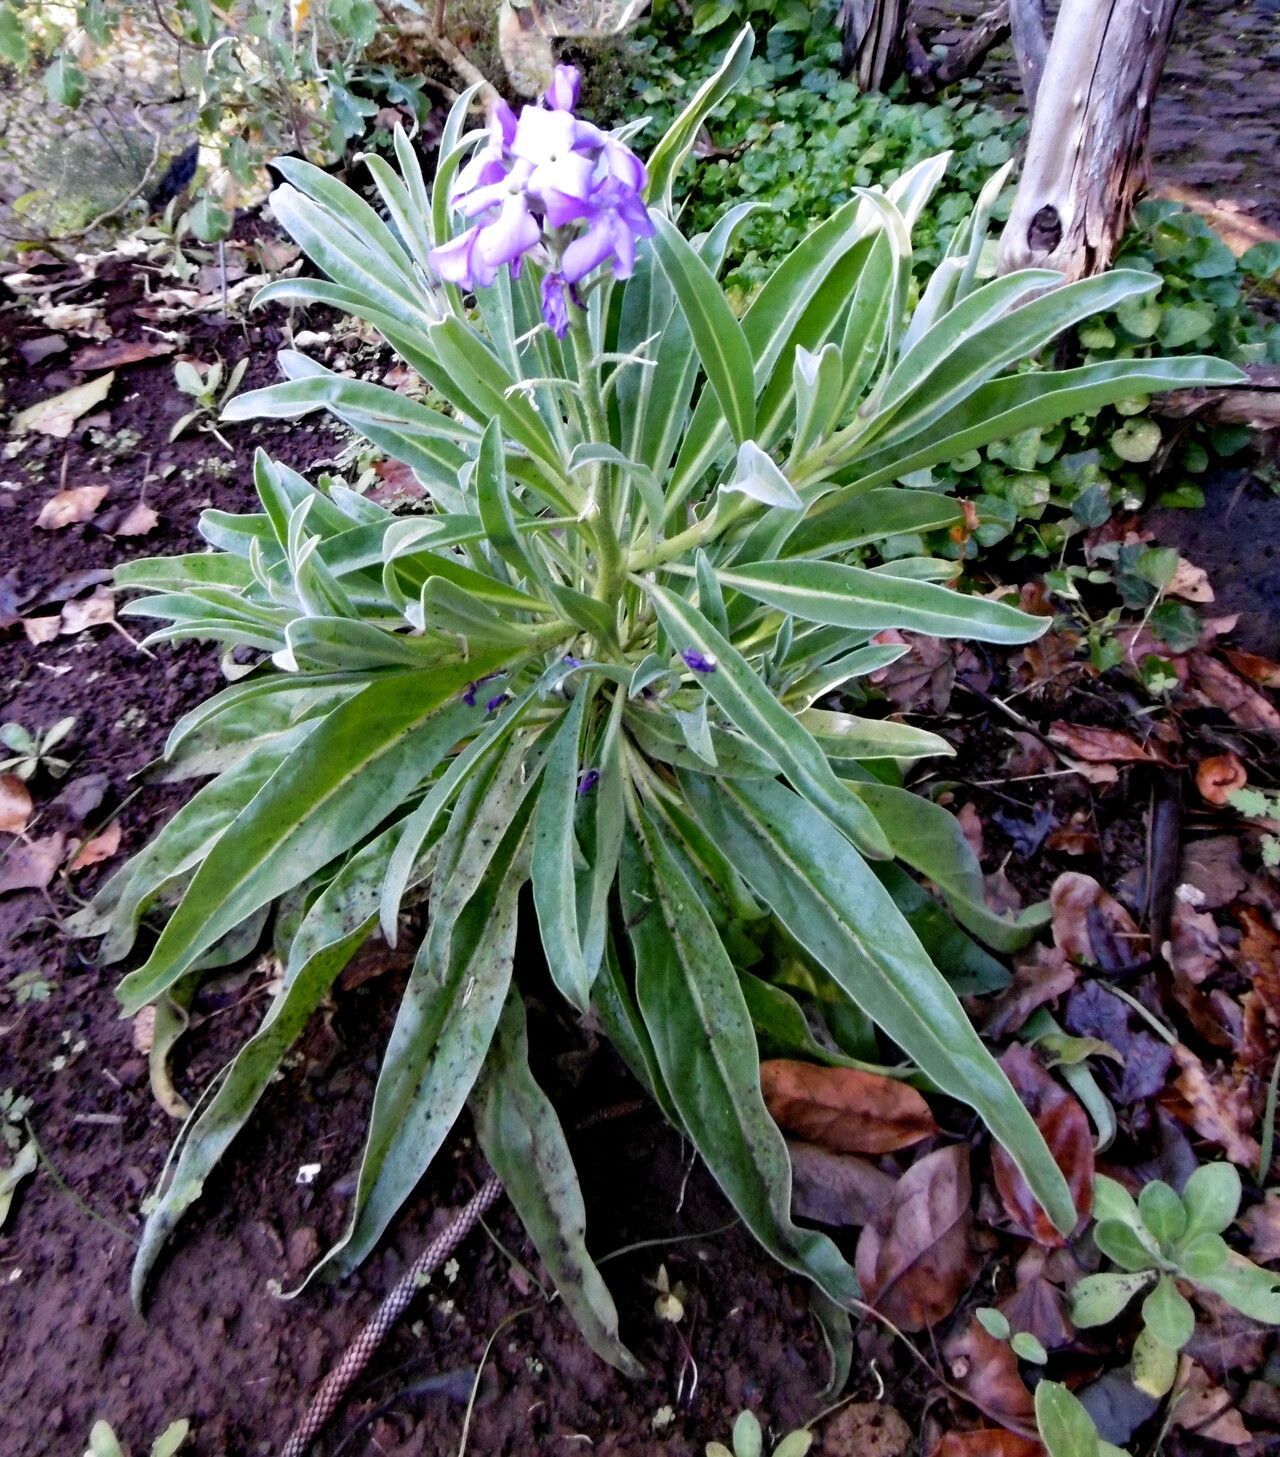
Oh, how I adore Matthiola maderensis! Its delicate, often fragrant blooms bring such charm to a garden, especially those lovely tall spires of color that last for ages. If you’ve ever fallen for these beauties, you’ll be delighted to know that multiplying them is a joy in itself. And guess what? While it might have a touch more finesse than, say, a succulent, I find Matthiola maderensis to be quite accommodating when you understand its needs. It’s a truly rewarding plant to propagate!
The Best Time to Start
For the most success in propagating Matthiola maderensis, I always aim for late spring to early summer. This is when the plant is actively growing after its main bloom period. You’ll be able to take nice, healthy cuttings from stems that are neither too soft and green nor overly woody. Think of it as capturing the plant at its most energetic peak!
Supplies You’ll Need
Gathering your tools beforehand makes the whole process smooth sailing. Here’s what I always have on hand:
- Sharp, clean pruning shears or a sharp knife: Crucial for making clean cuts that heal well.
- Well-draining potting mix: A good blend of potting soil with perlite or coarse sand works beautifully. I often use a mix formulated for cuttings.
- Small pots or seedling trays: Whatever you have that’s clean and has drainage holes.
- Rooting hormone (optional but recommended): Especially for stem cuttings. It gives that extra nudge.
- Plastic bags or a propagation dome: To create a humid environment for cuttings.
- Watering can or mister: For gentle watering.
- Labels: So you don’t forget what’s what!
Propagation Methods
Matthiola maderensis is quite happy to be propagated from stem cuttings. It’s straightforward and yields great results.
Stem Cuttings:
- First, find a healthy, non-flowering stem on your mature plant. You’re looking for growth that has started to firm up a bit, not the super soft tips.
- Using your sharp pruning shears, make a clean cut just below a leaf node. A cutting about 4-6 inches long is usually perfect. Remove any lower leaves that would sit below the soil line.
- If you’re using rooting hormone, dip the cut end of the stem into it, tapping off any excess.
- Now, gently insert the cut end into your prepared, moist potting mix. Make sure at least one leaf node is buried so roots have a chance to form.
- Mist the cutting lightly, and then cover the pot with a plastic bag or place it under a propagation dome. This trap’s humidity, which is vital for cuttings to root.
- Place the pot in a bright spot, but out of direct sunlight.
The “Secret Sauce” (Pro Tips)
Here are a few little things I’ve learned over the years that seem to make a big difference:
- Don’t let the leaves touch the water if you were to try water propagation (though cuttings are better for Matthiola maderensis). If you were to root in water (which I don’t typically recommend for this plant as it can lead to rot), ensure the leaves are well above the water line. This prevents them from decaying and fouling the water. For stem cuttings in soil, this translates to keeping the foliage dry during watering as much as possible.
- Bottom heat is your friend! Setting your pots on a seedling heat mat can significantly speed up root development. Matthiola maderensis loves a bit of warmth from below to encourage those roots to stretch out.
- Take multiple cuttings! Not every single cutting will make it, and that’s perfectly normal. Taking a few extra ensures you’ll have a good chance of success.
Aftercare & Troubleshooting
Once you start to see new growth appearing on your cuttings, it’s a good sign that roots are forming! You can gently tug on the cutting to feel for resistance. If it feels firm, roots are developing.
- Gradually acclimate your rooted cuttings to normal humidity by opening the plastic bag a little more each day, or lifting the dome for longer periods.
- Once they are well-established, you can transplant them into their own small pots.
- Keep the soil consistently moist but not soggy. Overwatering is the quickest way to invite trouble.
The main sign of failure you’ll likely see is rot. If your cutting turns mushy and discolored, it’s a sign that conditions are too wet. If you see this, sadly, it’s best to discard it and start again with fresh material and perhaps slightly drier conditions.
A Encouraging Closing
Watching that first tiny root emerge is such a thrill! Be patient with your Matthiola maderensis cuttings. Gardening is a journey of learning and observation, and the rewards of successfully propagating these lovely plants are immense. Enjoy the process, and soon you’ll have a garden overflowing with their delightful presence!
Resource:
https://identify.plantnet.org/k-world-flora/species/Matthiola%20maderensis%20Lowe/data