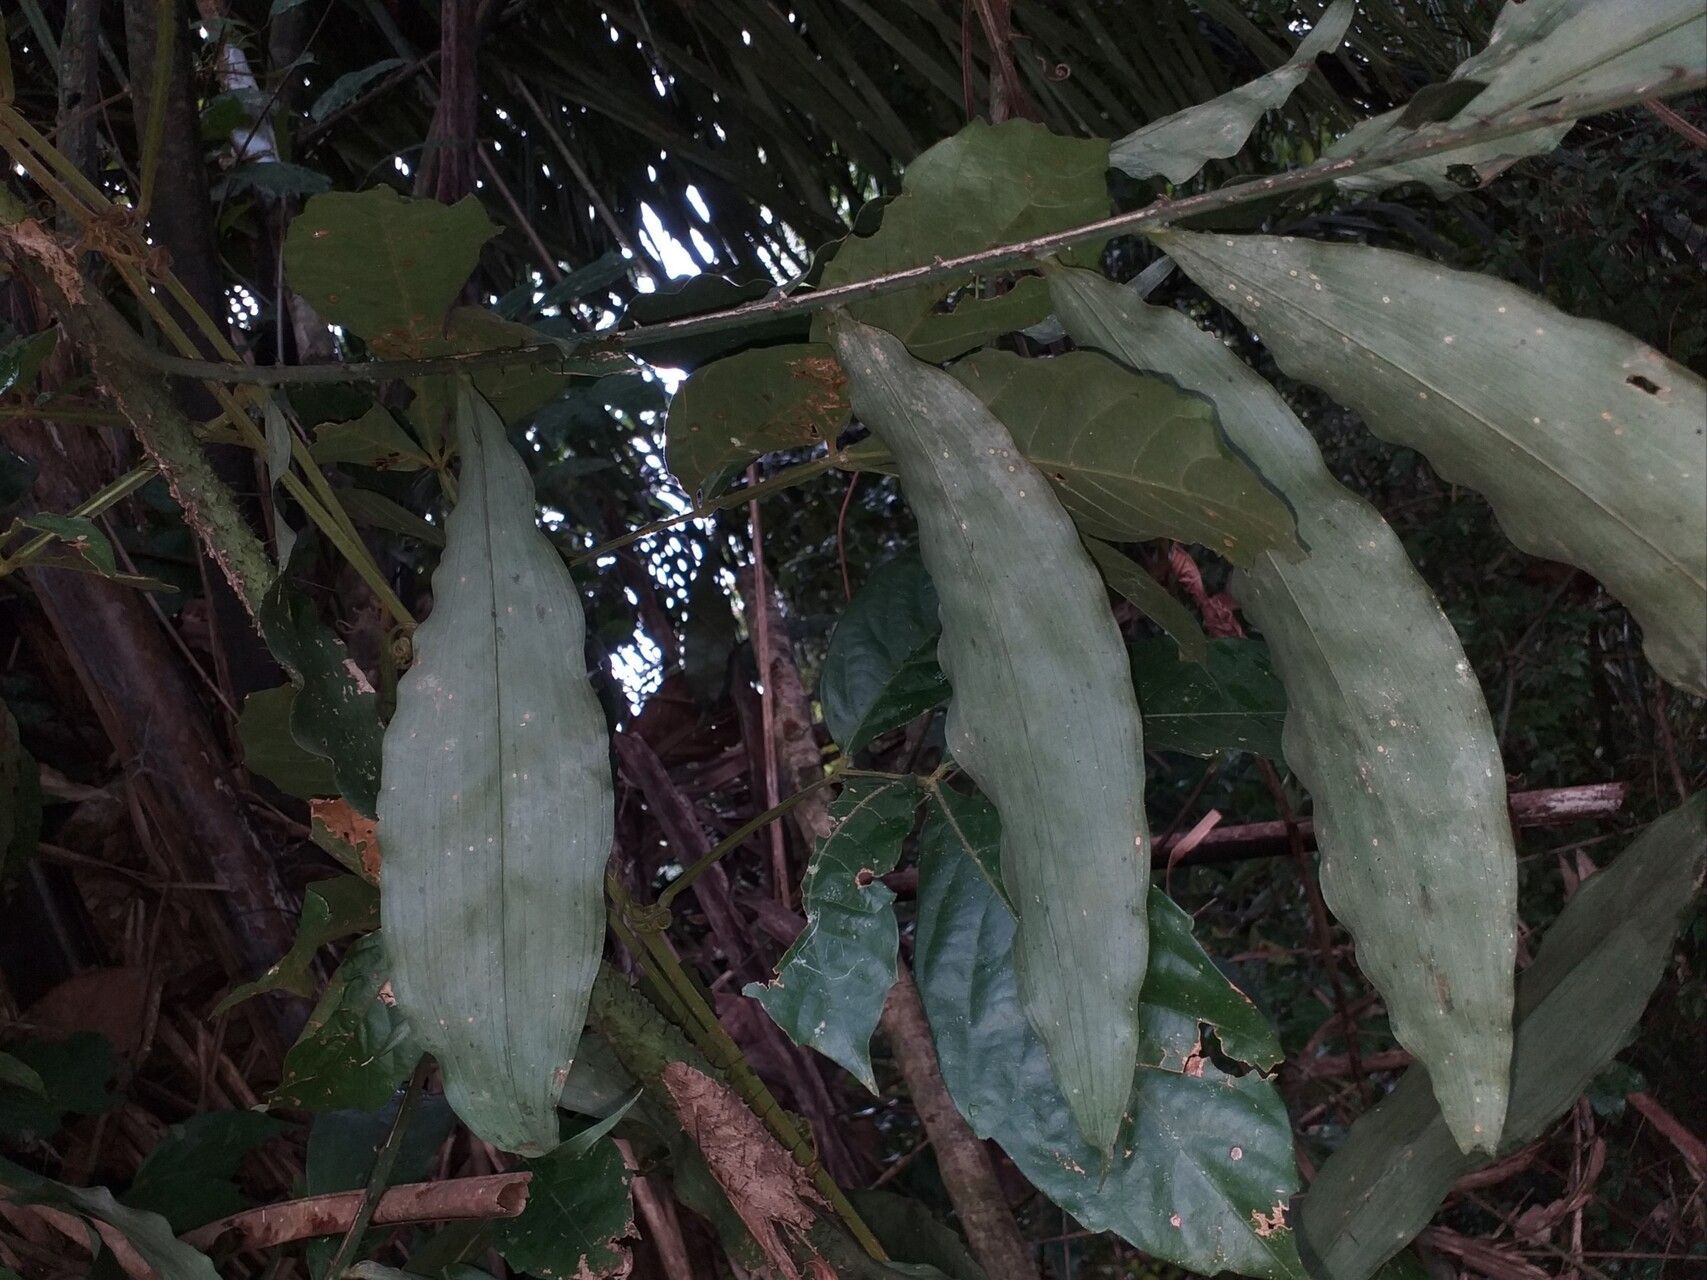
Oh, hello there! Come on in, grab a cup of coffee. Today, we’re going to chat about something truly special: propagating Desmoncus mitis. If you haven’t seen this beauty before, well, get ready to fall in love. It’s a glorious climbing palm, often called the “velvet stem palm” for its gorgeous, fuzzy texture. Watching a new one take root and grow from a tiny cutting is one of those garden joys that never gets old. Now, is it a walk in the park for absolute beginners? I’d say it leans towards being moderately easy. With a little patience and care, you’ll be successful!
The Best Time to Start
Timing is everything, right? For Desmoncus mitis, the absolute sweet spot for propagation is during its active growing season. Think late spring through early summer. This is when the plant is full of vigor, ready to put out new growth, and therefore more receptive to forming new roots. You’ll want to take your cuttings from healthy, mature stems that are actively producing leaves. Avoid anything that looks stressed or dormant.
Supplies You’ll Need
Let’s get our toolkit ready! Here’s what I always have on hand:
- Sharp, clean pruning shears or a knife: Sterilize them with rubbing alcohol between cuts, it’s crucial!
- Potting mix: A well-draining mix is key. I like to use a blend of peat moss, perlite, and a little bit of coco coir. You don’t want anything too dense that will hold too much moisture.
- Small pots or propagation trays: Make sure they have drainage holes. Terracotta pots are great because they breathe.
- Rooting hormone (optional but recommended): A powder form is handy for stem cuttings. It really gives them a boost.
- Clear plastic bags or a propagation dome: To create a humid microclimate.
- Watering can or spray bottle: For gentle watering.
- Labeling stakes: You’ll thank me later!
Propagation Methods
There are a few ways to go about this, but I find the most reliable for Desmoncus mitis is through stem cuttings.
-
Taking Stem Cuttings:
- Find a healthy, mature stem. Look for one that has at least a few sets of leaves.
- Using your sterilized shears, make a clean cut just below a leaf node (where a leaf attaches to the stem). You want a cutting that’s about 6-8 inches long.
- Remove the lower leaves from the cutting, leaving only one or two at the very top. This prevents them from rotting in the soil.
- If you’re using rooting hormone, dip the cut end into the powder, tapping off any excess.
-
Planting the Cuttings:
- Gently insert the cut end of the stem into your prepared potting mix. Make sure at least one leaf node is buried beneath the surface – this is where new roots will emerge.
- Gently firm the soil around the cutting to ensure good contact.
- Water the soil thoroughly until it’s consistently moist but not waterlogged.
-
Creating a Humid Environment:
- Pop the pot into a clear plastic bag, or cover it with a propagation dome. This is vital for keeping humidity high, which encourages root development.
- Place the pot in bright, indirect light. Never in direct sunlight, as it will scorch the leaves.
- If you’re using a bag, open it for about 15-30 minutes each day to allow for air circulation and prevent fungal issues.
The “Secret Sauce” (Pro Tips)
Here are a few little tricks I’ve picked up over the years that really make a difference:
- Bottom Heat is Your Best Friend: While not strictly essential, placing your pots on a gentle heat mat designed for plants can significantly speed up root formation. It mimics the warmth of the soil in its natural environment. Just make sure the heat isn’t too intense and doesn’t dry out the soil too quickly.
- Don’t Let Leaves Touch the Soil: I know I mentioned removing lower leaves, but it bears repeating. Any foliage that dips into the soil is a potential entry point for rot. Keep those leaves up and away!
- Be Patient with Water Propagation (If You Try It): While stem cuttings in soil are my go-to, some people try water. If you do, make sure the leaf node is submerged but no leaves are touching the water. Change the water every few days to keep it fresh and oxygenated. This method can be a bit more prone to rot for Desmoncus mitis, so I usually stick to soil.
Aftercare & Troubleshooting
Once you see signs of new growth – a little leaf unfurling or a tiny root peeking out of the drainage hole – you’re on the right track! Gradually reduce the humidity over a week or two by opening the bag more frequently. Continue to keep the soil consistently moist.
The most common issue you’ll encounter is rot. If your cutting starts to droop, turn mushy, or develop dark spots, it’s likely rotting. This is usually due to too much moisture and poor air circulation. Don’t be discouraged if a cutting fails; sometimes it just doesn’t work out. Just try again with a fresh one!
A Little Encouragement
Seeing a new Desmoncus mitis plant start its journey is such a rewarding experience. It takes a bit of time, and there might be a few hiccups along the way, but the joy of nurturing a new life from a simple stem is truly special. So, be patient, keep a close eye on your cuttings, and most importantly, enjoy the fascinating process of garden magic unfolding! Happy propagating!
Resource:
https://identify.plantnet.org/k-world-flora/species/Desmoncus%20mitis%20Mart./data