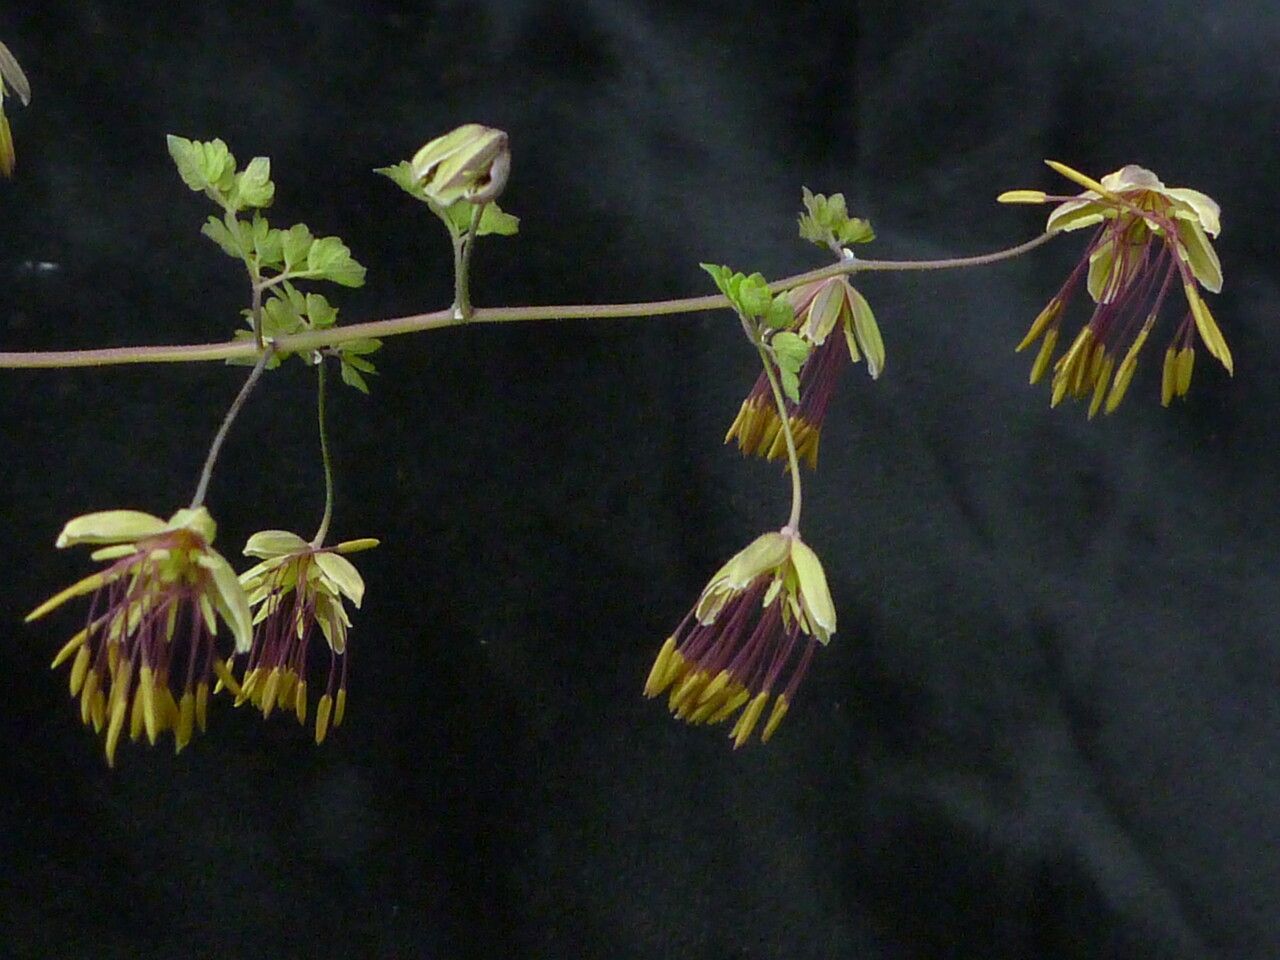
Oh, hello there, my fellow plant-lover! Come on in, pull up a chair. I’ve got a fresh pot of something warm brewing, and I thought we could chat about one of my absolute favorite garden gems: Thalictrum squamiferum, also known as the Fairy Thalictrum or Australian Meadow Rue.
You know, for a plant with such delicate, airy foliage and those lovely, often fluffy, flower heads that dance in the breeze, it’s surprisingly robust. I just adore the way it adds texture and movement to a border without demanding a whole lot of fuss. And the reward of seeing a tiny cutting I’ve nurtured grow into a beautiful specimen? Well, that’s just pure gardening joy, isn’t it? Now, this one isn’t going to win any awards for being the absolute easiest to propagate out of the gate, but with a little understanding and patience, it’s certainly doable for the enthusiastic beginner. Think of it as a gentle step up!
The Best Time to Start
For Thalictrum squamiferum, I find the absolute sweet spot is late spring or early summer, just as the plant is really getting into its stride of active growth. You want to take cuttings from healthy, new shoots that are firm but not yet woody. Basically, when the stems are bending a little when you gently squeeze them, that’s your signal. We’re aiming for pieces that have a good amount of energy stored up, ready to put into making those precious roots.
Supplies You’ll Need
To give our little Thalictrum babies the best start, here’s what I always have on hand:
- Sterile potting mix: I like a blend that’s light and airy. A mix of peat moss, perlite, and a little bit of compost works wonders. You want it to drain well, but still hold some moisture.
- Clean, sharp pruning shears or a razor blade: For making clean cuts. This is crucial to prevent damage and disease.
- Small pots: Seedling pots or even yogurt cups with drainage holes work perfectly.
- Rooting hormone (optional but helpful): A powder or gel can give your cuttings a little boost.
- Clear plastic bags or a propagation dome: To create a humid environment.
- Watering can with a fine rose: For gentle watering.
- Labels and a marker: So you don’t forget what you planted where!
- A warm spot: This can be a sunny windowsill or, ideally, a heat mat.
Propagation Methods
While Thalictrum squamiferum can be grown from seed, I find propagation by division and, to a lesser extent, stem cuttings are the most reliable and rewarding methods for us home gardeners.
Division: The Gardener’s Workhorse
This is, in my opinion, the easiest and most successful way to increase your stock of Thalictrum squamiferum.
- Timing is Key: The best time to divide is in early spring, just as new growth is starting to emerge, or in the fall after the foliage has died back. I usually lean towards spring myself, as it gives the divided pieces more time to establish before winter.
- Gentle Extraction: Carefully dig up the entire plant. Try to disturb the root ball as little as possible, but you can gently shake off some of the excess soil to get a better look at the structure.
- Divide and Conquer: Look for natural divisions in the root ball. You’ll want each piece to have at least one healthy shoot or eye and a good portion of roots. You can often tease the root ball apart with your hands. If it’s a really dense clump, you might need to use a sharp, clean trowel or even a knife to make the cut.
- Replanting: Immediately replant your divisions into their new spots, whether that’s back in the garden or into pots. Water them in well.
- Water Regularly: Keep them consistently moist, especially during their first growing season.
Stem Cuttings: For the Patient Gardener
This method takes a bit more finesse, but it’s so satisfying when it works!
- Take Your Cuttings: In late spring or early summer, select healthy, non-flowering shoots. Using your sharp shears, cut stems that are about 4-6 inches long. Make the cut just below a leaf node (that little bump where the leaf attaches to the stem).
- Prepare the Cuttings: Gently remove the leaves from the bottom half of the cutting. You want to leave just a couple of sets of leaves at the top to help with photosynthesis. If the leaves are quite large, I like to cut them in half to reduce water loss.
- Rooting Hormone (Optional): Lightly dip the cut end of the stem into rooting hormone, tapping off any excess.
- Planting: Fill your prepared pots with your sterile potting mix. Make a small hole with your finger or a pencil. Insert the bottom end of the cutting into the hole and gently firm the soil around it.
- Create Humidity: Water the soil gently until it’s evenly moist. Now, cover the pot with a clear plastic bag or place it under a propagation dome. This creates a mini-greenhouse, trapping moisture.
- Placement: Place the pots in a bright, indirect light location. Avoid direct sun, which can scorch the delicate cuttings.
The “Secret Sauce” (Pro Tips)
Here are a few little tricks I’ve picked up over the years that can really make a difference:
- Don’t let the leaves touch the water in a water propagation setup. If you opt for water propagation (which can work for Thalictrum, but I find soil more reliable for this particular plant), ensure only the very bottom of the stem is submerged. Any leaves in the water will just rot and can introduce disease.
- Consider bottom heat. For stem cuttings, placing the pots on a heated propagation mat can work wonders. It encourages root development from below, creating a cozy environment for those nascent roots to form. I’ve found it significantly speeds up the process and improves success rates.
- Mist, don’t drown. When using the plastic bag method for cuttings, a light misting of the inside of the bag every few days is usually enough. You don’t want waterlogged soil, as that’s a fast track to rot. Check the condensation – if it’s dripping heavily, open the bag for a little while to let it air out.
Aftercare & Troubleshooting
Once you see new growth appearing on your cuttings or divisions, that’s a good sign roots are forming!
- For Divisions: Keep them well-watered. They might look a bit sad for a week or two, but give them consistent moisture and they should perk up.
- For Cuttings: Gradually acclimate your rooted cuttings to drier air. Once they’ve developed a good root system (you can gently check by giving the pot a very slight tug – if there’s resistance, roots are forming), you can remove the plastic bag. Continue to keep the soil consistently moist.
Common Issues: The biggest culprit is rot. If your cuttings turn black and mushy, or if the soil stays constantly soggy and the plant wilts despite watering, you’ve likely got a rot problem. This is usually due to too much moisture, poor drainage, or lack of air circulation. If you see signs of rot, act quickly. Remove affected material and try to improve drainage and airflow. Sometimes, sadly, you just have to accept that not every cutting or division will make it – it’s just part of the gardening dance!
So there you have it! Propagating Thalictrum squamiferum is a journey, and like any good journey, it requires a little patience and attention. Don’t be discouraged if your first attempt isn’t a runaway success. Each time you try, you learn a little more, and that experience is just as valuable as a dozen new plants. Get your hands dirty, enjoy the process, and before you know it, you’ll be surrounded by even more of these airy wonders. Happy gardening!
Resource:
https://identify.plantnet.org/k-world-flora/species/Thalictrum%20squamiferum%20Lecoy./data