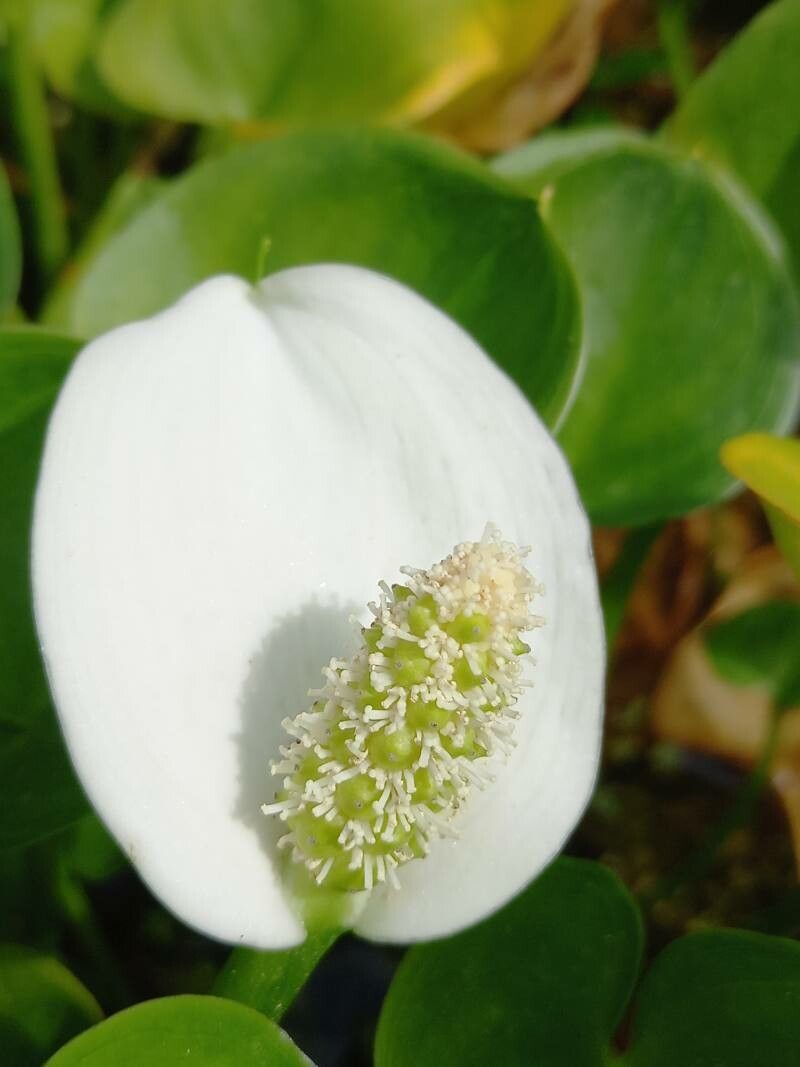
Hey there, fellow plant lovers! I’m so excited to talk to you today about a plant that truly captures my heart: Calla palustris, often called the Water Arum or Wild Calla. It’s got this stunning, elegant white spathe that just sings in the right setting. And believe me, getting more of these beauties to call your own is a truly rewarding experience. Now, for beginners, I’d say propagating Calla palustris falls into the moderately easy category. It’s not quite as foolproof as a spider plant, but with a little care, you’ll be well on your way to success.
The Best Time to Start
This is key to getting happy little Calla palustris plants sprouting. The absolute best time to attempt propagation is in the early spring, just as the plant is waking up from its dormancy. You’re looking for actively growing shoots, usually after the last frost has passed. Starting now means your new divisions or cuttings will have the entire growing season to establish themselves.
Supplies You’ll Need
Before we get our hands dirty, let’s gather our tools. You probably have most of these already!
- Sharp pruning shears or a clean knife: For making precise cuts.
- Well-draining potting mix: I like a blend of peat moss, perlite, and a bit of compost. For boggy plants like this, something that holds a little moisture but won’t stay waterlogged is crucial.
- Small pots or trays: Enough to house your new propagations.
- Watering can with a fine rose: For gentle watering.
- Optional: Rooting hormone: While not strictly necessary for division, it can give cuttings a little boost.
- Optional: A heat mat: For cuttings, this can speed up root development.
Propagation Methods
Calla palustris is a rhizomatous plant, which means its primary method of spreading is through underground stems. This makes division the most straightforward and successful way to propagate it.
Method 1: Division (The Reliable Friend)
- Dig it up gently: In early spring, carefully dig up your established Calla palustris. Try to disturb the roots as little as possible. You can usually do this once the plant is a good size, say, at least a foot across.
- Clean off the excess soil: Gently shake away some of the soil from the root ball. This will help you see the rhizomes and where they are dividing naturally.
- Look for growth points: You’ll see the thick, fleshy rhizomes. Identify sections that have visible buds or growing points. These are often little knobby bits or where a new shoot is already emerging.
- Make the cut: Using your clean pruning shears or knife, carefully cut or pull apart the rhizome into sections. Each section should have at least one good growing point and a decent bit of root attached. If a rhizome is particularly large and has multiple distinct growing points, you can often divide it further.
- Pot them up: Plant each division in its own pot. Ensure the top of the rhizome is just barely covered by a thin layer of your well-draining soil mix. Don’t bury them too deeply.
- Water gently: Water the newly potted divisions thoroughly but gently.
Method 2: Rhizome Cuttings (A Little More Hands-On)
If you have a large rhizome and want to get even more plants, you can try taking cuttings.
- Prepare your cuttings: After dividing a larger rhizome, you might have smaller sections that still have a bud. Cut these pieces so that each piece is about 1-2 inches long and has at least one visible bud.
- Dip in rooting hormone (optional): If using, dip the cut end into rooting hormone.
- Plant them shallowly: Plant these cuttings in pots filled with your well-draining mix, again, ensuring the bud is just at or slightly below the soil surface.
- Provide warmth: This is where a heat mat can be really beneficial. Place the pots on a heat mat set to a gentle warmth (around 70-75°F or 21-24°C).
The “Secret Sauce” (Pro Tips)
Here are a couple of things I’ve learned over the years that make a difference:
- Don’t overwet newly divided plants: While Calla palustris likes moisture, freshly divided rhizomes are susceptible to rot if the soil stays constantly soggy. Water well initially, then let the top inch of soil dry out slightly between waterings until you see new growth.
- Patience is a virtue, especially with cuttings: If you’re trying rhizome cuttings, don’t be discouraged if you don’t see immediate top growth. Roots are forming beneath the surface, and it can take several weeks, especially without bottom heat. Keep the soil consistently moist but not waterlogged.
Aftercare & Troubleshooting
Once you’ve got your new divisions or cuttings potted up, give them a good watering. Place them in a bright spot out of direct, harsh sunlight. For division, you should start seeing new leaf growth within a few weeks. For cuttings, it might take longer.
The main thing to watch out for is rot. If you see your rhizome turning black and mushy, it’s likely a sign of overwatering and fungal issues. If this happens, gently excavate the affected part, try to remove the rotted section with a clean knife, and repot in fresh, drier soil. Sometimes, it’s salvageable, and sometimes, unfortunately, it’s not. But don’t let that discourage you; it’s a learning process!
A Encouraging Closing
Propagating Calla palustris is such a rewarding way to expand your garden and share these lovely plants. Be patient with the process, trust your instincts, and most importantly, enjoy the journey of coaxing new life from your existing plants. Happy gardening!
Resource:
https://identify.plantnet.org/k-world-flora/species/Calla%20palustris%20L./data