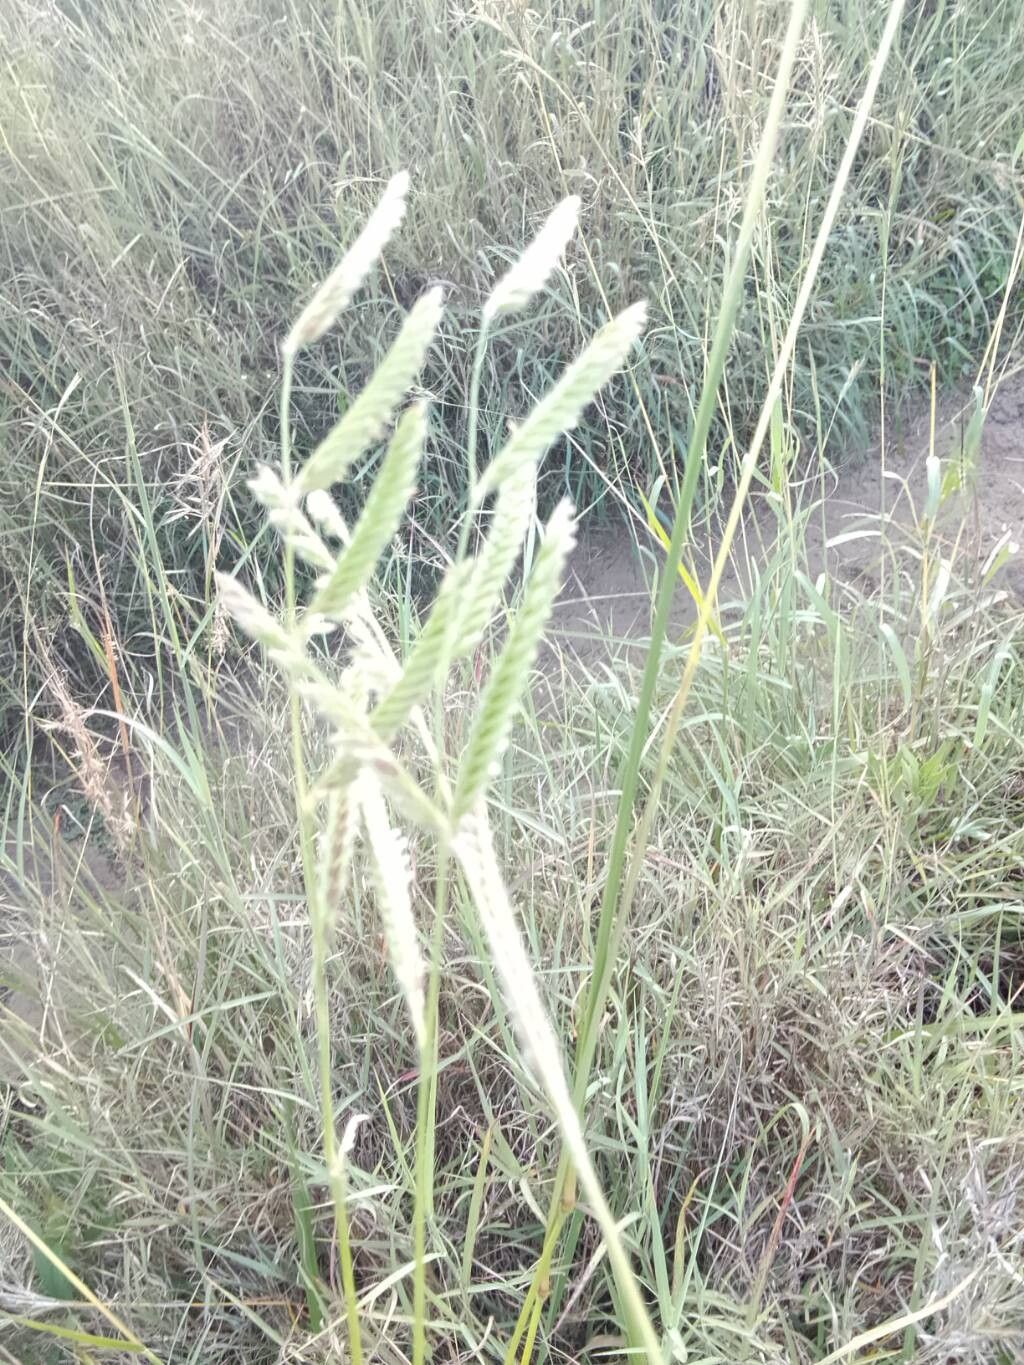
Hello, fellow garden enthusiasts! I’m so excited to chat with you today about a plant that has truly captured my heart over the years: Urochloa lachnantha. You might know it by a more common name, and if you’ve seen its lovely grassy foliage and delicate, airy flower heads, you know exactly why it’s so appealing. It brings a touch of wild beauty and texture to any garden, and honestly, watching it grow from a tiny cutting or division into a thriving plant is one of the most satisfying gardening experiences.
Now, if you’re new to propagation, you might be wondering if Urochloa lachnantha is a good place to start. I’m happy to report that it’s surprisingly forgiving! While no plant is completely foolproof, this one offers a great opportunity to build your propagation confidence. It’s a rewarding plant to multiply, and I’m here to walk you through how to do it successfully.
The Best Time to Start
For the highest success rate with Urochloa lachnantha, I always aim to propagate during its active growing season. This typically falls in the late spring through early summer. During this time, the plant has plenty of energy reserves and is geared up for growth, which means it’s more receptive to rooting. Trying to propagate when the plant is dormant or stressed may lead to slower progress or even failure.
Supplies You’ll Need
To give your Urochloa lachnantha cuttings the best chance, you’ll want to have these on hand:
- Sharp pruning shears or a clean knife: For making clean cuts without damaging the plant.
- Small pots or containers: Clean ones are key to preventing disease.
- Well-draining potting mix: I like a blend of equal parts peat moss, perlite, and a little coarse sand. For grasses, good drainage is paramount.
- Rooting hormone (optional but recommended): A powder or gel can significantly speed up rooting.
- Watering can with a fine rose attachment: For gentle watering.
- Plastic bags or a propagator lid: To create a humid environment.
- Labels and a pen: To keep track of your newbies!
Propagation Methods
Urochloa lachnantha is quite versatile, and you can successfully propagate it using a couple of main methods:
1. Stem Cuttings: Turning Stems into Stars
This is my go-to method for increasing my stock quickly.
- Select healthy stems: Look for non-flowering, vigorous stems from your established plant. They should be at least 4-6 inches long.
- Make the cut: Using your sharp pruners, make a clean cut just below a leaf node (where a leaf joins the stem). This node is where new roots will emerge.
- Prepare the cutting: Gently remove the lower leaves from the stem, leaving just the top few leaves. If the leaves are very large, you can even cut them in half to reduce water loss.
- Dip in rooting hormone: If you’re using it, dip the cut end of the stem into the rooting hormone powder or gel. Tap off any excess.
- Plant your cuttings: Fill your clean pots with your well-draining potting mix. Make a small hole in the center of the soil with your finger or a pencil. Insert the cut end of the stem into the hole, ensuring the node is buried. Gently firm the soil around the stem.
- Water gently: Water thoroughly but gently, ensuring the soil is moist but not waterlogged.
- Create humidity: Cover the pot with a clear plastic bag or a propagator lid. This creates a mini greenhouse effect, keeping the humidity high, which is crucial for cuttings. Place the pot in a bright location, but out of direct sunlight.
2. Division: Sharing is Caring
This is a fantastic way to rejuvenate older clumps and get multiple new plants.
- Gently excavate: Carefully lift the entire clump of Urochloa lachnantha from its pot or the ground. It’s best to do this when the soil is slightly moist.
- Tease apart: You can often gently pull the clump apart with your hands. If it’s a bit stubborn, use a clean trowel or knife to help separate it into smaller sections. Each section should have a good amount of roots and several healthy shoots.
- Replant immediately: Pot up your divisions into their own containers with fresh potting mix, or replant them directly into your garden. Water them in well.
The “Secret Sauce” (Pro Tips)
Over the years, I’ve picked up a few tricks that make a big difference:
- Bottom heat is a game-changer for cuttings. If you can, place your pots on a gentle heat mat designed for seedlings. This stimulates root growth from below, essentially giving your cuttings a warm jumpstart. You can often find these online or at garden centers.
- Don’t let those leaves touch the water! This is critical for both stem cuttings in water (though I prefer soil for Urochloa lachnantha) and for cuttings in pots. If lower leaves are submerged, they will rot and can introduce disease to your cutting. Regularly check and trim away any leaves that dip into the water or sit too close to damp soil.
- A light misting can help when humidity is a concern. While the plastic bag is great, on very dry days, I like to give the inside of the plastic bag a light misting with water with a spray bottle. This pumps up the humidity without directly soaking the plant. Avoid spraying the leaves directly as this can encourage fungal issues.
Aftercare & Troubleshooting
Once your Urochloa lachnantha shows signs of rooting – you’ll see new growth, or the cuttings will resist a gentle tug – it’s time to gradually acclimate them.
First, start by peeking the plastic bag open for a few hours each day. Gradually increase the open time over a week or so. Once they’re reasonably sturdy and you’ve removed the humidity cover, keep them in a bright spot and water when the top inch of soil feels a little dry.
The most common issue you might encounter is rot, which usually happens from overwatering or poor drainage. If you see a cutting turn yellow, mushy, and start to smell, it’s likely succumbed to rot. Remove it immediately to prevent it from affecting other cuttings. If you’re dividing, make sure you’re not leaving the divisions in soggy conditions.
Keep Growing!
Oh, the joy of seeing those tiny roots emerge and then the first flush of new growth! Propagating Urochloa lachnantha is a beautiful way to expand your garden and share the love of plants with friends. Be patient with the process – sometimes it takes a little longer than we expect, and that’s perfectly okay. Happy propagating, and enjoy the green rewards!
Resource: