Well hello there, fellow plant enthusiasts! Today, I’m thrilled to chat about a plant that truly holds a special place in my heart: Landolphia incerta. If you’re drawn to a bit of botanical adventure, with its elegant vines and the promise of a beautiful flowering display (oh, the scent!), then propagating this beauty is a journey worth taking.
Now, if you’re a complete beginner looking for your first foray into propagation, Landolphia incerta might present a bit of a challenge. It’s not impossible, by any means, but it does require a touch more patience and careful attention. Think of it as a rewarding project that’ll teach you some valuable lessons!
The Best Time to Start
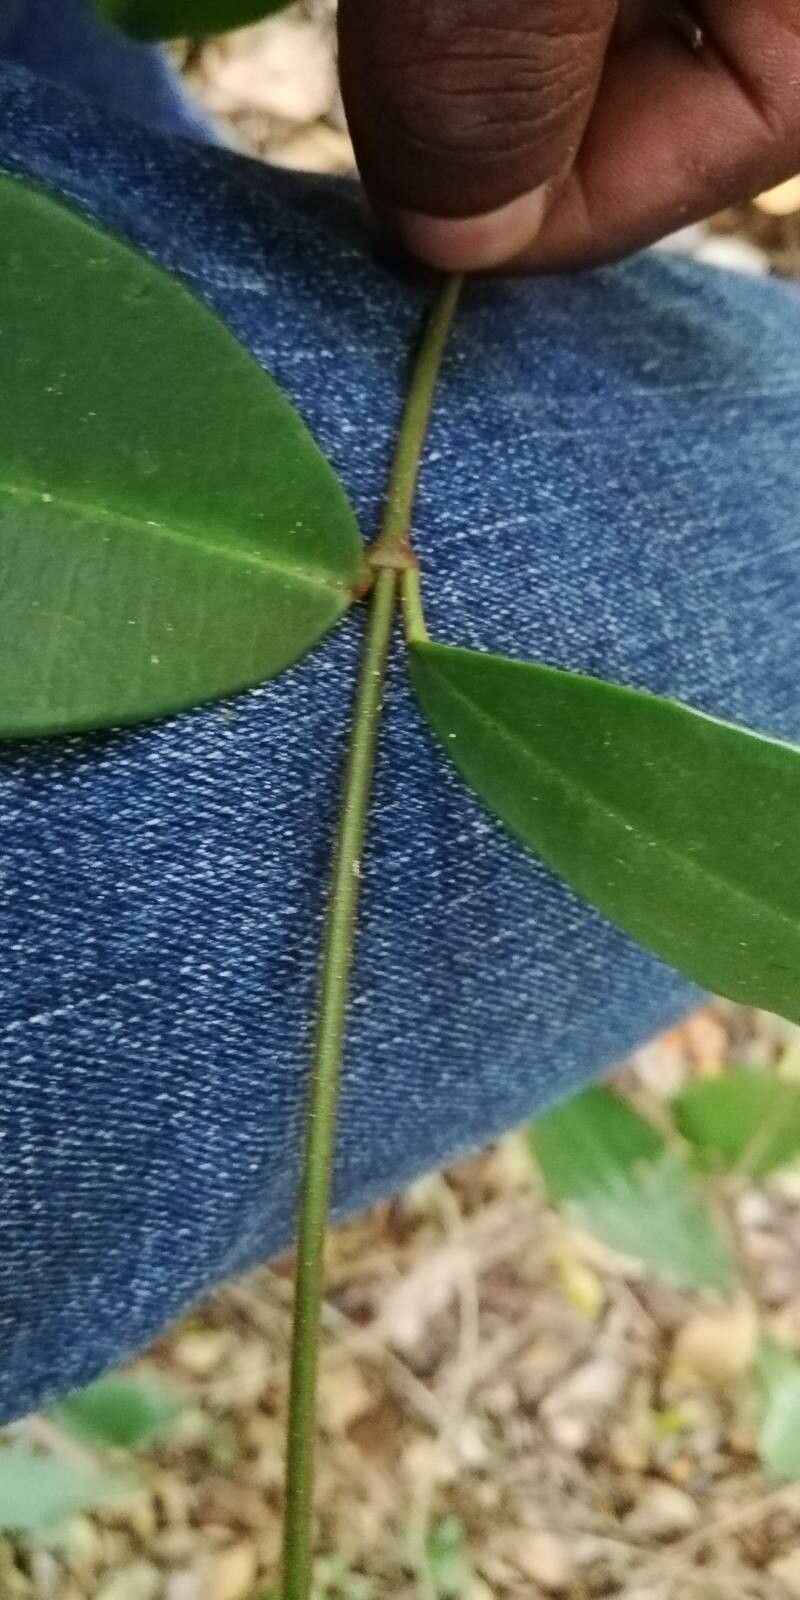
For the highest chance of success with Landolphia incerta, I always recommend taking cuttings in the late spring or early summer. This is when the plant is in its active growing phase, meaning it has plenty of energy to put into developing new roots. You’re looking for stems that are firm but not overly woody – often referred to as semi-hardwood cuttings. Avoid the very soft, new growth that’s still a bit floppy.
Supplies You’ll Need
Before we get our hands dirty, let’s gather our toolkit:
- Sharp, clean pruning shears or a knife: Sterilize them with rubbing alcohol to prevent disease transfer.
- Rooting hormone: A good quality rooting hormone powder or gel can significantly boost your success rate.
- Well-draining potting mix: I like a blend of equal parts perlite and peat moss, or a good quality seed-starting mix.
- Small pots or propagation trays: Clean pots are a must.
- Plastic bags or a propagator: To create a humid environment.
- Watering can or spray bottle: For gentle watering.
- Identification tags: So you don’t forget what you’ve planted!
Propagation Methods: Stem Cuttings
This is my go-to method for Landolphia incerta. It’s effective and allows you to create multiple new plants from a single parent.
- Select your stems: As I mentioned, look for those semi-hardwood stems. You want to take cuttings that are about 6-8 inches long, with at least two sets of leaves.
- Make the cut: Using your sterilized shears or knife, make a clean cut just below a leaf node. This is the point where a leaf attaches to the stem, and it’s where root development is most likely to occur.
- Prepare the cutting: Gently remove the lower leaves, leaving just one or two at the very top. This reduces water loss and prevents leaves from rotting in the soil.
- Dip in rooting hormone: Lightly dip the cut end into your rooting hormone, tapping off any excess. This step is crucial for Landolphia incerta.
- Plant your cuttings: Make a small hole in your potting mix with a pencil or your finger, and carefully insert the cutting. Firm the soil gently around the stem so it stands upright.
- Water gently: Water thoroughly but gently, ensuring the soil is moist but not waterlogged.
- Create humidity: Place the pot in a clear plastic bag or a propagator, ensuring the bag doesn’t touch the leaves. This traps moisture and creates a mini-greenhouse effect.
- Provide warmth: Place the pots in a warm spot, out of direct sunlight. A heat mat can be a fantastic addition for consistent warmth from below.
The “Secret Sauce” (Pro Tips)
Here are a couple of things I’ve learned over the years that can really make a difference with trickier propagations like this one:
- Don’t let leaves touch the water: If you opt for a water propagation trial (though I find soil is better for Landolphia), ensure no leaves are submerged. They will rot very quickly and can take down the whole cutting.
- Bottom heat is your best friend: Landolphia incerta loves a warm foundation to encourage root growth. A propagation heat mat set to around 70-75°F (21-24°C) makes a world of difference. It provides that consistent, gentle warmth that mimics ideal soil temperatures.
Aftercare & Troubleshooting
Once your cuttings are potted, the waiting game begins! Keep the soil consistently moist but not sodden. You can check for moisture by gently pressing the soil – it should feel firm, not squishy.
You’ll know your cuttings are rooting when you see new leaf growth or feel gentle resistance when you give a very light tug. This can take anywhere from 4 to 10 weeks, so be patient!
The biggest culprit for failure with Landolphia incerta is rot. If you see stems turning mushy and black, it’s usually a sign of too much moisture and not enough airflow. Ensure your potting mix is super well-draining, and don’t overwater. If you see signs of rot on one cutting, remove it immediately to prevent it from spreading.
A Encouraging Closing
Propagating Landolphia incerta is a journey that rewards your patience. Don’t be discouraged if your first few attempts aren’t perfect. Each time you try, you’re learning a little more about what your plant needs. Enjoy the process, celebrate those tiny new roots, and soon you’ll have your very own fragrant Landolphia to share and admire! Happy propagating!
Resource: