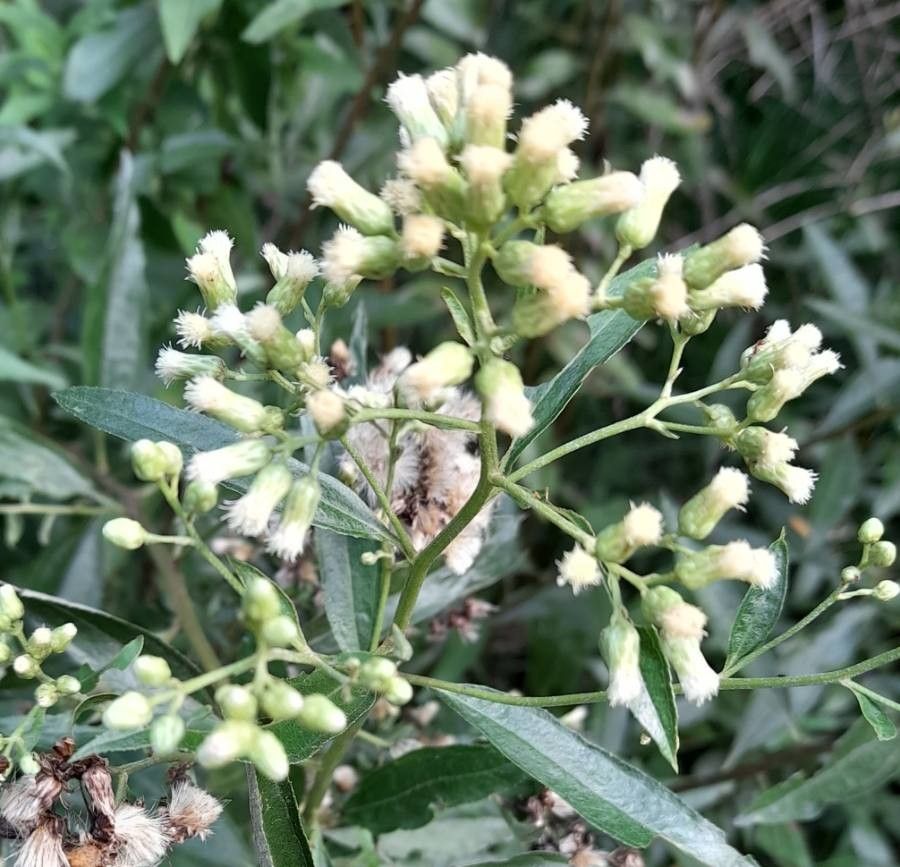
Hello fellow plant lovers! Today, we’re diving into the wonderful world of Baccharis glutinosa, often called sticky seepweed or desert willow. If you’re looking for a tough, beautiful native plant that attracts tons of pollinators, this is it! Its delicate, willow-like leaves and wispy white flowers are simply enchanting. And the best part? Propagating it is a truly rewarding experience, and I’m happy to share that it’s surprisingly beginner-friendly. Anyone can coax a new life from an existing plant with a little guidance.
The Best Time to Start
For the highest success rate, reach for your pruning shears in late spring or early summer. This is when the plant is actively growing and has plenty of energy to put into developing new roots. Look for stems that are semi-hardened – not brand new and floppy, but not woody and old either. Think of them as having a bit of give but still holding their shape.
Supplies You’ll Need
Gathering your tools beforehand makes the whole process smoother. Here’s what I always have on hand:
- Sharp Pruning Shears or a Clean Knife: Essential for making clean cuts.
- Potting Mix: A well-draining mix is crucial. I like a blend of perlite, peat moss, and a good quality potting soil. You can also find specialized seed-starting mixes that work beautifully.
- Rooting Hormone (Optional but Recommended): This is a little boost that can significantly speed up root development.
- Small Pots or Trays: Clean pots are a must! I prefer 4-inch pots for most cuttings.
- Plastic Bags or a Humidity Dome: To keep the humidity high around your cuttings.
- Watering Can with a Fine Rose: For gentle watering.
- Labels: Don’t forget to label your new babies!
Propagation Methods
Let’s get our hands dirty! Stem cuttings are hands-down the easiest and most successful method for Baccharis glutinosa.
1. Taking Stem Cuttings:
- Select Your Stems: As mentioned, aim for those semi-hardened, new-ish stems in late spring or early summer.
- Make the Cut: Using your clean shears, cut stems that are about 6-8 inches long. Make your cut just below a leaf node (where a leaf attaches to the stem). This is where roots are most likely to form.
- Prepare the Cuttings: Gently remove the lower leaves, leaving only a few at the very top. This prevents the submerged leaves from rotting.
- Dip in Rooting Hormone (If Using): Moisten the cut end of the stem and dip it into your rooting hormone powder. Tap off any excess.
- Plant Your Cuttings: Fill your clean pots with your well-draining potting mix. Make a small hole in the center with your finger or a pencil. Insert the prepared cutting into the hole, ensuring the leaf nodes are below the soil surface. Gently firm the soil around the base of the cutting.
2. Water Propagation (A Different Approach):
While I lean towards soil for Baccharis, you can try water.
- Take Cuttings: Follow the same steps as above for taking stem cuttings.
- Place in Water: Put the cuttings in a clean jar or vase filled with room-temperature water. Make sure those lower leaf nodes are submerged.
- Watch for Roots: Keep an eye on the water level and replenish as needed. You should start seeing tiny white roots emerge from the leaf nodes in a few weeks.
The “Secret Sauce” (Pro Tips)
Here are a few little tricks I’ve learned over the years that can really make a difference:
- The “Don’t Let Leaves Touch Water” Rule: If you’re trying water propagation, this is critical! Any leaves submerged in water will quickly start to decay and can rot the entire cutting. Keep them just above the waterline.
- Bottom Heat is Your Friend: For stem cuttings in soil, placing your pots on a heating mat designed for plants can significantly speed up root development. It mimics the warmth of spring soil and makes the cuttings feel right at home.
- Humidity is Key: Cuttings don’t have roots to absorb water, so they rely on humidity to stay hydrated. Covering your pots with a clear plastic bag (supported by stakes so it doesn’t touch the leaves) or using a humidity dome creates a mini-greenhouse. Just be sure to open it for an hour or so each day to allow for air circulation and prevent fungal issues.
Aftercare & Troubleshooting
Once you see roots emerging from the drainage holes of your pot or your cuttings are showing new growth, congratulations! You’ve got a new Baccharis!
- If your cuttings were in water: Carefully transplant them into pots filled with your well-draining potting mix. Handle those delicate roots gently.
- If your cuttings were in soil: Continue to keep them moderately moist and humid. As they establish, you can gradually reduce the humidity.
- Introduce them slowly: Before planting them out in their final spot, acclimate your new plants to outdoor conditions by gradually exposing them to more sun and wind over a week or two.
Troubleshooting: The most common sign of failure is a slimy, rotted stem or the cutting turning completely brown and dry. This usually means too much moisture without enough air circulation, or the cutting was taken from a stem that was too soft or too woody. Don’t be discouraged if a few don’t make it; it’s all part of the learning process!
A Encouraging Closing
Propagating Baccharis glutinosa is such a satisfying way to multiply these gorgeous, beneficial plants. Be patient, enjoy the process of nurturing these tiny beginnings, and celebrate each new root and leaf you see. Happy gardening!
Resource:
https://identify.plantnet.org/k-world-flora/species/Baccharis%20glutinosa%20Pers./data