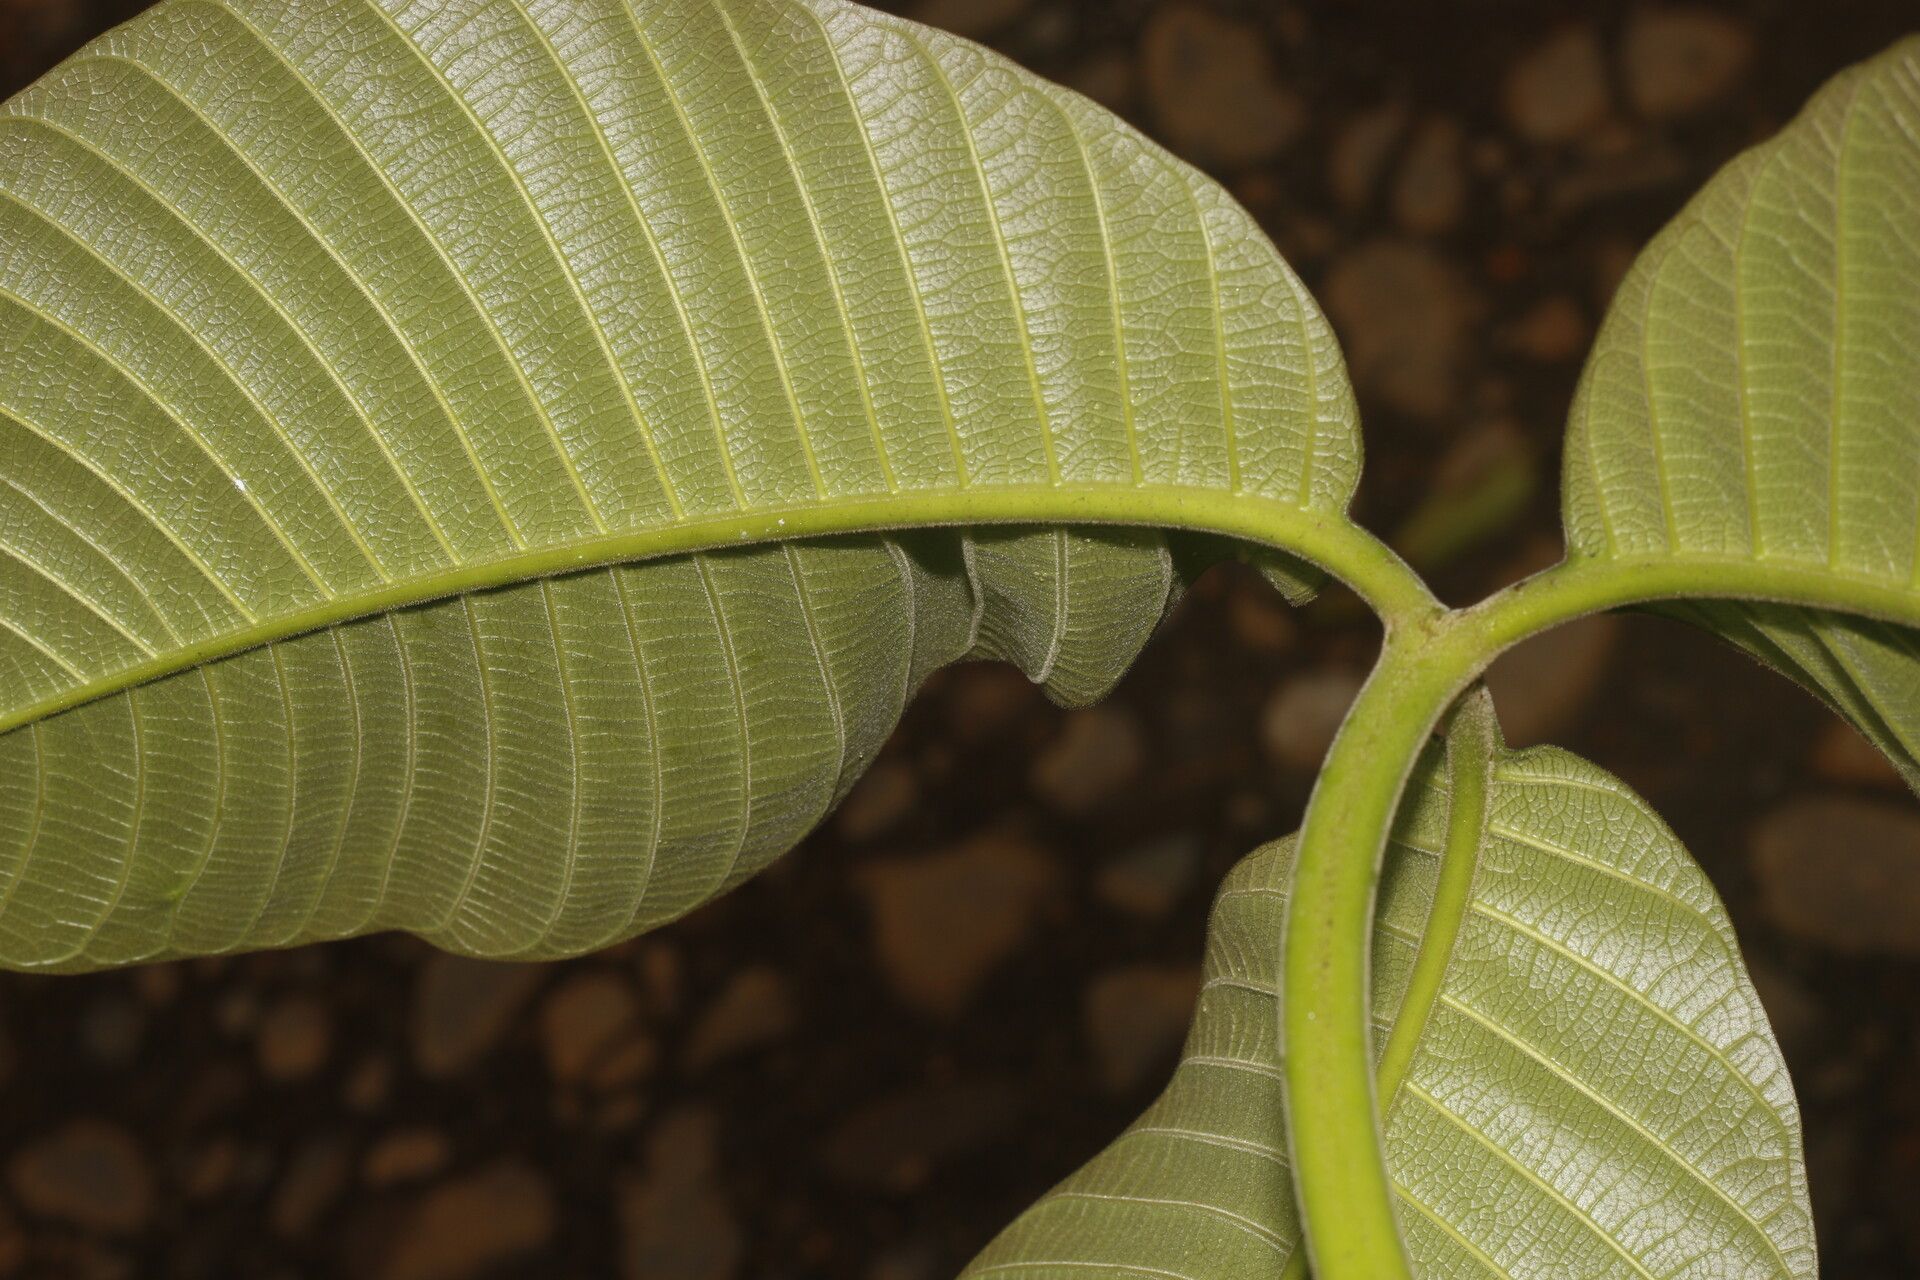
Hello, lovely gardeners! It’s so good to be sharing some planty wisdom with you today. We’re diving into the world of Couma macrocarpa, also known as the “cow tree” or “Oje” tree. Now, I know what you might be thinking – a cow tree? But trust me, this tropical beauty is anything but barnyard! Its glossy, leathery leaves and its potential for producing delicious, milk-like sap (hence the name!) make it a fascinating addition to any well-lit space. Propagating your own Couma macrocarpa is incredibly rewarding. You get to give the gift of green or expand your own collection, and there’s a special kind of joy in nurturing a tiny cutting into a thriving plant. Honestly, for many home gardeners, Couma macrocarpa can be a bit of a challenge, but with a little patience and the right approach, you’ll be well on your way.
The Best Time to Start
For the highest success rates with Couma macrocarpa, you’ll want to take cuttings during its active growing season, which is typically in the late spring or early summer. This is when the plant has plenty of energy to put into root development. Look for stems that are mature but not overly woody. A semi-hardwood cutting, meaning it has started to firm up but is still a little flexible, is often ideal.
Supplies You’ll Need
Gathering your supplies beforehand is half the battle won! Here’s what you’ll want to have on hand:
- Sharp pruning shears or a clean, sharp knife: For making clean cuts.
- Rooting hormone (optional but recommended): A powder or gel helps cuttings develop roots faster and more successfully.
- Well-draining potting mix: A good blend of peat moss, perlite, and a bit of coarse sand works wonderfully. You want something that won’t hold too much moisture.
- Small pots or propagation trays: Ensure they have drainage holes.
- Plastic bag or propagation dome: To create a humid environment.
- Watering can with a fine rose attachment: For gentle watering.
- Labels or plant tags: To keep track of your cuttings!
Propagation Methods
We’ll focus on the most reliable method for Couma macrocarpa: stem cuttings.
- Select Your Cutting: Choose a healthy, vigorous stem from your established plant. Look for a section that has at least two to three sets of leaves.
- Make the Cut: Using your clean shears or knife, make a clean, angled cut just below a leaf node (where a leaf attaches to the stem). This is where roots are most likely to form. Aim for a cutting that is about 4-6 inches long.
- Prepare the Cutting: Gently remove the lower leaves, leaving only the top two or three leaves. If the remaining leaves are very large, you can trim them in half to reduce water loss through transpiration.
- Apply Rooting Hormone (Optional): Dip the cut end of the stem into your rooting hormone, tapping off any excess.
- Plant the Cutting: Fill your small pot or tray with your well-draining potting mix. Make a small hole in the center of the mix with your finger or a pencil.
- Insert the Cutting: Gently insert the cut end of the Couma macrocarpa cutting into the hole, ensuring the leaf nodes are buried. Firm the soil gently around the base of the cutting.
- Water Gently: Water thoroughly but gently to settle the soil around the cutting.
- Create Humidity: Place the pot inside a clear plastic bag, ensuring the bag doesn’t touch the leaves too much. Alternatively, use a propagation dome. Seal it loosely to allow for some air circulation.
- Find the Right Spot: Place your cuttings in a bright, indirect light location. Avoid direct sunlight, which can scorch the young cuttings.
The “Secret Sauce” (Pro Tips)
Every plant has its little quirks, and here are a few things I’ve learned about Couma macrocarpa that can make a big difference:
- Don’t let those precious leaves touch the water: If you’re tempted to water from the bottom, or if your humidity dome is a bit too enclosed, make sure the leaves aren’t constantly sitting in moisture. This is a surefire way to invite rot.
- Bottom heat is your friend: If you have a seedling heat mat, using it under your propagation tray can really speed up root formation. It mimics the warmth of tropical soil and gives your cuttings that extra boost.
- A gentle misting can help: While we want to avoid soggy leaves, a light misting of the leaves every few days, especially if the air is dry, can benefit the cutting and help keep it turgid while it searches for water through its eventual roots.
Aftercare & Troubleshooting
Patience is key here! It can take anywhere from 4 to 8 weeks, or sometimes even longer, for Couma macrocarpa cuttings to develop a good root system. You’ll know they’re ready when you gently tug on them and feel resistance, or if you see new leaf growth emerging.
Once roots have formed, it’s time for their next stage. Gradually acclimate them to the open air by opening the plastic bag or dome a little more each day over a week. Then, you can transplant them into slightly larger pots with fresh, well-draining potting mix. Continue to keep them in bright, indirect light and water them when the top inch of soil feels dry.
The most common issue you might encounter is rot. Signs of rot include mushy stems, blackening at the base, or leaves that turn yellow and drop suddenly. If you see this, sadly, it usually means the cutting hasn’t rooted and has succumbed to excessive moisture. It’s disappointing, but don’t let it discourage you. Sometimes, even with the best care, a cutting just doesn’t make it. Learn from it, and try again!
A Warm Encouragement
Propagating Couma macrocarpa is a journey. There will be moments of anticipation, maybe a little anxiety, but ultimately, the joy of seeing those tiny roots emerge and a new plant unfurl is absolutely worth it. Be patient with yourself and with your little green charges. Happy growing, everyone!
Resource:
https://identify.plantnet.org/k-world-flora/species/Couma%20macrocarpa%20Barb.Rodr./data