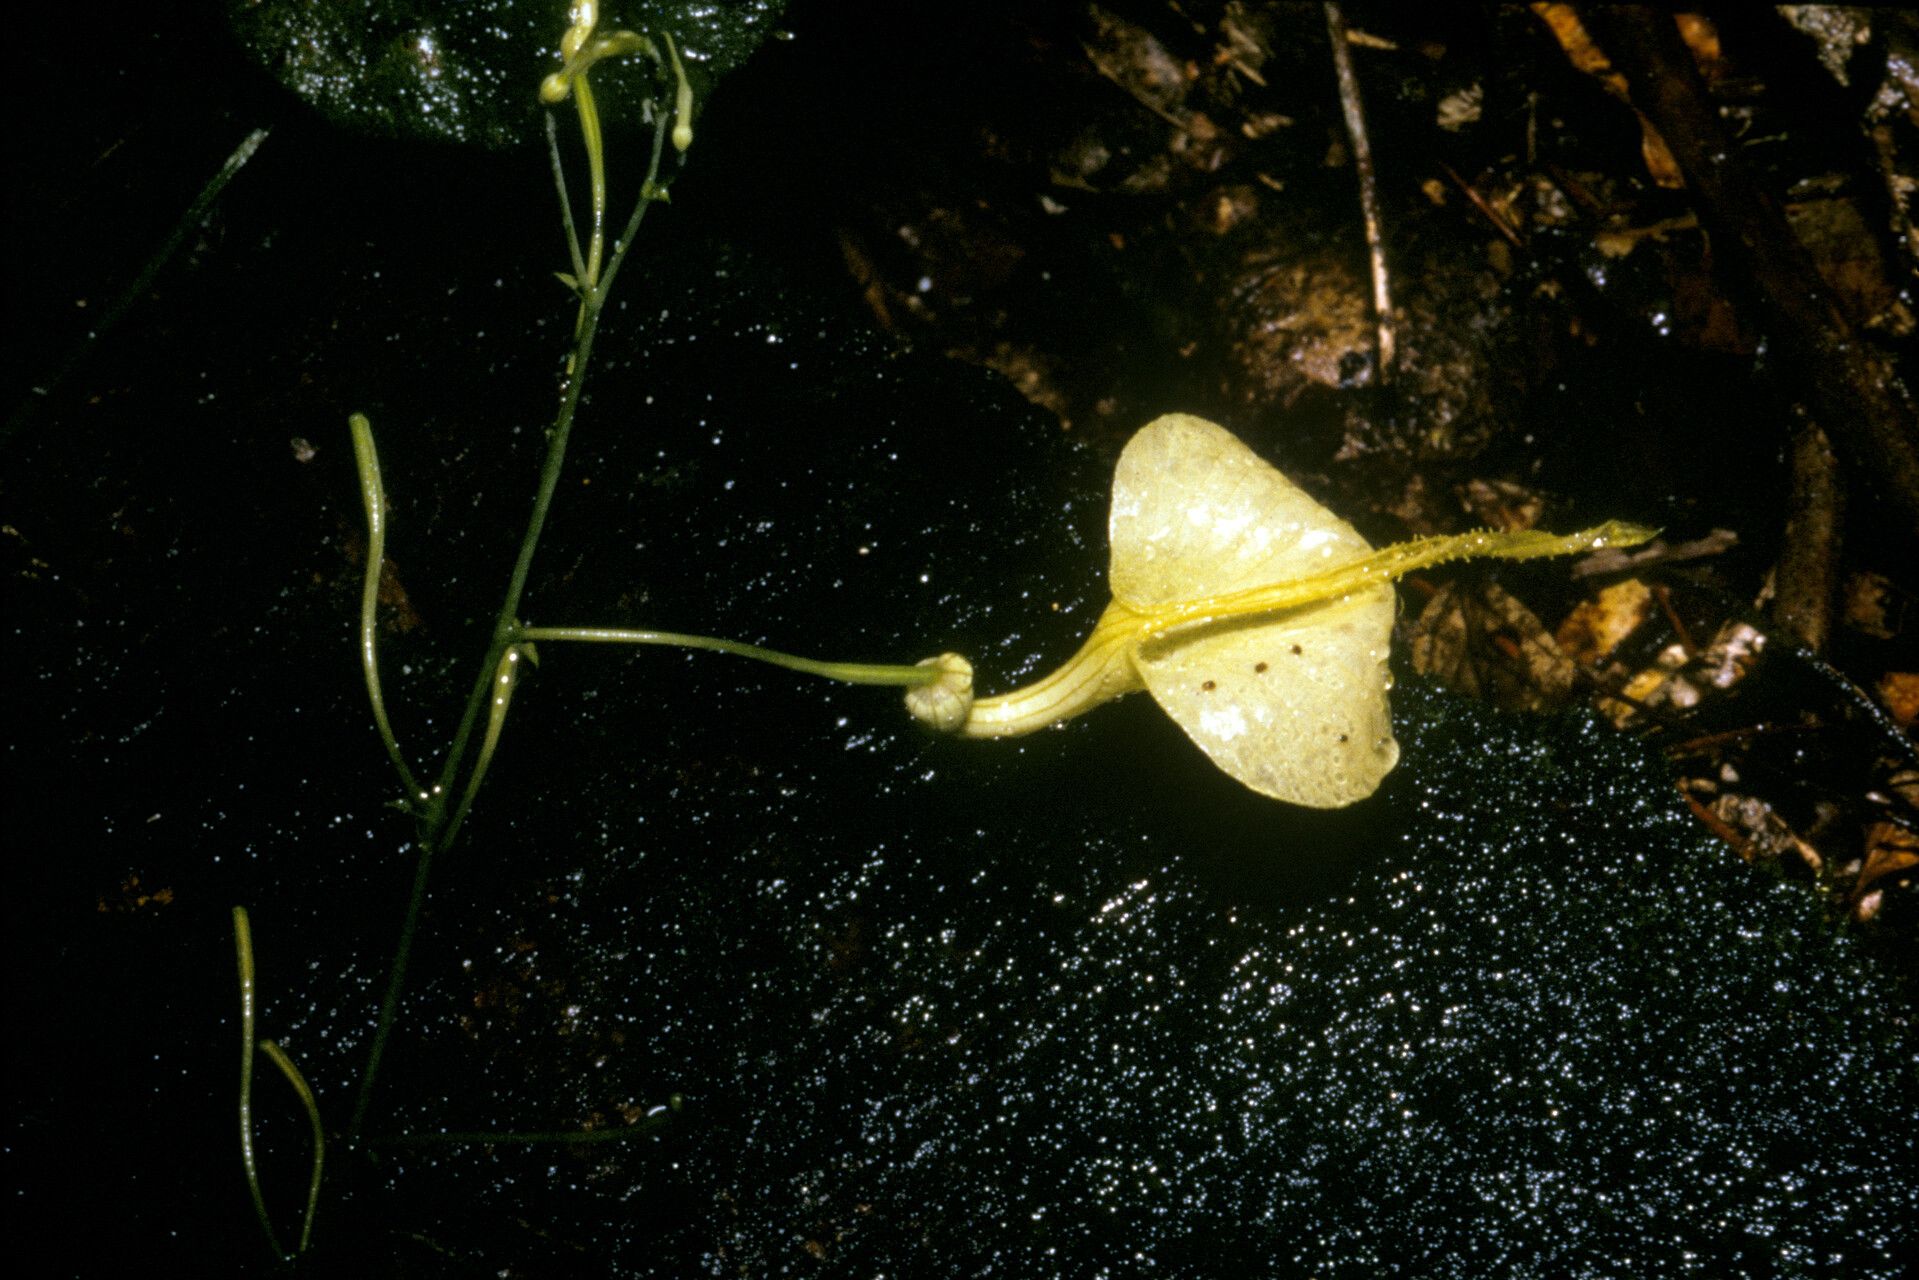
Oh, Aristolochia flava! Isn’t it a darling? With those curious, trumpet-shaped blooms and its vigorous vining habit, it’s a real showstopper in the garden. Propagating it brings an extra layer of satisfaction, don’t you think? Watching a tiny cutting unfurl into a magnificent plant is just plain magic. Now, I’ll be honest, Aristolochia flava can be a little on the finicky side for the absolute beginner. It’s not impossible by any means, but a touch of patience and the right approach will certainly boost your success rate.
The Best Time to Start
For Aristolochia flava, spring is your best friend. Aim for late spring, just as the plant is really waking up after its winter rest and beginning its vigorous growth. You’re looking for new, healthy shoots that are still somewhat soft – not old, woody growth. This active growth phase is when the plant has the most energy to put into establishing new roots.
Supplies You’ll Need
Here’s what I usually have on hand when I’m getting ready to propagate:
- Sharp, clean pruning shears or a craft knife: A clean cut is crucial to prevent introducing disease.
- Rooting hormone powder or gel: This isn’t strictly mandatory, but it does give your cuttings a real head start.
- Sterile potting mix: I like a blend that drains really well. A common recipe is equal parts peat moss or coco coir, perlite, and a bit of coarse sand.
- Small pots or seed trays: Clean ones, always!
- Plastic bags or a propagator lid: To create a humid environment.
- A spray bottle: For misting.
- Labels: Trust me, you’ll thank yourself later!
Propagation Methods: Stem Cuttings
This is the method I find most reliable for Aristolochia flava.
- Take Your Cuttings: On a bright spring morning, select a healthy, non-flowering stem. Look for one that’s about 4-6 inches long and has at least two sets of leaves. Using your sharp pruning shears or knife, make a clean cut just below a leaf node. A leaf node is where a leaf attaches to the stem; this is where roots tend to form.
- Prepare the Cutting: Gently remove the lower leaves from the bottom half of the cutting. Leave just two to four leaves at the top. If your remaining leaves are very large, you can even cut them in half horizontally to reduce water loss.
- Dip in Rooting Hormone: Dip the cut end of the stem into your rooting hormone powder or gel. Tap off any excess.
- Potting Up: Fill your small pots or seed tray with your sterile, well-draining potting mix. Make a small hole in the center of the mix with your finger or a pencil. Insert the cutting into the hole, ensuring the leaf nodes are below the soil surface. Gently firm the soil around the base of the cutting.
- Water and Cover: Water the potting mix gently until it’s evenly moist. Don’t make it soggy. Then, cover the pot with a plastic bag, being careful to keep the leaves from touching the plastic if possible. You can use stakes to hold the bag up. Alternatively, a propagator lid works perfectly.
The “Secret Sauce” (Pro Tips)
- Bottom Heat is Your Friend: Aristolochia flava really appreciates a bit of warmth from below. Placing your pots on a gentle heat mat set to around 70-75°F (21-24°C) can significantly speed up root development. It creates that cozy, greenhouse-like environment they love.
- Don’t Let Them Dry Out, But Don’t Drown Them: This is a delicate balance. Maintain consistent moisture in the potting mix. I find checking the soil moisture daily is a good habit. If the top layer feels dry, give it a light misting or a gentle watering. The plastic bag or propagator lid helps maintain humidity and reduces the need for constant watering, but keep an eye on it.
- Patience with the Node: When you’re taking cuttings, focus on that leaf node. It must be buried in the soil for roots to have the best chance of forming. If you’re ever unsure about where a node is, err on the side of burying a little deeper.
Aftercare & Troubleshooting
Once your cuttings have been potted, place them in a bright location but out of direct sunlight. Direct sun can scorch those tender new leaves.
You’ll know your cuttings are rooting when you see new leaf growth or feel a gentle tug when you lightly pull on the stem. This can take anywhere from 4-8 weeks, or even longer, so be patient!
If you see yellowing or wilting leaves, it could be a sign of too much water (rot) or not enough. Check the soil moisture. If the soil is wet and the leaves are yellowing, you might have rot. Sadly, rotted cuttings are usually a lost cause. You can try taking more cuttings if you have enough material. Rotting stems often turn mushy and dark. Keep an eye out for this. If the leaves are wilting and the soil is dry, it needs more water.
Once your plant has a good root system and shows consistent new growth, you can gradually acclimate it to normal humidity levels. This means opening the bag or propagator lid for longer periods over a week or two. Then, you can transplant it into a slightly larger pot with fresh potting mix.
A Encouraging Closing
I know watching a cutting sit there can feel like an eternity, but trust the process. Aristolochia flava has its quirks, but with this method and a little bit of care, you’ll be rewarded with new plants to share or enjoy. Keep a positive outlook, celebrate every little bit of progress, and happy propagating!
Resource:
https://identify.plantnet.org/k-world-flora/species/Aristolochia%20flava%20Poncy/data