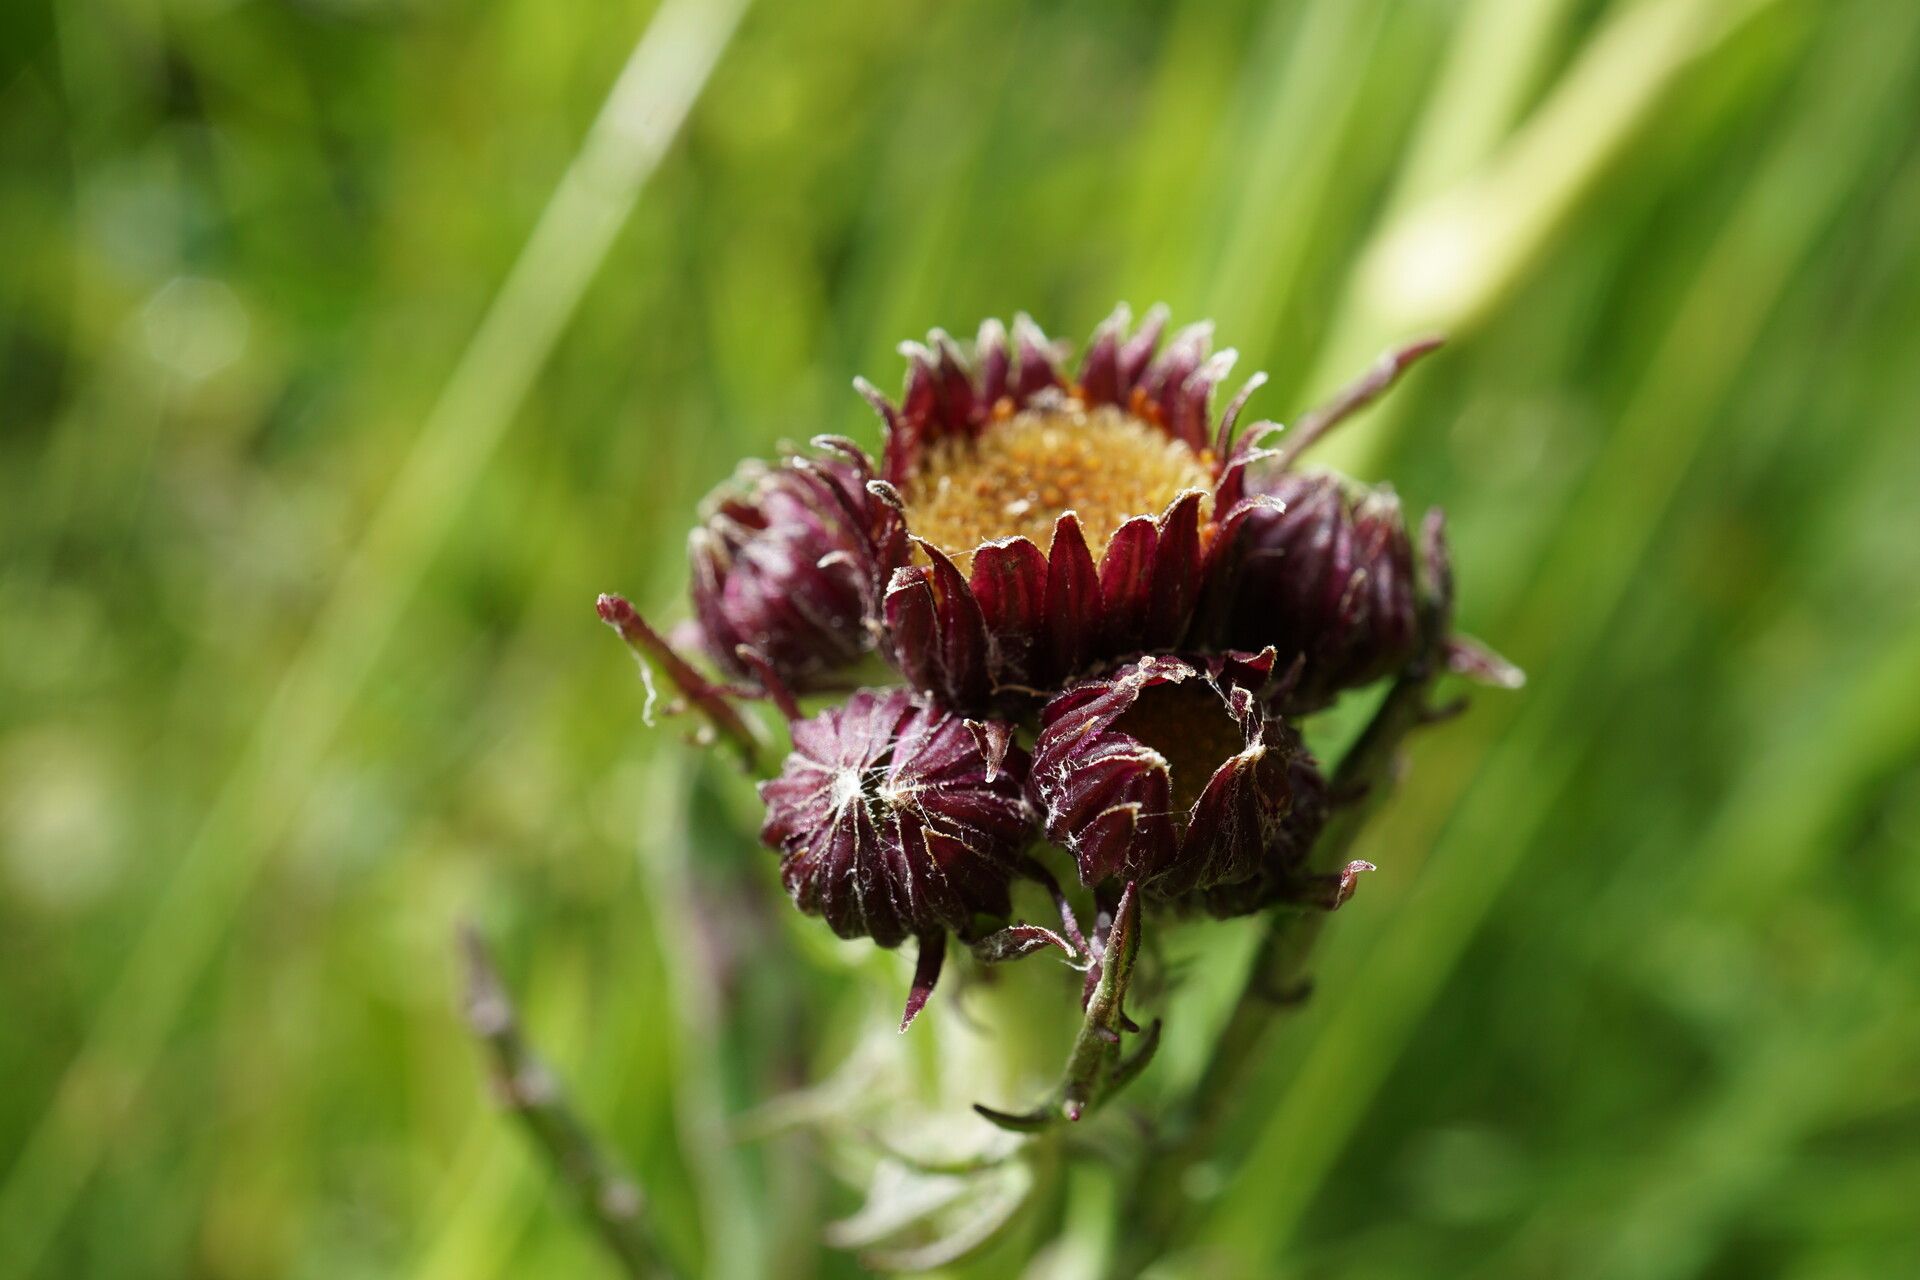
Hello, fellow garden enthusiasts! If you’ve spotted Jacobaea pancicii gracing someone’s garden or a florist’s display, you’ve likely been captivated by its delicate, silver-dusted foliage and charming daisy-like flowers. It’s a real beauty, isn’t it? And the wonderful thing is, you can fill your own garden or patio with these lovely plants without breaking the bank. Propagating them is incredibly rewarding, and I’m happy to share that for most of us, Jacobaea pancicii is quite forgiving. It’s a great plant to get your propagating feet wet with!
The Best Time to Start
For the highest success rate with Jacobaea pancicii, I always aim to propagate in late spring or early summer. This is when the plant is actively growing and has plenty of energy to put into developing new roots. You want to catch it before the really intense heat of mid-summer sets in, which can stress cuttings.
Supplies You’ll Need
Gathering your supplies beforehand makes the whole process much smoother. Here’s what I ensure I have on hand:
- Sharp pruning shears or a clean knife: For making clean cuts.
- Potting mix: A well-draining mix is crucial. I often use a blend of peat moss or coco coir mixed with perlite or coarse sand. A good seed-starting or succulent/cactus mix works well too.
- Small pots or trays: Clean pots are a must to prevent disease.
- Rooting hormone (optional but recommended): This can significantly speed up the rooting process.
- Watering can or spray bottle: For gentle watering.
- Plastic bag or propagator lid: To create a humid environment.
- Labels: So you remember what you planted where!
Propagation Methods
Jacobaea pancicii is easily propagated from stem cuttings. This is my go-to method, and it’s incredibly effective.
Stem Cuttings:
- Take your cuttings: Using your sharp shears or knife, take cuttings from a healthy, well-established plant. Aim for pieces that are about 3-4 inches long. Make your cut just below a leaf node (where a leaf emerges from the stem).
- Prepare the cuttings: Gently remove the lower leaves from the cutting. You want to expose at least one or two leaf nodes, as this is where roots will emerge.
- Apply rooting hormone: If you’re using rooting hormone, dip the cut end of the stem into the powder or gel. Tap off any excess.
- Plant the cuttings: Fill your small pots with your prepared well-draining potting mix. Make a small hole in the center with your finger or a pencil. Insert the cut end of the stem into the hole, gently firming the soil around it. You can usually fit 2-3 cuttings per small pot, spaced a little apart.
- Water gently: Water the soil lightly until it’s moist but not soggy. A spray bottle works wonderfully here to avoid disturbing the cuttings.
The “Secret Sauce” (Pro Tips)
Now, for a couple of little tricks that have always helped me get those cuttings to root like champs:
- Don’t let those leaves touch the water! If you opt for water propagation (which is also an option for Jacobaea pancicii, though stem cuttings in soil are my preference), make sure that only the bare stem is submerged. Leaves in the water will rot and can take down your whole cutting before it even has a chance to root.
- Think warmth! While not strictly necessary for this plant, placing your pots in a warm spot can really give them a boost. A heat mat is fantastic, but honestly, placing them on top of the refrigerator or on a sunny windowsill that doesn’t get scorching hot can provide enough gentle warmth to encourage root development.
Aftercare & Troubleshooting
Once your cuttings are planted (or have roots forming in water), it’s time for a little patient nurturing.
- Create humidity: Cover the pots with a clear plastic bag or a propagator lid. This creates a mini greenhouse, keeping the humidity high, which is essential for cuttings that haven’t developed roots yet to absorb moisture. Open the bag/lid for a few minutes each day to allow for air circulation and prevent fungal issues.
- Light and Water: Place the pots in a bright location out of direct, harsh sunlight. Water only when the top inch of soil feels dry to the touch.
- Check for roots: After 3-4 weeks, you can gently tug on a cutting. If you feel resistance, you’ve got roots! You’ll also start to see new leaf growth.
- Troubleshooting: The most common issue is rot. If your cuttings look mushy and dark, or if the leaves are wilting dramatically and the stem is soft, it’s likely rot. This is usually due to overwatering or poor drainage. Sadly, once rot sets in, it’s hard to save a cutting. It’s a good reminder to always ensure your soil drains well and to avoid watering too frequently.
A Little Patience Goes a Long Way
Watching those tiny roots emerge and new leaves unfurl is one of the most satisfying experiences in gardening. Be patient with your Jacobaea pancicii cuttings; they’ll tell you when they’re ready. Enjoy the process, learn from each attempt, and soon you’ll have a whole collection of these delightful plants to share! Happy propagating!
Resource: