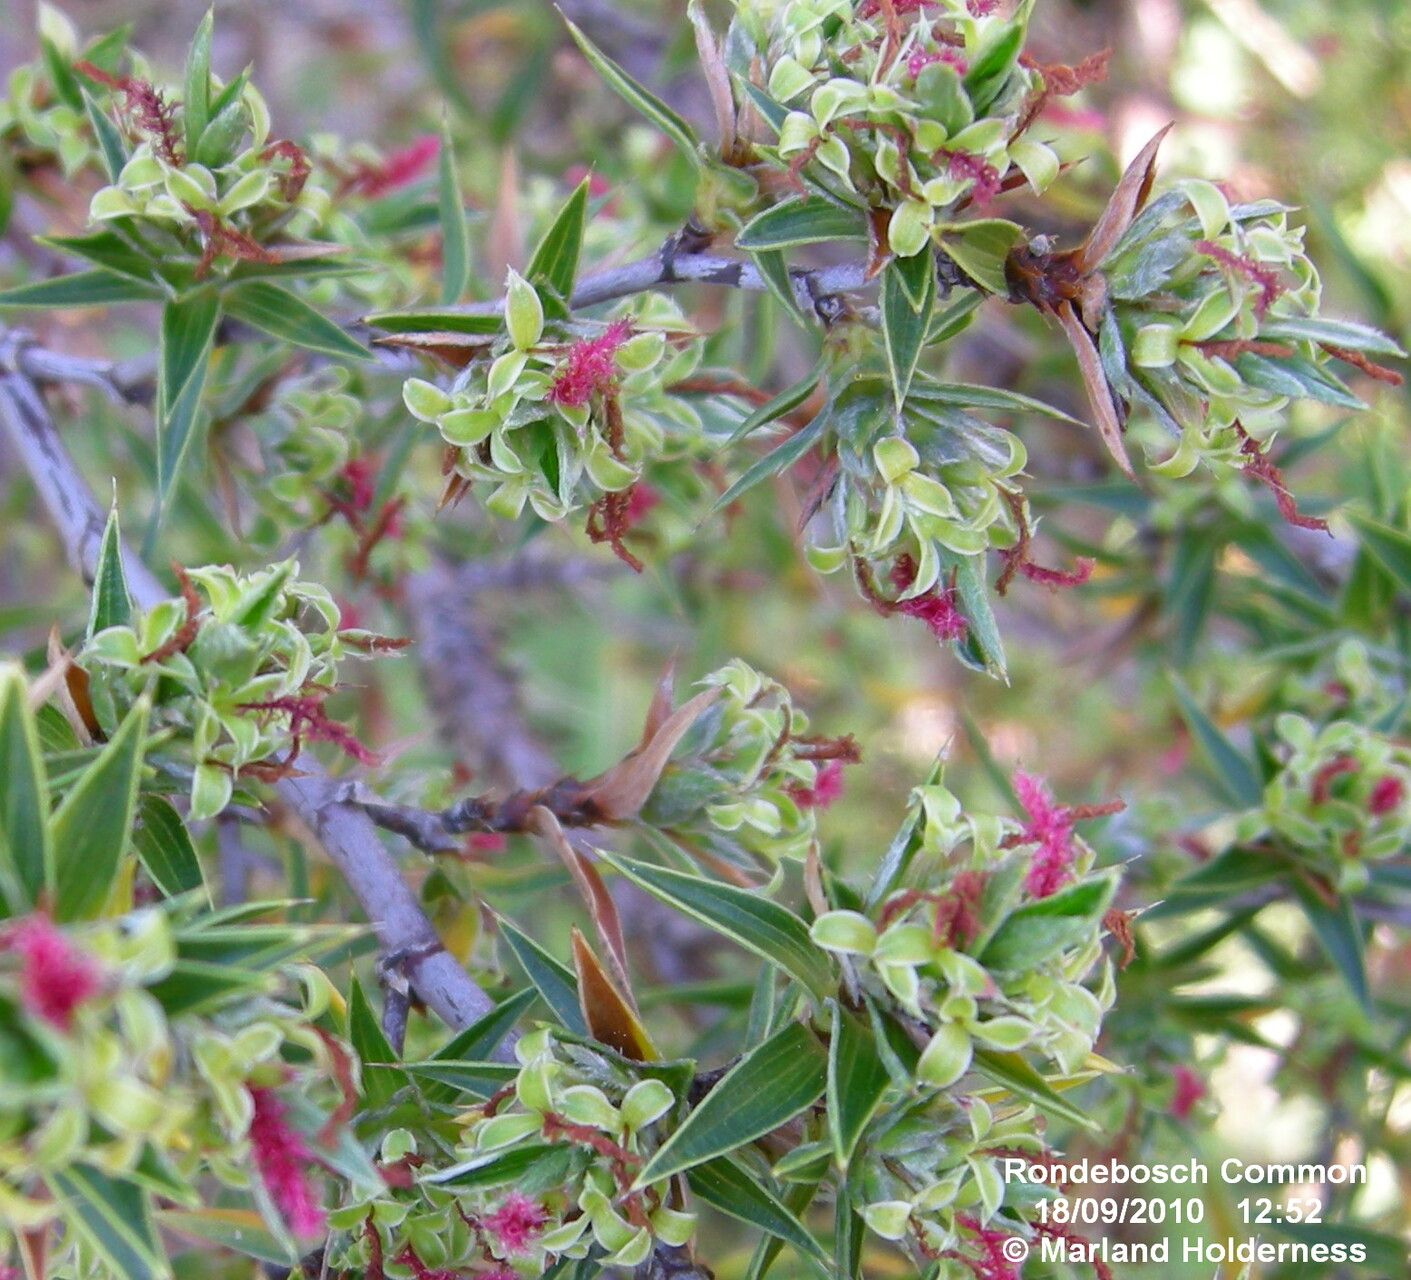
Hey there, fellow plant lovers! Today, I want to talk about a truly special South African gem that’s been brightening up my garden for years: Cliffortia ruscifolia. If you’ve ever admired its delicate, rosemary-like foliage and charming little white flowers, you’re not alone. It’s a plant that brings a whisper of the fynbos right to your doorstep. And guess what? Propagating it is incredibly rewarding, and I’m here to guide you through it. Don’t be intimidated; while it’s not quite a “stick it in the ground and walk away” kind of plant, with a little care, you’ll be successful.
The Best Time to Start
For Cliffortia ruscifolia, spring is your absolute best friend when it comes to taking cuttings. Think of it as the plant waking up from its slumber, full of energy and ready to grow. You’re looking for new, yet still somewhat soft, growth. Avoid taking cuttings from overly woody stems; they’ll be much harder to root. Waiting until the weather starts to warm up and your plant is actively putting out new shoots will significantly increase your chances of success.
Supplies You’ll Need
Gathering your tools beforehand makes the whole process so much smoother. Here’s what I always have on hand:
- Sharp pruning shears or a clean knife: For making clean cuts that heal well.
- Rooting hormone powder or gel: This is a real game-changer for encouraging root development.
- A well-draining potting mix: I like a blend of equal parts peat moss, perlite, and coarse sand. If you can find a specific fynbos mix, even better!
- Small pots or seed trays: With drainage holes, of course!
- A spray bottle: For misting.
- A clear plastic bag or propagator lid: To create a humid environment.
- Labels: To keep track of what you’ve planted!
Propagation Methods: Stem Cuttings
This is my go-to method for Cliffortia ruscifolia and generally the most successful.
- Take Your Cuttings: When you see that fresh, green growth in spring, select a healthy stem. Your cutting should be about 4-6 inches long. Make a clean cut just below a leaf node (where a leaf grows from the stem).
- Prepare the Cutting: Gently remove the lower leaves, leaving just a few at the very top. This prevents them from rotting in the soil and helps the plant focus its energy on rooting.
- Apply Rooting Hormone: Dip the cut end of the stem into your rooting hormone, tapping off any excess. This step is really important!
- Plant Your Cuttings: Fill your pots with your well-draining mix. Make a small hole with your finger or a pencil and gently insert the treated end of the cutting. Firm the soil around it so it stands upright.
- Water and Cover: Gently water the soil to ensure good contact. Then, cover the pot with a clear plastic bag or a propagator lid to maintain humidity. You can use small stakes to keep the bag from touching the leaves.
The “Secret Sauce” (Pro Tips)
There are a few little tricks that can really make a difference.
- Bottom Heat is Your Friend: If you have it, placing your cuttings on a heat mat set to a low temperature (around 70-75°F or 21-24°C) can significantly speed up root formation. It mimics the warmth of spring soil.
- Don’t Drench, Just Dampen: While humidity is crucial, waterlogged soil is the enemy. Your soil should be consistently moist but never soggy. Overwatering is the quickest way to lose a cutting to rot.
- Give Them Light, But Not Direct Sun: Place your propagator in a bright spot, but out of direct, scorching sunlight. Too much sun will cook your cuttings inside their humid enclosure. A bright, indirect light is perfect.
Aftercare & Troubleshooting
Once your cuttings are planted, the real waiting game begins.
- Keep Them Moist and Humid: Regularly check the soil moisture and mist the leaves if they look a bit sad. If you’re using a plastic bag, you might only need to water very occasionally.
- Signs of Rooting: After a few weeks, you should start to see some new leaf growth at the top of your cuttings. This is a strong indicator that roots are forming! You can also give a very gentle tug on a cutting; if there’s resistance, it’s rooted.
- Troubleshooting Rot: The most common problem is rot. If you see blackening or mushy stems at the soil line, it’s usually a sign of too much moisture. Try to improve air circulation (perhaps by poking a few extra holes in your bag) and let the soil dry out a touch more. It’s tough, but sometimes you have to accept that not every cutting will make it.
A Encouraging Closing
Propagating Cliffortia ruscifolia is a journey, and like any good garden project, it requires a bit of patience. But seeing those tiny roots emerge and eventually grow into a whole new plant is one of the most satisfying feelings in gardening. Don’t be discouraged if your first attempt isn’t perfect. Just keep trying, learn from each batch, and most importantly, enjoy the process of coaxing new life from your cherished plants. Happy gardening!
Resource:
https://identify.plantnet.org/k-world-flora/species/Cliffortia%20ruscifolia%20L./data