Hello there, fellow plant lovers! I’m so glad you’ve stopped by. Today, we’re going to talk about a real gem: Isodon shikokianus. If you’re looking for a plant that adds a touch of wild charm and beautiful, often fragrant foliage to your garden, this is it. And the best part? You can easily fill your garden with it by propagating this beauty yourself. It’s a incredibly rewarding process, and I’m happy to say, it’s quite forgiving for beginners.
The Best Time to Start
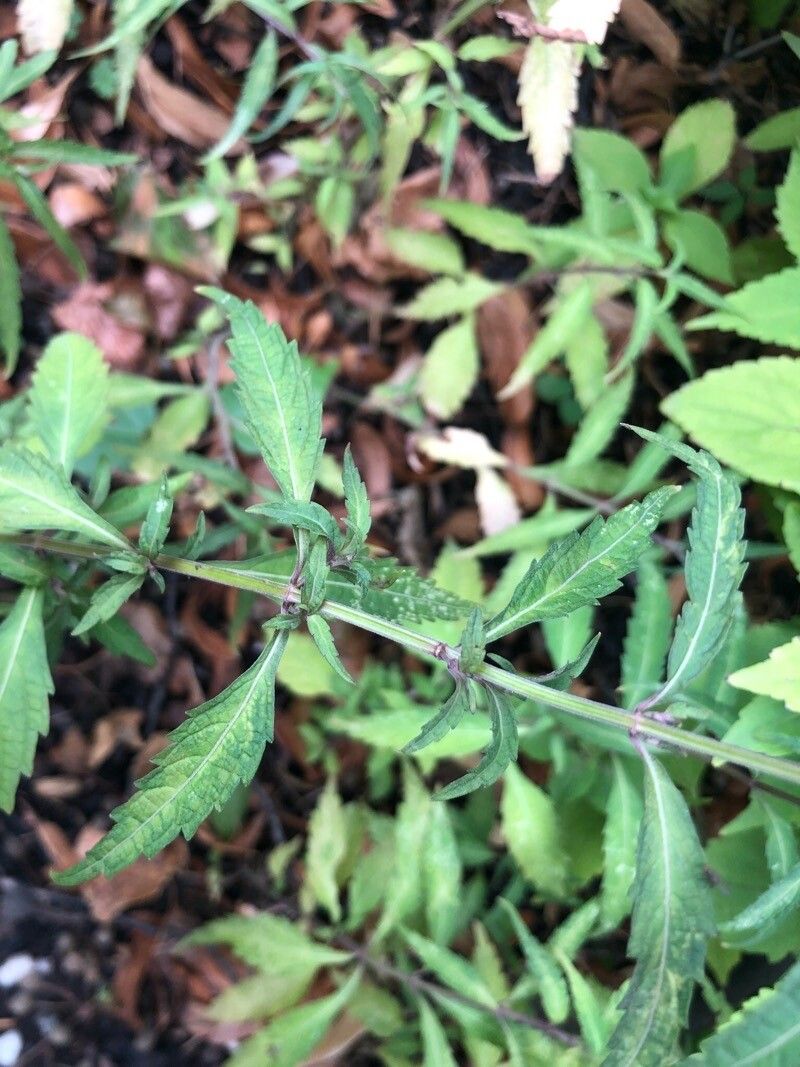
For the highest success rate with Isodon shikokianus, the absolute best time is late spring to early summer. This is when the plant is in its most vigorous growth phase. You’re looking for new, semi-hardwood stem growth. Avoid very soft, new shoots or old, woody stems. The plant is actively producing hormones that encourage rooting during this period.
Supplies You’ll Need
Here’s a handy list of what you’ll want to have on hand:
- Sharp pruning shears or a clean knife: For making clean cuts.
- Potting mix: A well-draining mix is crucial. I like a blend of equal parts potting soil, perlite, and a bit of coarse sand.
- Rooting hormone (optional but recommended): Helps to encourage root development, especially for beginners.
- Small pots or seed trays: With drainage holes.
- Spray bottle: For misting.
- Plastic bags or a propagation dome: To create a humid environment.
- Labels: To remember what you’ve planted!
Propagation Methods
Let’s get our hands dirty! The easiest and most successful method for Isodon shikokianus is usually stem cuttings.
Stem Cuttings:
- Take your cuttings: Select healthy stems from your parent plant. Using your clean shears, cut lengths that are about 4-6 inches long. Make your cut just below a leaf node (where a leaf attaches to the stem).
- Prepare the cuttings: Remove the lower leaves from the cutting, leaving just a few at the top. This prevents foliage from rotting when placed in the soil or water, and it directs the plant’s energy into root formation.
- Apply rooting hormone (if using): Dip the cut end of the stem into the rooting hormone, tapping off any excess.
- Plant the cuttings: Fill your small pots with your prepared, moistened potting mix. Make a small hole in the center of the soil with a pencil or your finger. Insert the cutting into the hole, ensuring the leaf nodes that were buried are now below the soil surface. Gently firm the soil around the cutting.
- Water and cover: Water the soil gently to settle it around the cuttings. Then, cover the pot loosely with a plastic bag or place it under a propagation dome. This creates the humid environment that cuttings need to thrive.
- Placement: Find a spot with bright, indirect light. Avoid direct sun, which can scorch your new baby plants.
Water Propagation (a fun alternative):
While I find stem cuttings in soil more robust, you can also try water propagation.
- Prepare your cuttings: Same as steps 1 and 2 above.
- Place in water: Put the cuttings in a clean jar or glass of room-temperature water. Make sure no leaves are submerged below the waterline.
- Change the water: Change the water every few days to keep it fresh and prevent bacterial growth.
- Wait for roots: You’ll start to see roots emerge from the nodes. Once the roots are about an inch long, you can carefully transplant them into pots with your potting mix.
The “Secret Sauce” (Pro Tips)
Here are a couple of things I’ve learned over the years that can really boost your success:
- Don’t let the leaves touch the water (if water propagating): I know I mentioned it, but it bears repeating. Submerged leaves are a fast track to rot and will usually kill your cutting.
- Bottom heat is your friend: If you’re serious about propagation, investing in a seedling heat mat can make a world of difference. Placing your pots on a gentle heat source will encourage root development much faster and more reliably. You’d be surprised at how much difference it makes!
Aftercare & Troubleshooting
Once you see new growth emerging from your cuttings, that’s a fantastic sign that roots have formed!
- Gradual Acclimation: If you’ve covered your cuttings, slowly remove the plastic bag over a few days to let them get used to the drier air.
- Watering: Keep the soil consistently moist but not waterlogged. Allow the top inch of soil to dry slightly between waterings.
- Light: Continue to provide bright, indirect light.
- Common Issues: The most common culprit is rot. If a cutting turns black and mushy, it’s usually due to overwatering or poor drainage. Unfortunately, these are usually lost. Wilting can also happen if the cutting dries out too much or if it hasn’t rooted yet. Keep the humidity up for wilting cuttings.
A Little Patience Goes a Long Way
Propagating plants is a dance with nature, and it requires a dash of patience. Don’t be discouraged if not every cutting takes. Each attempt teaches you something new. Enjoy the process of nurturing these tiny beginnings, and soon you’ll have a whole new collection of beautiful Isodon shikokianus to share with friends or to fill your own garden with their lovely presence. Happy propagating!
Resource:
https://identify.plantnet.org/k-world-flora/species/Isodon%20shikokianus%20(Makino)%20H.Hara/data