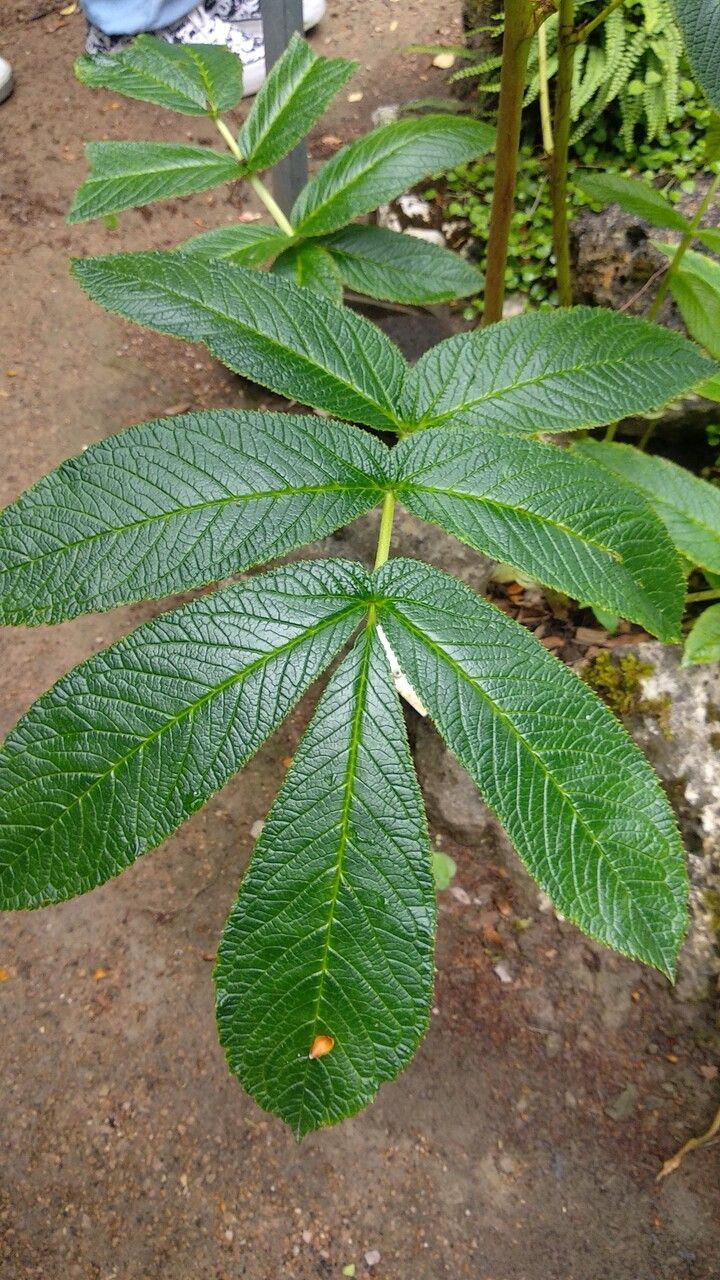
Hello fellow garden enthusiasts! Today, we’re diving into the wonderful world of Rodgersia nepalensis. If you’re looking for a plant that brings architectural elegance and lush foliage to your shady spots, Rodgersia is your answer. Its large, deeply lobed leaves are simply stunning, and coaxing new life from them is a truly rewarding experience. Now, I’ll be honest, for absolute beginners, Rodgersia can be a tad finicky. But with a little patience and some tried-and-true techniques, you’ll be celebrating your own success in no time!
The Best Time to Start
For the highest chance of success, I always recommend late spring to early summer. This is when Rodgersia is actively growing and has stored up plenty of energy. You’re looking for new, vigorous shoots that haven’t yet become woody. Think of it as catching the plant at its peak.
Supplies You’ll Need
Before we get our hands dirty, let’s gather our tools:
- Sharp pruning shears or a clean, sharp knife: For making clean cuts.
- A good quality potting mix: I prefer a mix that drains well. A blend of peat moss, perlite, and compost works beautifully.
- Small pots or containers: Clean ones are a must to prevent disease.
- Rooting hormone (optional but recommended): This helps speed things up.
- Plastic bags or a propagator: To create a humid environment.
- Watering can with a fine rose: For gentle watering.
- Labels and a marker: So you remember what you’ve propagated!
Propagation Methods
Rodgersia is primarily propagated by division, though stem cuttings can also work. Let’s focus on the method I find most reliable and satisfying:
Division
This is usually done in spring or fall, but if you’re propagating in late spring/early summer, you can adapt it.
- Gently unearth the parent plant. Be careful not to damage the roots.
- Inspect the root ball. You’re looking for distinct sections, each with at least one healthy bud or shoot and a good portion of roots.
- Using your hands or a sharp spade, carefully divide the plant. Clean cuts are key.
- If you’re propagating divisions with very few roots, you might want to trim back some of the larger leaves. This reduces water loss while the plant establishes itself.
- Pot each division into its own container with your well-draining potting mix. Make sure the bud or shoot is just at the soil surface.
- Water thoroughly.
- Place the pots in a shady, sheltered spot. Keep the soil consistently moist but not waterlogged.
Stem Cuttings (Less Common, but Possible)
If you have a particularly vigorous shoot, you can try this.
- On a healthy, non-woody stem, make a clean cut just below a leaf node. You’ll want a cutting that’s about 4-6 inches long.
- Remove any lower leaves, leaving only a couple at the top.
- Dip the cut end into rooting hormone, if you’re using it.
- Insert the cutting into a pot filled with your potting mix. Make a hole with a pencil or your finger first to avoid rubbing off the hormone.
- Water gently.
- Cover the pot with a plastic bag or place it in a propagator. This is crucial for maintaining humidity.
- Keep the soil consistently moist and place in a bright, indirect light location.
The “Secret Sauce” (Pro Tips)
- Don’t crowd your cuttings. Give them a little breathing room, especially if you’re using division. Overcrowding leads to poor air circulation and can invite fungal issues.
- Monitor humidity closely with cuttings. If the leaves look droopy, that’s a sign the air is too dry. Increase the humidity around them, but avoid letting water sit on the leaves for extended periods, as this can also lead to rot.
- Patience is truly a virtue here. Rodgersia isn’t the fastest propagator. Don’t be discouraged if you don’t see immediate root development. Keep the conditions consistent and trust the process.
Aftercare & Troubleshooting
Once your divisions or cuttings have started to root (you can gently tug on them; resistance means roots!), it’s time to transition them.
- Gradually introduce them to more light. Start by moving them to a brighter spot, but still out of direct, harsh sun.
- Continue to keep the soil consistently moist. As they grow stronger, you can let the very top of the soil dry out slightly between waterings.
- Watch out for rot! If your cuttings or divisions turn mushy and black, that’s a sign of overwatering or poor drainage. If you catch it early, you might be able to salvage healthy parts, but often it’s best to start again with fresh material and cleaner tools. Yellowing leaves can also be a sign of too much sun or inconsistent watering.
Happy Propagating!
There you have it – a guide to bringing more of these magnificent Rodgersias into your garden. Remember, gardening is a journey of learning and experimentation. Be patient with your new plants, enjoy the process of nurturing them, and soon you’ll be admiring their beauty in new spots. Happy digging!
Resource:
https://identify.plantnet.org/k-world-flora/species/Rodgersia%20nepalensis%20Cope%20ex%20Cullen/data