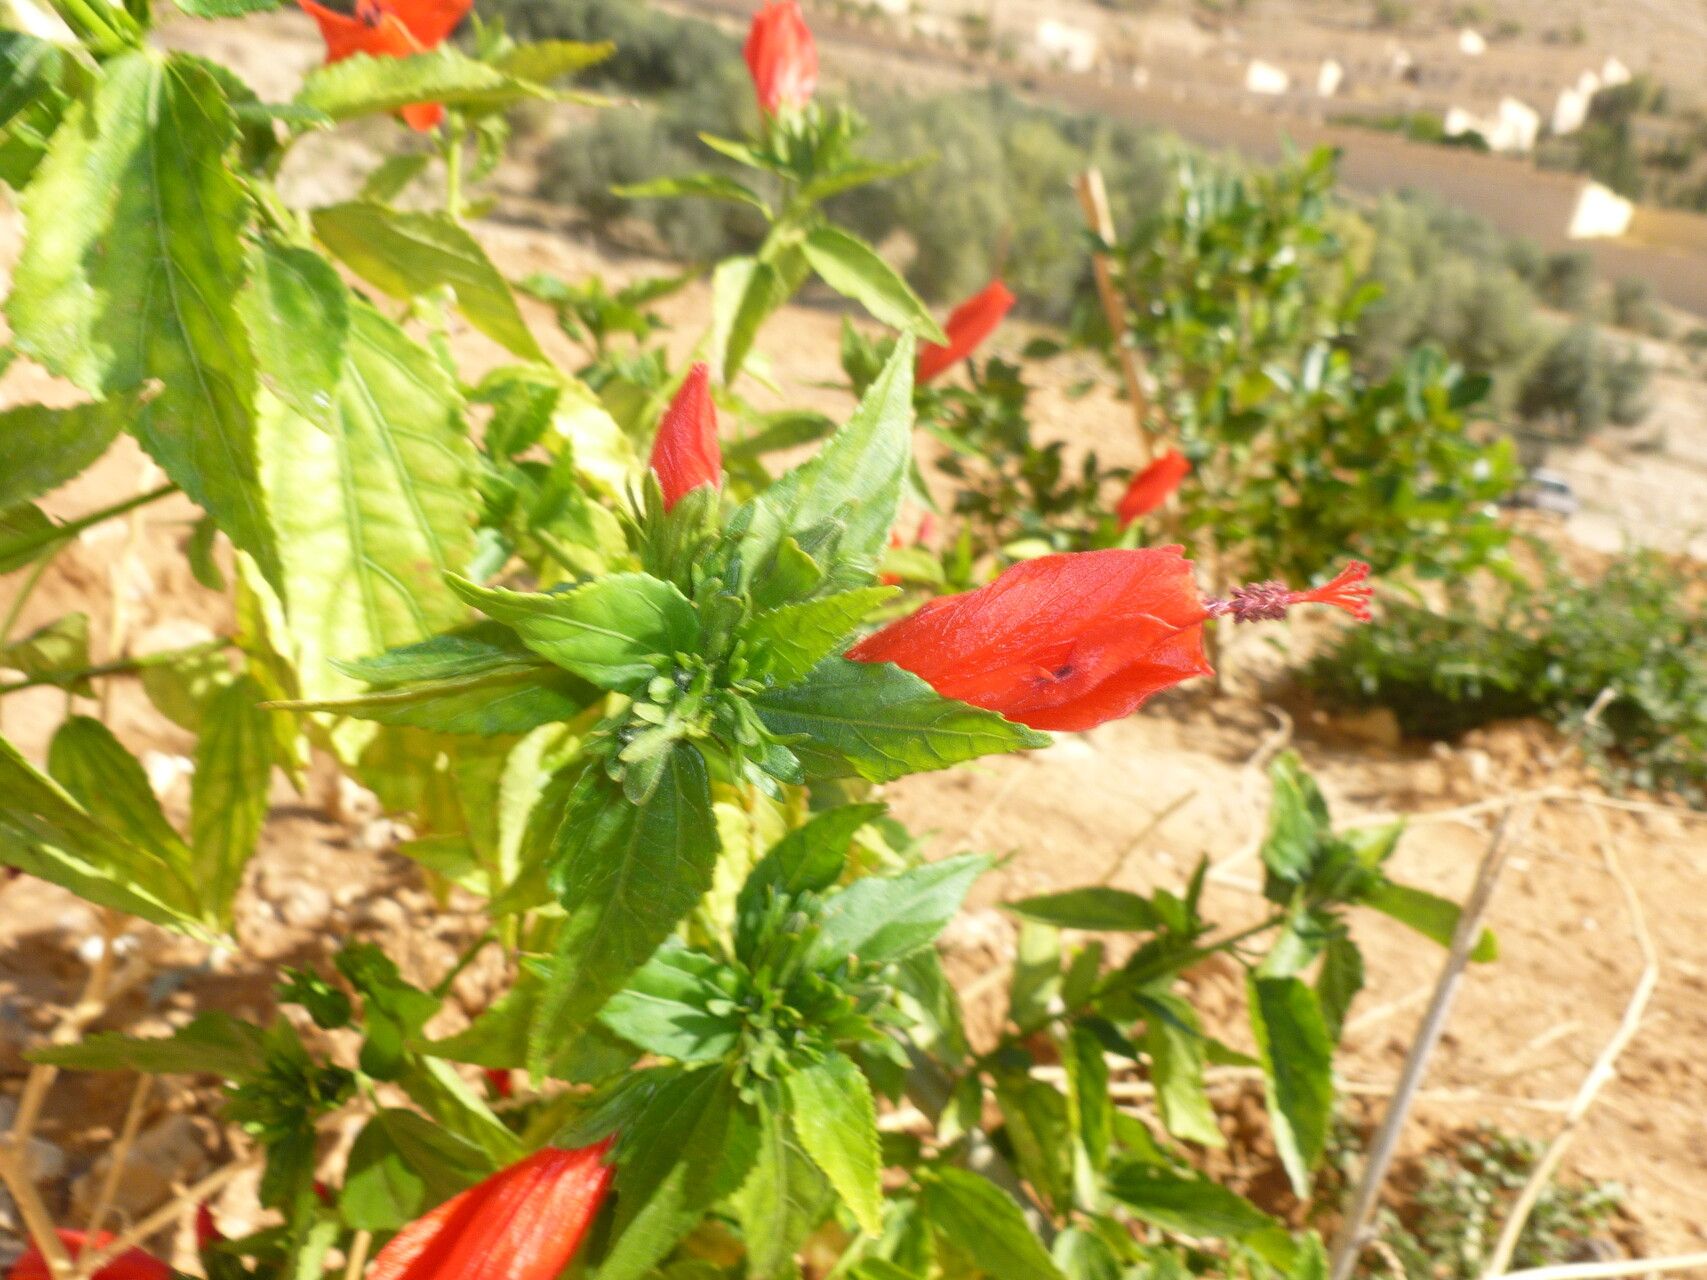
Hey there, fellow plant lovers! I’m so excited to talk to you today about Malvaviscus arboreus, or as it’s often called, the Turk’s Cap Mallow. This plant is just a delight! Its unique, swirling red flowers look like little turbans, and they bloom for ages, bringing a pop of vibrant color to any garden. Plus, those flowers are a magnet for hummingbirds and butterflies. What’s even better is that propagating it is incredibly rewarding, and I’m happy to tell you, it’s quite approachable, even for folks just starting out on their gardening journey.
The Best Time to Start
For the highest success rate with propagating Turk’s Cap Mallow, your best bet is to take cuttings in late spring or early summer. This is when the plant is actively growing and has plenty of energy to put towards developing new roots. You’re looking for stems that are firm but not woody, often referred to as “semi-hardwood” cuttings.
Supplies You’ll Need
Gathering your supplies before you start makes the whole process much smoother. Here’s what I like to have on hand:
- Sharp pruning shears or a clean, sharp knife: For making clean cuts on your cuttings.
- Rooting hormone (optional but recommended): This really gives your cuttings a boost. Look for one formulated for stem cuttings.
- Well-draining potting mix: A good blend of peat moss, perlite, and a bit of sand works wonders. You can also find specialized seed-starting or propagation mixes.
- Small pots or containers: Clean ones are essential! Small cell packs or 4-inch pots are usually perfect. Make sure they have drainage holes.
- Plastic bags or a propagation dome: To create a humid environment for your cuttings.
- Watering can or spray bottle: For gentle watering.
- Labels and a permanent marker: To keep track of what you planted!
Propagation Methods
For Turk’s Cap Mallow, the most reliable method by far is through stem cuttings. It’s straightforward and yields great results.
Stem Cuttings:
- Select your parent plant: Choose a healthy, vigorous Malvaviscus arboreus that’s showing good growth.
- Take your cuttings: Using your clean shears or knife, cut a stem about 4 to 6 inches long. Aim for a cutting that has at least a couple of sets of leaves. Make the cut just below a leaf node (where a leaf attaches to the stem).
- Prepare the cuttings: Gently remove the leaves from the lower half of the cutting. If there are any flower buds, pinch them off. This ensures the plant’s energy goes into root development, not flowering.
- Apply rooting hormone (optional): Dip the cut end of the stem into your rooting hormone powder or gel, tapping off any excess.
- Plant your cuttings: Fill your clean pots with your well-draining potting mix. Make a small hole in the center with your finger or a pencil. Insert the cut end of the stem into the hole, ensuring the rooting hormone is covered. Gently firm the soil around the cutting to provide support.
- Water gently: Water thoroughly but gently until you see water drain from the bottom of the pot.
- Create humidity: Loosely cover the pot with a clear plastic bag, or place it under a propagation dome. Make sure the leaves aren’t touching the plastic if possible.
The “Secret Sauce” (Pro Tips)
Here are a few little tricks I’ve picked up over the years that can really make a difference:
- Once you’ve planted your cuttings and watered them, don’t let the leaves touch the plastic bag or dome. If they do, they can start to rot. You can use stakes to prop up the bag or prune away excessive foliage.
- Bottom heat is your friend! Using a seedling heat mat under your pots can significantly speed up the rooting process. It encourages root development by keeping the soil at a consistently warm temperature. You’ll see roots forming much faster.
- Don’t overwater once they’re planted. It’s a common mistake. The soil should be consistently moist but not soggy. Sogginess is a fast track to rot.
Aftercare & Troubleshooting
Once your cuttings have been planted and are happily humidified, place them in a bright location, but out of direct sunlight. Too much sun can scorch those delicate new cuttings.
You’re looking for signs of root formation, which usually takes 4 to 6 weeks. You can gently tug on a cutting; if you feel resistance, it means roots have started to form. You might also see new leaf growth.
Common signs of failure:
- Rotting at the base: This is usually a sign of too much moisture and not enough air circulation. If you see this, you might have to discard the cutting.
- Wilting and browning leaves that persist: This could be a sign that the cutting isn’t taking and has dried out, or it’s just not getting enough energy to sustain itself.
When your cuttings have developed a good root system, you can gradually acclimate them to normal conditions. Remove the plastic bag for a few hours each day, slowly increasing the time over a week. Then, you can transplant them into their own small pots to grow on.
A Little Patience Goes a Long Way
Propagating plants is such a wonderful way to connect with nature’s magic. It takes a little patience, a bit of trial and error, and a whole lot of hope. Don’t get discouraged if every single cutting doesn’t make it. Celebrate the ones that do, and learn from any that don’t. Enjoy the process, and soon you’ll have a garden overflowing with beautiful Turk’s Cap Mallows! Happy gardening!
Resource:
https://identify.plantnet.org/k-world-flora/species/Malvaviscus%20arboreus%20Dill.%20ex%20Cav./data