Hey there, fellow plant lovers!
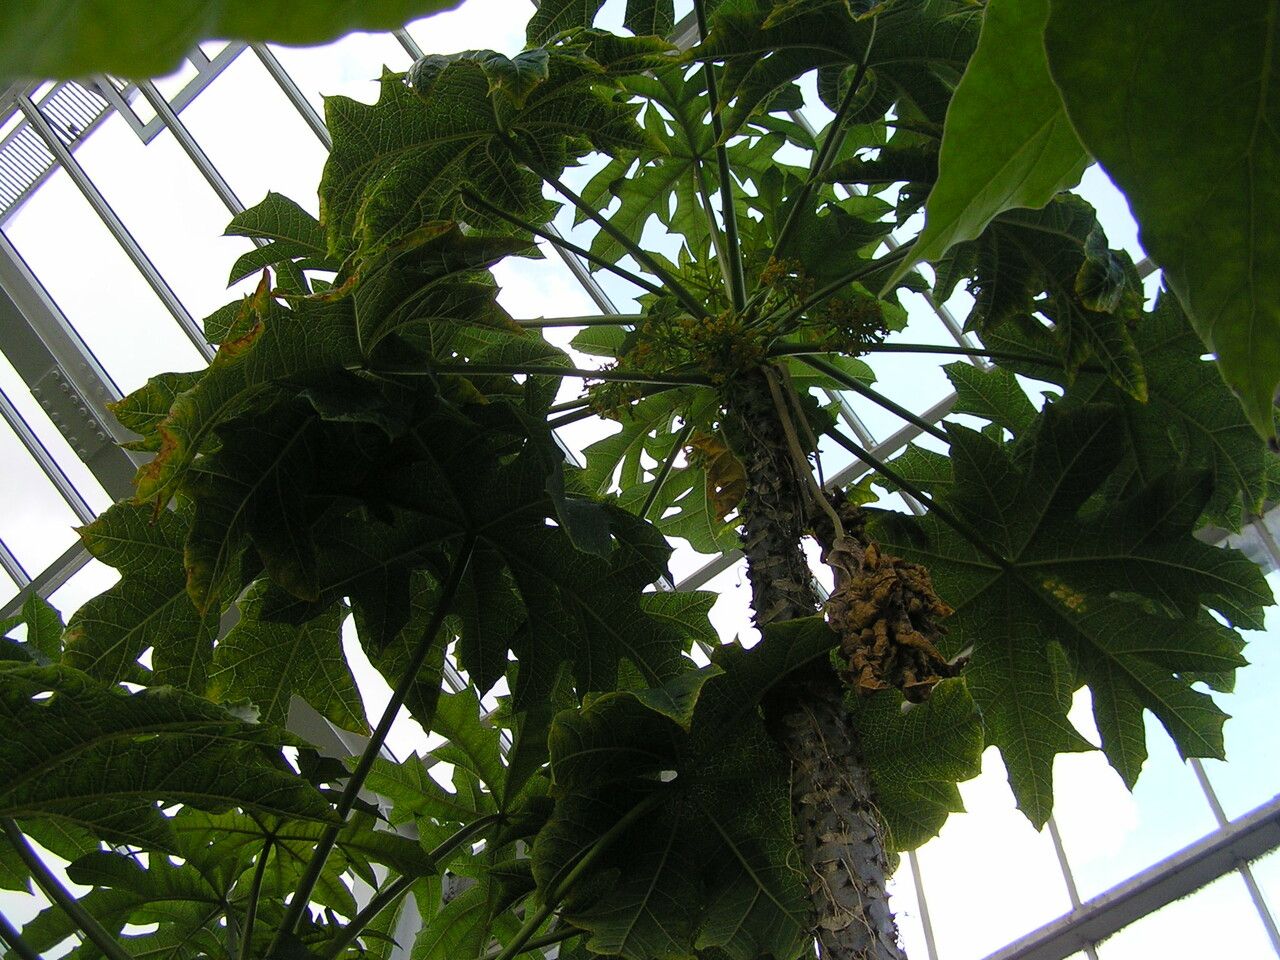
Today, I want to chat about a plant that makes my heart sing every time I see it: the Vasconcellea stipulata, often known as the papaya tree, or sometimes even referred to as the mountain papaya. Now, the common papaya gets all the glory, but this beauty, with its unique fruit and lush foliage, is a real gem. Propagating them yourself? It’s incredibly satisfying. You get to witness that spark of new life, and honestly, it’s not nearly as daunting as you might think. For those new to the plant-parenting journey, I’d say it falls into the moderately achievable category. A little patience and these tips, and you’ll be well on your way.
The Best Time to Start
When it comes to Vasconcellea stipulata, timing is everything for the highest success rate. I’ve found that the late spring or early summer is your golden window. Plants are really waking up then, full of vigor, and have plenty of good, healthy growth to spare. Starting your cuttings when temperatures are consistently warm, but before the intense heat of midsummer, gives them the best chance to root and establish before any major weather shifts.
Supplies You’ll Need
Before we get our hands dirty, let’s gather our arsenal. Think of this as preparing for a lovely afternoon in the garden.
- Sharp, clean pruning shears or a sharp knife: Essential for making clean cuts to prevent disease.
- Rooting hormone (optional, but recommended): I like to use a powdered or gel form. It gives cuttings a helpful boost.
- Well-draining potting mix: A good starter mix is crucial. I often use a blend of peat moss, perlite, and a touch of compost. You want good aeration for those developing roots.
- Small pots or seed trays with drainage holes: Enough to house your cuttings.
- Plastic bags or a propagation dome: To create a humid environment for your cuttings.
- Watering can with a fine rose: Gentle watering is key.
- Labels and a marker: So you don’t forget what you’ve planted where!
Propagation Methods
Now for the exciting part – bringing new life into the world! The most reliable method for Vasconcellea stipulata, in my experience, is through stem cuttings.
- Select Your Stem: Look for a healthy, non-flowering stem from your mature Vasconcellea stipulata. Ideally, it should be about a foot long and have at least a few sets of leaves. It’s best to take these from side shoots rather than the main trunk. You want an actively growing stem.
- Make the Cut: Using your clean pruning shears or knife, make a clean cut just below a leaf node. This is where the magic happens, where roots are most likely to form. Aim for a cutting that’s roughly the thickness of a pencil.
- Prepare the Cutting: Gently remove the lower leaves from the stem, leaving just two or three at the very top. This prevents them from rotting in the soil. If the remaining leaves are very large, I like to cut them in half horizontally. This reduces water loss through transpiration.
- Apply Rooting Hormone (Optional): Dip the cut end of the stem into your rooting hormone, tapping off any excess.
- Plant Your Cutting: Fill your small pots with your well-draining potting mix. Make a hole with your finger or a pencil in the center. Gently insert the cut end of your Vasconcellea stipulata cutting into the hole, ensuring the leaf nodes are buried. Firm the soil gently around the stem.
- Water and Cover: Water the soil thoroughly but gently. Then, cover the pot with a clear plastic bag or place it in a propagation dome. This creates a mini-greenhouse effect, keeping the humidity high.
The “Secret Sauce” (Pro Tips)
Over the years, I’ve picked up a few tricks that make a world of difference. These are little nudges that tell your cutting, “You’ve got this!”
- “The Sand Bath”: If you’re using a standard potting mix, especially one with a lot of peat, I sometimes mix in a little coarse sand. This isn’t just for drainage; it helps the cutting sit upright and gives the developing roots something to grip onto. Just a 10-20% ratio is plenty.
- “The Gentle Warmth”: Vasconcellea stipulata love a bit of warmth from below. If you can, place your pots on a heat mat designed for seedlings. This bottom heat encourages root development much faster than ambient temperature alone. It truly is a game-changer!
- “Air It Out Daily”: Even though we want to keep the humidity high, it’s important to ventilate your cuttings daily by lifting the plastic bag or opening the propagation dome for about 15-30 minutes. This helps prevent fungal issues and keeps the air fresh.
Aftercare & Troubleshooting
Once your Vasconcellea stipulata cuttings are planted, patience is your best friend. Keep them in a bright spot, but out of direct, scorching sunlight. Water them when the top inch of soil feels dry to the touch.
You’ll know your cutting is happy when you start to see new leaf growth. This usually takes anywhere from 4 to 8 weeks. Be patient! Even if you don’t see much activity, gently tugging on the cutting should reveal some resistance, indicating root formation.
The most common issue you might encounter is rot. If your cutting looks mushy, turns black, or develops mold, it’s likely succumbed to rot. This is often due to too much moisture and not enough airflow. If you see this, it’s best to discard the affected cutting to prevent it from spreading. Sometimes, rot can be caused by taking cuttings from overly soft or weak growth. Stick to firm, healthy stems!
A Encouraging Closing
Growing your own Vasconcellea stipulata is such a rewarding practice. It connects you to the plant’s life cycle in a truly tangible way. Don’t be discouraged if your first attempt isn’t a roaring success. Gardening is a journey of learning and observing. Every plant, every cutting, teaches us something new. So, celebrate the small victories, be patient with the process, and enjoy the quiet thrill of nurturing new life. Happy propagating!
Resource: