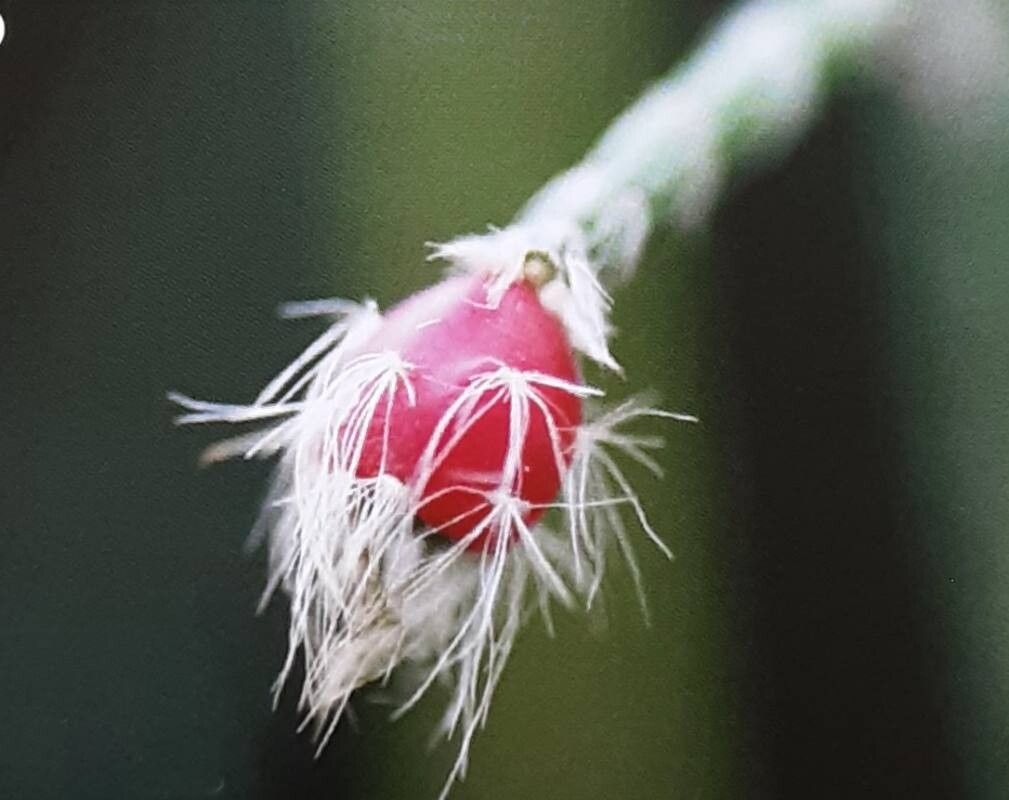
Oh, Rhipsalis pilocarpa! You know, the one with those darling, fuzzy little fruits that look like tiny caterpillars. It’s a real charmer, isn’t it? Its cascading stems and quirky charm make it a standout in any collection. And the best part? You can multiply its beauty yourself! Propagating this beauty is incredibly rewarding, and I’m happy to share how I do it. Don’t you worry, this isn’t one of those finicky plants that makes you rip your hair out. Rhipsalis pilocarpa is quite forgiving, making it a wonderful choice for those new to propagating.
The Best Time to Start
When it comes to giving your Rhipsalis pilocarpa the best shot at new growth, I find that spring and early summer are your best friends. This is when the plant is actively growing and has the most energy to put into developing roots. You’ll be looking for healthy, vigorous stems that feel firm to the touch. Avoid taking cuttings during the plant’s resting period, which is usually in the cooler, darker months.
Supplies You’ll Need
Before we dive in, let’s make sure you have everything ready. It makes the whole process so much smoother!
- Sharp Pruning Shears or a Clean Knife: For making nice, clean cuts.
- A Well-Draining Potting Mix: I usually use a cactus and succulent mix and add a bit of perlite or orchid bark for extra aeration. You want it to dry out fairly quickly.
- A Small Pot or Container: For your new cuttings to call home. Make sure it has drainage holes!
- Rooting Hormone (Optional, but Recommended): This can give your cuttings a little boost.
- A Spray Bottle: For misting.
- Patience: The most important ingredient!
Propagation Methods
The most straightforward way I’ve found to propagate Rhipsalis pilocarpa is through stem cuttings. It’s wonderfully satisfying to see a piece of your existing plant grow into something new.
Step-by-Step: Stem Cuttings
- Select Your Cutting: Look for a healthy, mature stem on your Rhipsalis pilocarpa. You want a piece that’s at least 3-4 inches long.
- Make the Cut: Using your sharp shears or knife, make a clean cut just above a leaf node (where the stem segments join). This is where new roots are most likely to form.
- Let it Callus: This is a crucial step! Lay your cutting on a dry surface in a well-ventilated area for 2-3 days, or until the cut end has formed a dry, hardened callus. This prevents rot when you plant it. No peeking, just let it do its thing!
- Dip in Rooting Hormone (Optional): Once callused, lightly dip the cut end into rooting hormone powder. Tap off any excess.
- Plant Your Cutting: Fill your small pot with your prepared well-draining mix. Make a small hole in the center with your finger or a pencil. Carefully insert the callused end of the cutting into the hole, ensuring it’s stable. You can plant multiple cuttings in the same pot, giving them a little space.
- Initial Watering: Water lightly after planting. You want the soil to be just barely moist.
The “Secret Sauce” (Pro Tips)
Here are a couple of things I’ve learned over the years that can really help your Rhipsalis pilocarpa cuttings thrive.
- Don’t Drown Your Dreams (or Your Cuttings!): This might sound obvious, but I’ve seen so many people overwater new cuttings. Once planted, let the top inch of soil dry out completely between waterings. Soggy soil is the fast track to rot.
- Embrace a Warm Hug: If you can, place your newly potted cuttings on a heat mat. This gentle bottom warmth mimics spring soil temperatures and can significantly encourage root development without drying out the potting mix too quickly.
Aftercare & Troubleshooting
Once your cutting is planted, the wait begins!
- Light and Warmth: Place your pot in a bright spot with indirect light. Avoid direct sun, which can scorch those tender new cuttings or dry them out too fast. Keep it in a consistently warm environment.
- Watering: Stick to that “let it dry out” rule. You’ll likely only need to water every week or two, depending on your conditions. A light misting might be helpful in very dry environments, but don’t overdo it.
- Checking for Roots: After about 3-4 weeks, you can gently tug on the cutting. If you feel resistance, congratulations! Roots are forming. You can also look for new growth emerging from the stem.
What if things go wrong? The most common culprit is rot. If your cutting turns mushy and black, it’s likely rotted. This is usually due to overwatering or not letting the cutting callus properly. If you catch it early, you might be able to cut off the rotten part and re-callus or replant the healthy section, but sometimes it’s just best to try again with a new cutting.
A Warm Encouragement
Propagating plants is a journey, and a beautiful one at that. Don’t get discouraged if your first attempt isn’t perfect. Keep observing your plant, adjust your care, and most importantly, enjoy the process. There’s a special kind of magic in watching a tiny piece of stem transform into a thriving new plant. Happy propagating!
Resource:
https://identify.plantnet.org/k-world-flora/species/Rhipsalis%20pilocarpa%20Loefgr./data