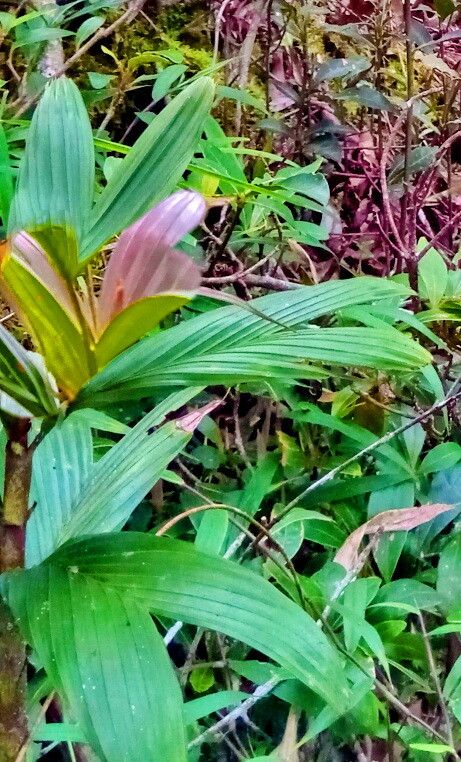
Hello there, fellow plant lovers! Today, we’re going to dive into the wonderful world of propagating Dypsis hildebrandtii. I’ve had these elegant palms gracing my garden for years, and there’s something incredibly satisfying about coaxing a new life from an existing one.
These palms, with their distinctive rings and graceful fronds, are a real showstopper. They bring a touch of the tropics right to your doorstep. Propagating them is a fantastic way to expand your collection or share these beauties with friends. Now, to be upfront, Dypsis hildebrandtii isn’t the easiest palm to propagate for absolute beginners. It requires a bit of patience and attention to detail, but with a little guidance, you’ll do wonderfully.
The Best Time to Start
Timing is everything in the garden, and for Dypsis hildebrandtii, the warmer months are your best bet. Think late spring through summer. This is when the plant is actively growing and has the most energy to put into developing new roots. Aim to take cuttings or divisions when the plant is healthy and vigorous, not when it’s stressed from heat or cold.
Supplies You’ll Need
Before we get our hands dirty, let’s gather our tools:
- Sharp, sterile pruning shears or a clean knife: Essential for clean cuts that reduce the risk of disease.
- Well-draining potting mix: I like a blend of orchid bark, perlite, and a good quality potting soil. You want something that won’t hold too much moisture.
- Rooting hormone powder (optional but recommended): This can give your cuttings an extra boost.
- Small pots or propagation trays: Choose containers with drainage holes.
- Clear plastic bags or a propagation dome: To maintain humidity around your cuttings.
- Watering can or spray bottle: For gentle watering.
- Labels and a marker: To keep track of your projects!
Propagation Methods for Dypsis hildebrandtii
While these palms can produce seeds, propagating from cuttings or divisions is usually more successful and quicker for home gardeners.
Method 1: Stem Cuttings (when the plant has developed multiple stems)
This is my go-to method when a Dypsis hildebrandtii starts to get a bit bushy.
- Select a healthy stem: Look for a mature stem that has at least two to three leaf nodes. A node is where a leaf emerges from the stem.
- Make a clean cut: Using your sterile shears, cut the stem cleanly, leaving a few inches of stem below the lowest leaf. Try to make the cut just below a node.
- Prepare the cutting: Remove the lower leaves, leaving only the top few. This reduces water loss and focuses the plant’s energy on root development.
- Apply rooting hormone (optional): Dip the cut end of the stem into rooting hormone powder, tapping off any excess.
- Plant your cutting: Insert the cut end about an inch or two into your prepared well-draining potting mix. Gently firm the soil around it.
- Create humidity: Water the soil lightly. Then, cover the pot with a clear plastic bag or place it under a propagation dome. Make sure the bag isn’t touching the leaves as much as possible.
Method 2: Division (when the plant has multiple pups or offsets at the base)
This is a bit like separating a family!
- Gently remove the plant: Carefully take the entire Dypsis hildebrandtii out of its pot. If it’s in the ground, try to excavate around it without damaging the root ball too much.
- Identify pups: Look for smaller plants (pups) growing around the base of the main plant. They should have their own small root systems.
- Separate the pups: Using a clean, sharp knife or your hands, gently tease apart the pups from the mother plant. Try to get as many roots as possible with each pup. If a pup has a very small root system, don’t despair; it can still work, but it might take longer.
- Pot them up: Plant each pup into its own pot filled with your well-draining mix. Water them gently.
The “Secret Sauce” (Pro Tips)
Here are a few things I’ve learned over the years that make a big difference:
- Bottom heat is your friend! Dypsis hildebrandtii loves warmth. Placing your cuttings or divisions on a seedling heat mat can significantly speed up root formation. Just make sure the mat isn’t too hot – warm, not scorching.
- Don’t overwater! This is probably the most common mistake. The goal is consistently moist, not soggy. Soggy soil is a one-way ticket to rot, especially for cuttings. Letting the top inch of soil dry out slightly between waterings is a good rule of thumb.
- Observe, don’t fuss. Once you’ve set up your propagation system, try to resist the urge to constantly check and pull at your cuttings. Let them do their thing. Give them good light (bright, indirect light is best) and consistent humidity, and they’ll tell you when they’re ready.
Aftercare & Troubleshooting
Once you start seeing new leaf growth or feel some resistance when you gently tug on the cutting (a sign of roots), you’re on your way!
- Acclimate gradually: If your cuttings were under a plastic bag, slowly start to open it up over a few days to let them adjust to normal humidity.
- Continue consistent watering: Keep the soil lightly moist, just like you were during propagation.
- Watch for rot: The biggest enemy. If you see stem bases turning mushy and black, or leaves wilting and turning yellow rapidly, it’s a sign of rot. Unfortunately, often, a rotted cutting cannot be saved. Ensure excellent drainage to prevent this.
- Patience is key: It can take weeks, sometimes months, for Dypsis hildebrandtii to establish a good root system. Don’t get discouraged if you don’t see rapid progress.
Propagating plants is such a rewarding journey. It connects you to the natural world and amplifies the joy of gardening. Be patient with your Dypsis hildebrandtii, give it a little love and encouragement, and soon you’ll have even more of these stunning palms to admire. Happy propagating!
Resource:
https://identify.plantnet.org/k-world-flora/species/Dypsis%20hildebrandtii%20(Baill.)%20Becc./data