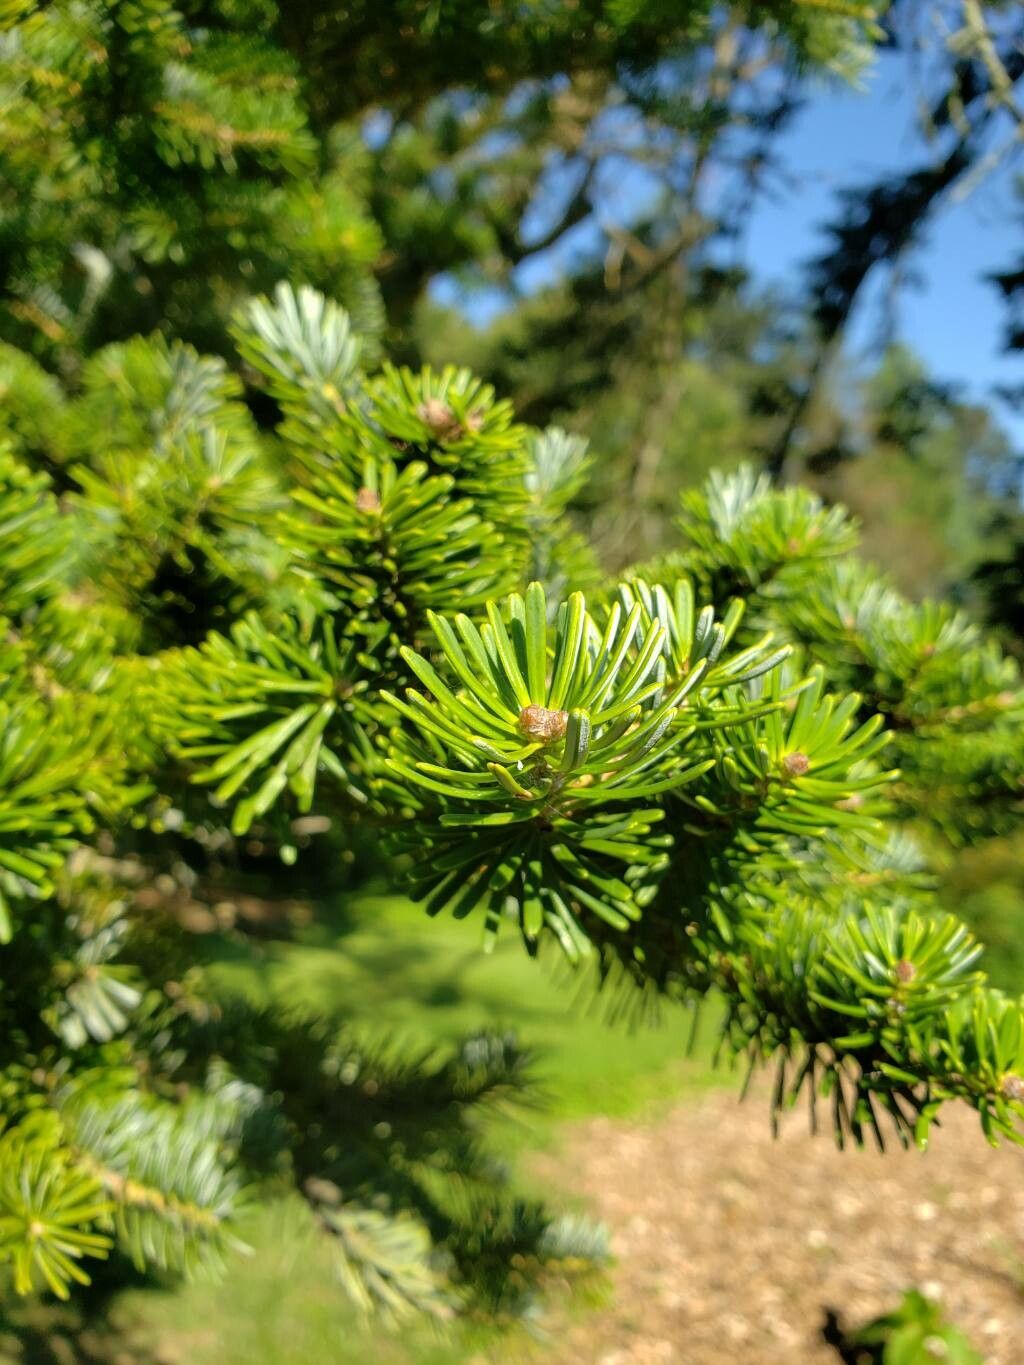
Hello, fellow garden enthusiasts! I’m so glad you’ve stopped by. Today, we’re diving into the wonderful world of Abies homolepis, often known as the Nikko fir. If you’re drawn to that beautiful, silvery-blue foliage and a stately presence in the garden, you’re in good company. Seeing one of these magnificent trees mature is truly a sight, and one of the most rewarding things you can do as a gardener is to nurture new life from existing plants.
Now, about propagating the Nikko fir. While it’s not as straightforward as a geranium cutting, it’s absolutely achievable and incredibly satisfying. For beginners, I’d say it’s a moderately challenging endeavor. It requires a bit of patience and attention to detail, but with the right approach, you’ll be well on your way to success.
The Best Time to Start
Timing is everything in the garden, and for Abies homolepis, the sweet spot for propagation is typically during the late spring or early summer, right after the new growth has hardened slightly. This is when the plant is actively growing but before the heat of mid-summer can stress your new cuttings. Think of it as catching the flush of energy from the season.
Supplies You’ll Need
Gathering your tools beforehand makes the whole process smoother. You’ll want to have these items ready:
- Sharp, sterile pruning shears or a sharp knife: For clean cuts. Sterilize with rubbing alcohol between each cut to prevent disease.
- Rooting hormone powder (with fungicide recommended): This is a crucial step for conifers like firs.
- A well-draining potting mix: I prefer a blend of coarse perlite, peat moss, and a bit of sand. You can also find specialized conifer or seed-starting mixes.
- Small pots or propagation trays: Ensure they have drainage holes.
- Plastic bags or a propagation dome: To maintain humidity around your cuttings.
- A spray bottle: For misting.
- A small trowel or dibble stick: For making holes in the soil.
- Bottom heat (optional but helpful): A propagation mat can significantly speed up root development.
Propagation Methods: Taking Cuttings
For Abies homolepis, taking semi-hardwood cuttings is the most reliable method. Here’s how I do it:
- Select the right parent plant: Choose a healthy, vigorous Nikko fir. Look for branches that have developed this season’s growth but aren’t too soft or too woody.
- Make the cut: Using your clean shears, take cuttings that are about 4-6 inches long. Try to make the cut just below a leaf node (where the leaves attach to the stem).
- Prepare the cutting: Gently strip off any lower needles from the bottom 2 inches of the cutting. This exposes the stem where roots can form.
- Apply rooting hormone: Dip the cut end into the rooting hormone powder, ensuring it’s evenly coated. Tap off any excess.
- Plant your cuttings: Make a hole in your prepared potting mix with your dibble stick, about an inch or two deep. Gently insert the cutting into the hole and firm the soil around it.
- Water gently: Water the soil thoroughly but avoid waterlogging.
- Create a humid environment: Place the potted cuttings inside a clear plastic bag, sealing it loosely, or cover them with a propagation dome. If using a bag, try to keep it from directly touching the leaves. This creates a mini-greenhouse effect.
- Provide gentle light and warmth: Place your cuttings in a bright location that receives indirect sunlight. If you have a propagation mat, place the pots on top of it.
The “Secret Sauce” (Pro Tips)
Over the years, I’ve learned a few tricks that can really make a difference:
- The “Heel” Method: When taking cuttings, try to pull some of the bark from the parent branch along with your cutting. This bit of bark, sometimes called a “heel,” contains vital cells and can encourage faster rooting. Don’t force it, but if you get a small strip of bark with your cutting, that’s a good sign!
- Air Circulation is Key: While we want humidity, we don’t want stagnant, damp air, which is a recipe for fungal diseases. Open the plastic bag or dome daily for a few minutes to allow fresh air in. It’s a simple step, but it makes a world of difference.
- Don’t Disturb Them Too Soon! It’s tempting to peek and check for roots, but resist that urge. In fact, I often leave cuttings for at least 8-12 weeks before even attempting to gently tug on one to check for resistance, which indicates root formation. Patience is truly a virtue here.
Aftercare & Troubleshooting
Once you see signs of rooting – that is, new growth appearing at the top of the cutting – you’re on the home stretch!
- Gradual Acclimation: Slowly reduce the humidity by gradually opening the plastic bag or dome more over several days. Then, transplant your new firs into individual pots using a slightly coarser potting mix.
- Careful Watering: Water them when the top inch of soil feels dry. Continue to provide bright, indirect light.
- Common Issues: The biggest culprit for failure with cuttings is rot. If your cuttings turn black and mushy, it’s usually a sign of too much moisture and not enough airflow. If they seem to dry out and shrivel excessively, your humidity might be too low, or they aren’t getting enough water. Don’t be discouraged if you lose a few; it happens to the best of us! Just learn from it and try again.
A Gentle Encouraging Closing
Propagating Abies homolepis is a journey, not a race. It’s about connecting with your plants, understanding their needs, and celebrating the miracle of new life. Be patient with yourself and your cuttings. Even if your first attempt doesn’t yield a forest, you’ll have learned so much. Enjoy the process, savor the moments of quiet observation in your garden, and soon enough, you might just have a few more beautiful Nikko firs to share or admire. Happy propagating!
Resource:
https://identify.plantnet.org/k-world-flora/species/Abies%20homolepis%20Siebold%20&%20Zucc./data