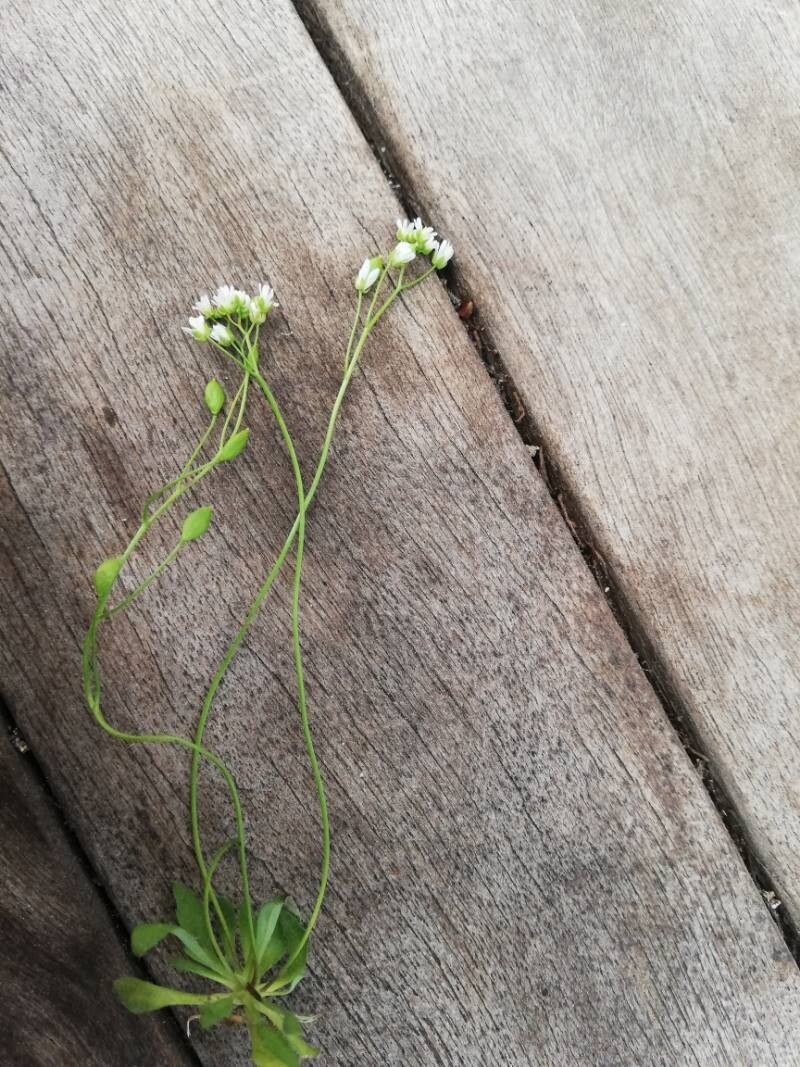
Oh, hello there, fellow plant enthusiast! Grab your favorite mug, settle in, and let’s chat about a little gem that often flies under the radar: Draba verna. You know, the one with the delicate, charming white flowers that pop up so early in spring, often when we’re still dreaming of warmer days? It’s such a hopeful sight, isn’t it?
Propagating Draba verna is incredibly rewarding. It’s a way to multiply that cheerful spring color and share these little beauties with friends. And for beginners? I’d say it’s wonderfully approachable. You’ll find success with this one pretty quickly, which is always a confidence booster.
The Best Time to Start
Honestly, Draba verna is something of a wonder itself. It flowers very early, typically from late winter right through spring, depending on your climate. This means its seed pods form and mature soon after flowering. For the absolute best success rate, especially if you’re aiming for propagation by seed, it’s best to collect seeds as soon as the seed pods turn dry and start to split. If you’re trying vegetative propagation (we’ll get to that!), doing it right after it finishes its main flowering flush, when the plant is actively growing but not yet stressed by summer heat, is ideal.
Supplies You’ll Need
Here’s what you’ll want to have on hand:
- Small pots or seed trays: Clean ones are key to preventing disease.
- Well-draining potting mix: A standard seed-starting mix works great. For Draba verna, I like to add a bit of perlite or horticultural grit to ensure excellent drainage.
- Spray bottle: For gentle watering.
- Label and pen: To keep track of what you’ve sown and when.
- (Optional, for division): A small trowel or blunt knife.
Propagation Methods
Draba verna is a master of self-seeding, which is a huge clue to its most straightforward propagation method!
1. From Seed (The Easiest Way!)
This is how nature does it, so why not us?
- Collection: As soon as you see those tiny, dry seed pods forming, carefully snip them off. They’re quite small, so a gentle touch is needed. You can either lay them on a piece of paper in a warm, dry spot to finish drying, or directly sow them.
- Sowing: Fill your pots or trays with the well-draining potting mix. Lightly moisten the soil with your spray bottle.
- Planting: Simply scatter the tiny seeds over the surface of the soil. Draba verna seeds are very small, so don’t bury them deep. A light dusting of the potting mix or a very fine layer of grit is all they need.
- Watering: Mist gently again. The goal is moist, not soggy.
- Germination: Place the pots in a bright spot. No direct, intense sun at this stage. Many seeds will germinate surprisingly quickly, often within a week or two. You might find that cold stratification (a period of cold) actually helps some seeds germinate, so don’t be surprised if sown in the fall, they sprout in early spring.
2. Division (For More Established Plants)
If you have a mature clump of Draba verna that’s really thriving, you can divide it.
- Timing: This is best done in early spring as soon as the plant emerges, or in early autumn before the weather gets too cold.
- Digging Up: Gently excavate the entire plant or a portion of it. Be careful not to lose too much soil from the roots.
- Separating: Look for natural divisions in the root ball. You can often gently pull clumps apart with your hands. If it’s a bit more stubborn, a clean trowel or even a blunt knife can help you make the cuts. You want each division to have a good amount of roots and some leafy growth.
- Replanting: Replant the divisions immediately into your prepared pots or directly into the garden where you’d like them to grow. Water them in well.
The “Secret Sauce” (Pro Tips)
Here are a few little tricks I’ve picked up that can make all the difference:
- Don’t Overwater Your Seedlings: Draba verna, especially when young, is prone to damping off—a fungal disease that causes seedlings to rot at the soil line. Keep the soil consistently moist but not wet. A spray bottle is your best friend here.
- Mimic Nature with Light: When sowing seeds, remember that many small seeds germinate best with light. Avoid burying them deeply. Just a very light covering or even no covering at all works well, as long as they don’t dry out.
- Patience with Division: When dividing, give each new piece adequate roots. Even if a division looks small, as long as it has a few healthy rootlets, it should establish well.
Aftercare & Troubleshooting
Once your seeds have germinated or your divisions are planted, what’s next?
- For Seedlings: Keep them consistently moist. As they grow a bit larger and develop a few true leaves, you can gradually introduce them to brighter light. If you’re growing them in trays, you might want to pot them up into individual pots once they’re big enough to handle easily.
- For Divisions: Water them regularly until you see signs of new growth. They might look a bit sad for a week or two, but that’s normal as they settle in.
The most common issue you’ll face is damping off, as I mentioned. If you see seedlings wilting and collapsing at the base, it’s a good sign of this. Ensure good air circulation and avoid overwatering. If you’re propagating by cuttings (which is less common for Draba verna but possible), keep an eye out for rot as well. Using sterile pots and good drainage is your best defense.
A Encouraging Closing
There you have it! Propagating Draba verna is absolutely doable, and I just know you’re going to have fun with it. Be patient, observe your little plants, and don’t be afraid to experiment a little. Soon you’ll have a whole drift of these charming early bloomers to enjoy. Happy gardening!
Resource:
https://identify.plantnet.org/k-world-flora/species/Draba%20verna%20L./data