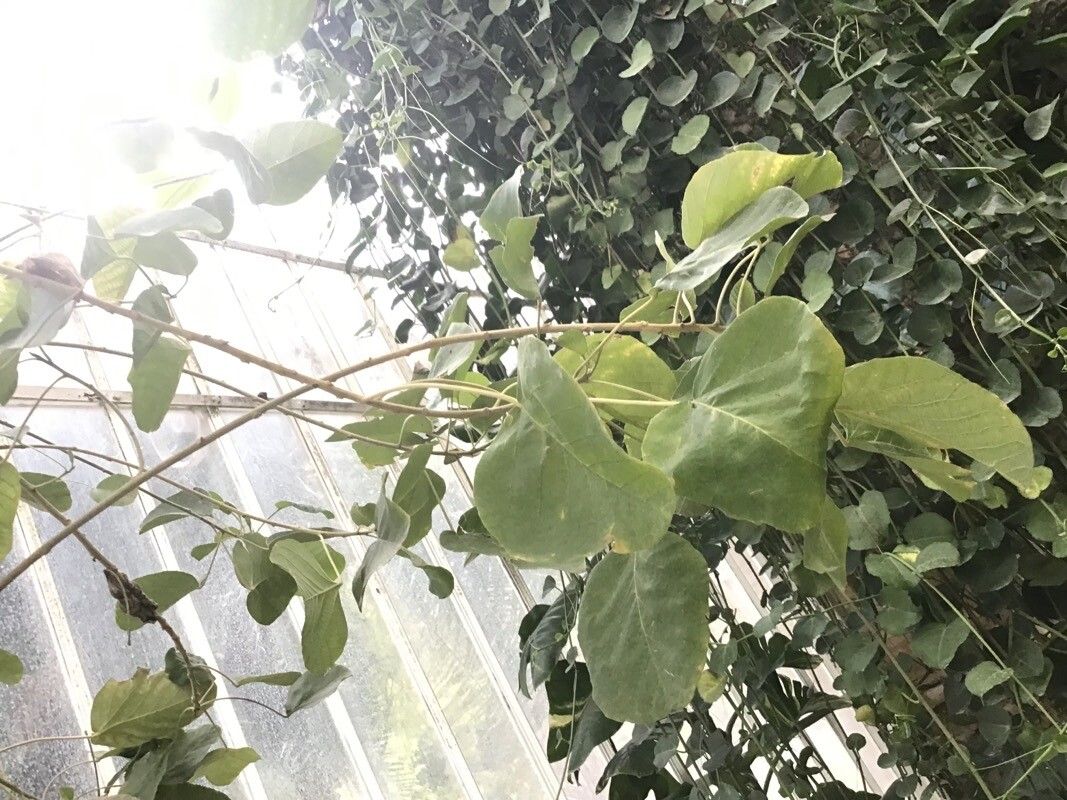
Oh, hello there! Grab yourself a mug, won’t you? I’m so excited to chat with you today about a plant that’s a real gem in my garden – Lasiocroton bahamensis, or the Bahama Lasiocroton, as some folks call it. It’s such a delightful shrub, with its glossy, leathery leaves and its knack for attracting all sorts of delightful pollinators. Propagating it? Pure joy, especially when you see a tiny new leaf unfurl on a plant you’ve coaxed to life yourself. Now, I won’t sugarcoat it; this one can be a little bit fussy for absolute beginners, but with a bit of guidance and your good gardening hands, you’ll be a pro in no time!
The Best Time to Start
When it comes to giving your Lasiocroton bahamensis cuttings the best possible start, spring and early summer are your golden windows. Think about when the plant is really in its growth spurt – that’s when it has the most energy to direct towards developing those precious roots. You want to take cuttings from new, but not overly soft, growth. This means stems that have a bit of firmness to them, not the brand-new, floppy tips.
Supplies You’ll Need
Here’s a little kit to get you ready for propagating:
- Sharp Pruning Shears or a Craft Knife: Clean cuts are crucial!
- Rooting Hormone: A powder or gel can significantly boost your success rate.
- Well-Draining Potting Mix: I like a blend of equal parts peat moss and perlite, or a good quality seed-starting mix.
- Small Pots or Seed Trays: With drainage holes, of course.
- Plastic Bags or a Propagator: To create a humid environment.
- Spray Bottle: For misting.
- Labels: So you remember what you planted where!
Propagation Methods: Stem Cuttings
This is generally my go-to method for Lasiocroton bahamensis, and I think you’ll find it rewarding too.
- Select Your Cuttings: Head out to your plant on a bright spring morning. Look for those semi-hardwood stems – they should snap cleanly when bent gently, not just crease. Aim for pieces about 4-6 inches long.
- Prepare the Cuttings: Using your clean shears or knife, remove any lower leaves that would be below the soil line. You can also slight pinch the tip of the cutting to encourage more branching later on.
- Apply Rooting Hormone: Dip the bottom end of the cutting into your rooting hormone, tapping off any excess. This step is really important for encouraging root development.
- Plant Your Cuttings: Fill your small pots with your moistened, well-draining potting mix. Make a small hole in the center of the soil with your finger or a pencil. Gently insert the rooting hormone-coated end of the cutting into the hole, ensuring it makes good contact with the soil. Firm the soil gently around the base.
- Create a Humid Environment: Water the soil lightly. Then, cover the pot with a clear plastic bag or place it in a propagator. This traps humidity, which is vital for preventing the cuttings from drying out before they can form roots. If using a bag, you can poke a few small holes in it to allow for a little air circulation.
The “Secret Sauce” (Pro Tips)
Alright, let’s spill a little garden tea! Here are a couple of things I’ve learned over the years that can make a big difference:
- Bottom Heat is Your Friend: If you can, pop your pots onto a heat mat designed for seedlings. This gentle warmth encourages root formation from below, giving your cuttings a fantastic boost. It’s like a cozy little heated bed for baby roots!
- Don’t Over-Water, but Keep it Moist: While humidity is key, soggy soil is the enemy. Check the moisture level regularly. The soil should feel consistently moist, but not waterlogged. If it feels heavy or wet, it’s time to ease up on the watering and perhaps increase ventilation slightly.
Aftercare & Troubleshooting
Once your cuttings have been nestled in their humid little homes, the waiting game begins. Keep them in a spot with bright, indirect light. Avoid direct sun, which can scorch those delicate baby leaves.
You’ll know your cuttings are rooting when you see signs of new growth – a tiny leaf unfurling, or even new shoots appearing. Gently tugging on a cutting will also reveal resistance if roots have formed. Once you see good root development, you can gradually acclimatize them to drier air by opening the bag or propagator for longer periods each day.
Now, what if things go wrong? The most common culprit is rot. If your cuttings look mushy, discolored, or smell sour, it’s usually a sign of too much moisture and not enough air circulation. Sadly, if this happens, it’s best to discard those cuttings and start again, paying closer attention to watering and ventilation. It’s all part of the learning process!
So there you have it – a little guide to bringing more beautiful Lasiocroton bahamensis into your life. Don’t get discouraged if your first few attempts aren’t perfect. Gardening is all about patience and observation. Enjoy the process, celebrate every tiny success, and soon you’ll have a whole new generation of these lovely plants to share! Happy propagating!
Resource: