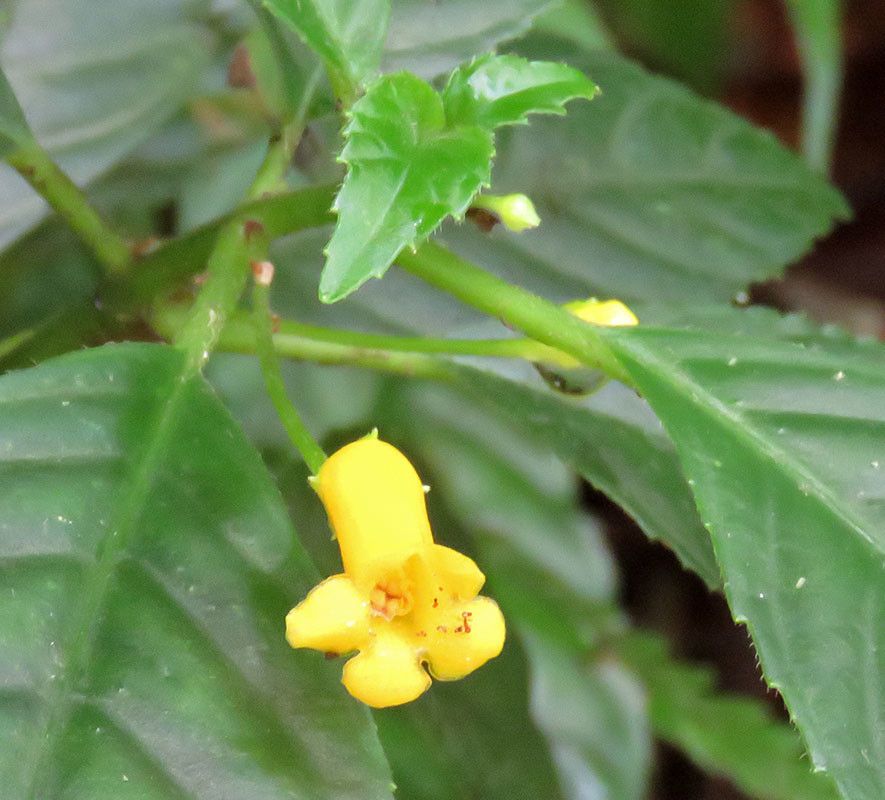
Hello, fellow plant enthusiasts! Grab a cup of your favorite brew, and let’s chat about a truly special plant: Besleria filipes. If you’re a fan of vibrant foliage and a touch of the dramatic, you’re going to adore this one. It’s got these gorgeous, intricately veined leaves that bring so much life to any corner of your home. And the best part? Bringing more of them into your life through propagation is a deeply satisfying journey. Now, I won’t pretend it’s as simple as rooting a pothos, but it’s certainly not an insurmountable challenge. With a little care and attention, you’ll be well on your way to success.
The Best Time to Start
For Besleria filipes, your best bet is to start your propagation efforts during its active growing season. This typically falls from late spring through summer. You’ll notice your plant is putting out lots of fresh, healthy growth during this time, making it more receptive to new beginnings. Trying to propagate when the plant is dormant in winter can lead to less vigorous rooting, and frankly, is just a bit harder on everyone involved.
Supplies You’ll Need
Before we get our hands dirty, let’s gather our arsenal:
- Sharp, clean pruning shears or a craft knife: Essential for making precise cuts without damaging the parent plant or your cuttings.
- Small pots or propagation trays: Anything that can hold your chosen medium and give those new roots space to grow.
- A well-draining potting mix: I often use a blend of peat moss or coco coir with perlite or vermiculite (think 50/50). For Besleria, something a bit lighter is usually appreciated.
- Rooting hormone (optional but recommended): A powdered or gel formula can give your cuttings a helpful boost.
- Clear plastic bags or a propagation dome: To create a humid environment for your cuttings, which is crucial.
- Water: For watering, of course!
- Spray bottle: For misting.
Propagation Methods
Besleria filipes can be propagated using a few methods, but my favorites are stem cuttings and, if you have a larger plant, division.
Stem Cuttings
This is my go-to for Besleria filipes.
- Take Your Cuttings: Using your sterilized shears, select a healthy stem that has at least two or three sets of leaves. Make a clean cut just below a leaf node. A node is that slightly thickened bump on the stem where leaves emerge.
- Prepare the Cuttings: Gently remove the lower leaves from the cutting, leaving just the top couple of leaves. If a leaf is exceptionally large, I sometimes cut it in half horizontally to reduce water loss.
- Apply Rooting Hormone (Optional): Dip the cut end of the stem into your rooting hormone, tapping off any excess.
- Plant Your Cuttings: Fill your small pots with your prepared potting mix. Make a small hole in the center with your finger or a pencil and gently insert the cutting. Firm the soil around the stem.
- Water and Cover: Water the soil thoroughly until it drains from the bottom. Then, place the pot inside a clear plastic bag or cover it with a propagation dome. Poke a few small holes in the bag or prop open the dome lid slightly for air circulation.
Division
If your Besleria filipes is a mature, well-established plant and has started to produce multiple shoots from the base, division can be a great way to get new plants.
- Gently Remove the Plant: Carefully take your Besleria out of its pot.
- Inspect the Root Ball: Gently tease apart the soil from the roots. You’re looking for distinct clumps of stems and roots that can be separated.
- Divide the Plant: Using your hands or a clean knife if necessary, carefully separate the root ball into sections. Each section should have a good amount of root attached to a healthy shoot.
- Pot Up Your Divisions: Pot each division into its own appropriately sized pot with fresh, well-draining soil. Water thoroughly.
The “Secret Sauce”
Here are a couple of little tricks I’ve learned over the years that really make a difference:
- Avoid Leaf-in-Water Trauma: If you’re tempted to try water propagation (which I find less reliable for Besleria), be super careful. Never let the leaves touch the water. They will just rot. Only the stem should be submerged. I prefer soil propagation for Besleria as it offers more stability for the developing roots.
- The Magic of Bottom Heat: Using a seedling heat mat underneath your propagation trays can be a game-changer. It provides gentle warmth to the soil, which encourages root development from below. It mimics the natural warmth of spring soil and really speeds things up.
Aftercare & Troubleshooting
Once your cuttings have taken root (this can take anywhere from 4-8 weeks, sometimes longer!), it’s time to transition them.
- Transitioning: Gradually acclimate your new plants to normal room humidity. Open the plastic bag or dome a little more each day over a week or so. Once they seem stable, you can remove the covering entirely. Continue to water as you would your mature Besleria, keeping the soil lightly moist but not waterlogged.
- Signs of Trouble: The most common culprit is rot. If your cuttings go limp, turn mushy, or develop black spots, it’s usually a sign of too much moisture and not enough air circulation. Ensure your mix is airy and that you’re not overwatering. If you see signs of rot, you might need to try newer, healthier cuttings. Yellowing leaves can sometimes indicate overwatering, or sometimes it’s just the plant shedding older foliage as it focuses energy on new growth.
A Little Patience Goes a Long Way
Propagating plants is a beautiful act of trust – trust in the plant’s ability to grow, and trust in your own nurturing hands. Don’t get discouraged if your first attempt isn’t perfect. Every gardener has a few cuttings that don’t make it. Just keep trying, observe your plants, and enjoy the process of bringing new life into your home. Happy propagating!
Resource:
https://identify.plantnet.org/k-world-flora/species/Besleria%20filipes%20Urb./data