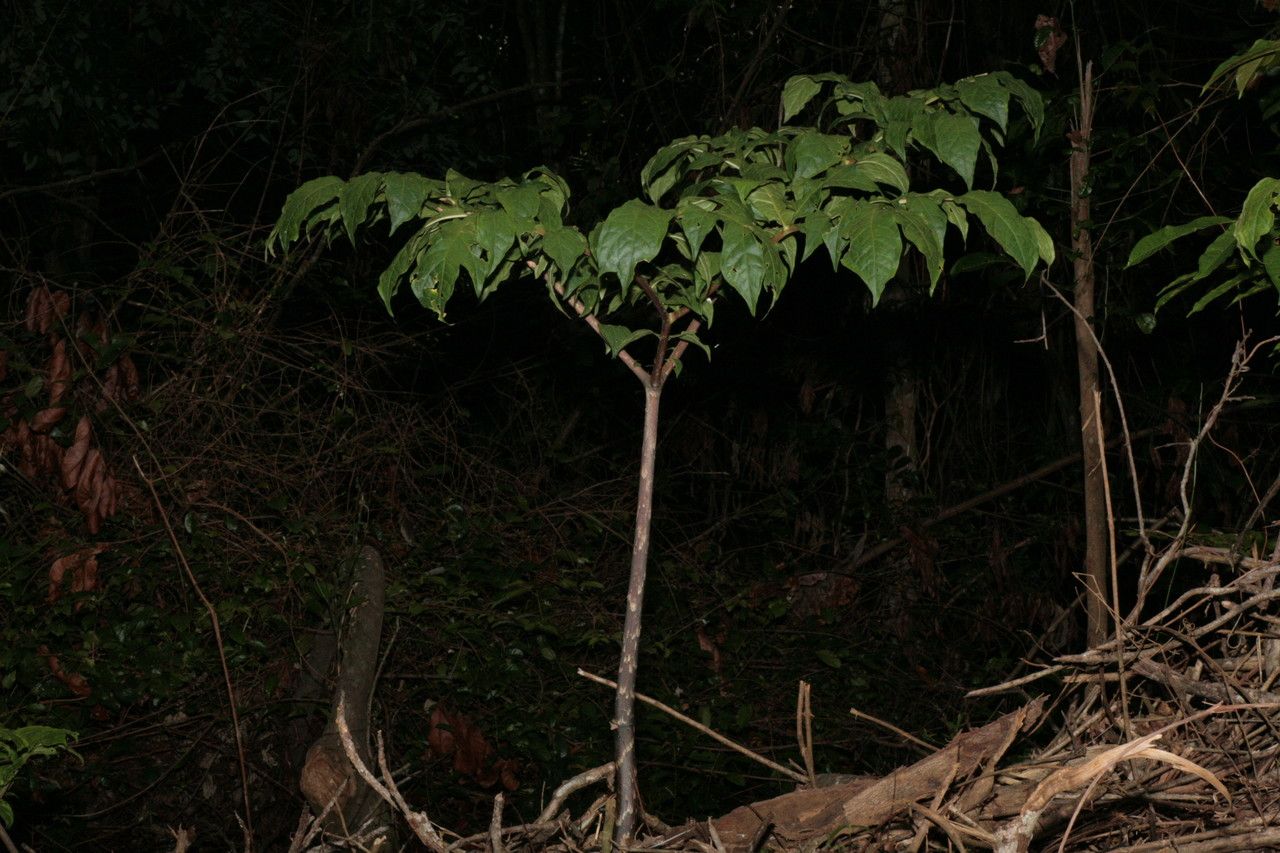
Hello there, fellow plant enthusiasts! I’m so excited to share a little gardening joy with you today. We’re diving into the wonderful world of propagating Dracontium polyphyllum, also known as the “Dragon’s Tongue” or “Snake Lily.” If you, like me, have fallen under the spell of this plant’s dramatic, velvety foliage and fascinating flower (or if you simply admire its bold statement in the garden or home), you’re in for a treat. Propagating it yourself is a deeply rewarding experience. It’s not the absolute easiest plant to start from scratch, but with a little patience and these handy tips, you’ll be well on your way to more “Dragon’s Tongues” in no time.
The Best Time to Start
Timing is everything in the garden, and for Dracontium polyphyllum, the sweet spot for propagation is usually late spring to early summer. This is when the plant is actively growing after its dormant period, full of energy, and more likely to produce healthy divisions or cuttings. You want to catch it when it’s not flowering, as that can drain its energy. Look for a plant that has put out a good amount of new growth.
Supplies You’ll Need
Before we get our hands dirty, let’s make sure we have everything we need. A little preparation goes a long way!
- Sharp, clean pruning shears or a knife: Essential for clean cuts to prevent disease.
- Well-draining potting mix: A blend of good quality potting soil with perlite or orchid bark is ideal to prevent waterlogged roots.
- Small pots or containers: Choose ones that are proportionate to the size of your cuttings or divisions.
- Rooting hormone (optional but recommended): This can give your propagation an extra boost.
- Spray bottle: For misting your cuttings.
- Plastic bags or a humidity dome: To create a humid environment for cuttings.
- Dibbler or small stick: To make planting holes.
Propagation Methods
Dracontium polyphyllum is typically propagated through division, which is the most straightforward and often the most successful method.
Division:
This is like giving your plant a little room to breathe and grow!
- Gently remove the plant from its pot. If it’s in the ground, carefully dig around it, trying to disturb the roots as little as possible.
- Inspect the root ball. You’re looking for natural separation points where new bulbs or corms are attached to the parent plant. You might see distinct sections with their own roots.
- Using your clean pruning shears or knife, carefully separate the sections. Make sure each new piece has at least one healthy bulb or corm and a few good roots attached. If the roots are tangled, you can gently tease them apart with your fingers, but don’t force it if it feels like you’re damaging them.
- Pot up each division into its own container using your well-draining potting mix. Plant the bulb just deep enough so the top of the bulb is at or just barely beneath the soil surface.
- Water lightly to settle the soil around the roots.
The “Secret Sauce” (Pro Tips)
Here are a few little bits of wisdom I’ve picked up over the years that can make a big difference:
- Don’t overwater newly divided plants. They need to establish their roots before they can take up a lot of water. Soggy soil is the quickest way to invite rot, and we definitely don’t want that! Keep the soil lightly moist, perhaps checking it every few days, rather than drenching it regularly.
- Think about warmth. While not as critical as for some other tropicals, providing a little bit of gentle bottom heat can really encourage root development. A propagation mat placed under your pots can work wonders, especially if your home is on the cooler side.
Aftercare & Troubleshooting
Once your divisions are potted up, give them a good home. Keep them in bright, indirect light. Avoid direct sun which can scorch delicate new growth. Mist the leaves occasionally, especially if you notice them wilting.
The most common issue you might encounter is rot. If you see your new plant looking mushy at the base or the leaves turning yellow and falling off despite moderate watering, it’s likely rot setting in. This is usually a sign of the soil staying too wet for too long. If you suspect rot, you might need to unpot the division, trim away any rotted parts with a clean knife, and repot into fresh, dry soil. Sometimes, sadly, a severely rotted piece is beyond saving, but don’t be discouraged – it’s a learning process!
A Encouraging Closing
Propagating Dracontium polyphyllum is a journey, and like all good gardening, it requires a bit of patience. Don’t despair if not every attempt is a roaring success right away. Celebrate the small victories, learn from any setbacks, and most importantly, enjoy the process of nurturing new life. Before you know it, you’ll have a beautiful kolekce of these dramatic beauties to admire. Happy gardening!
Resource:
https://identify.plantnet.org/k-world-flora/species/Dracontium%20polyphyllum%20L./data