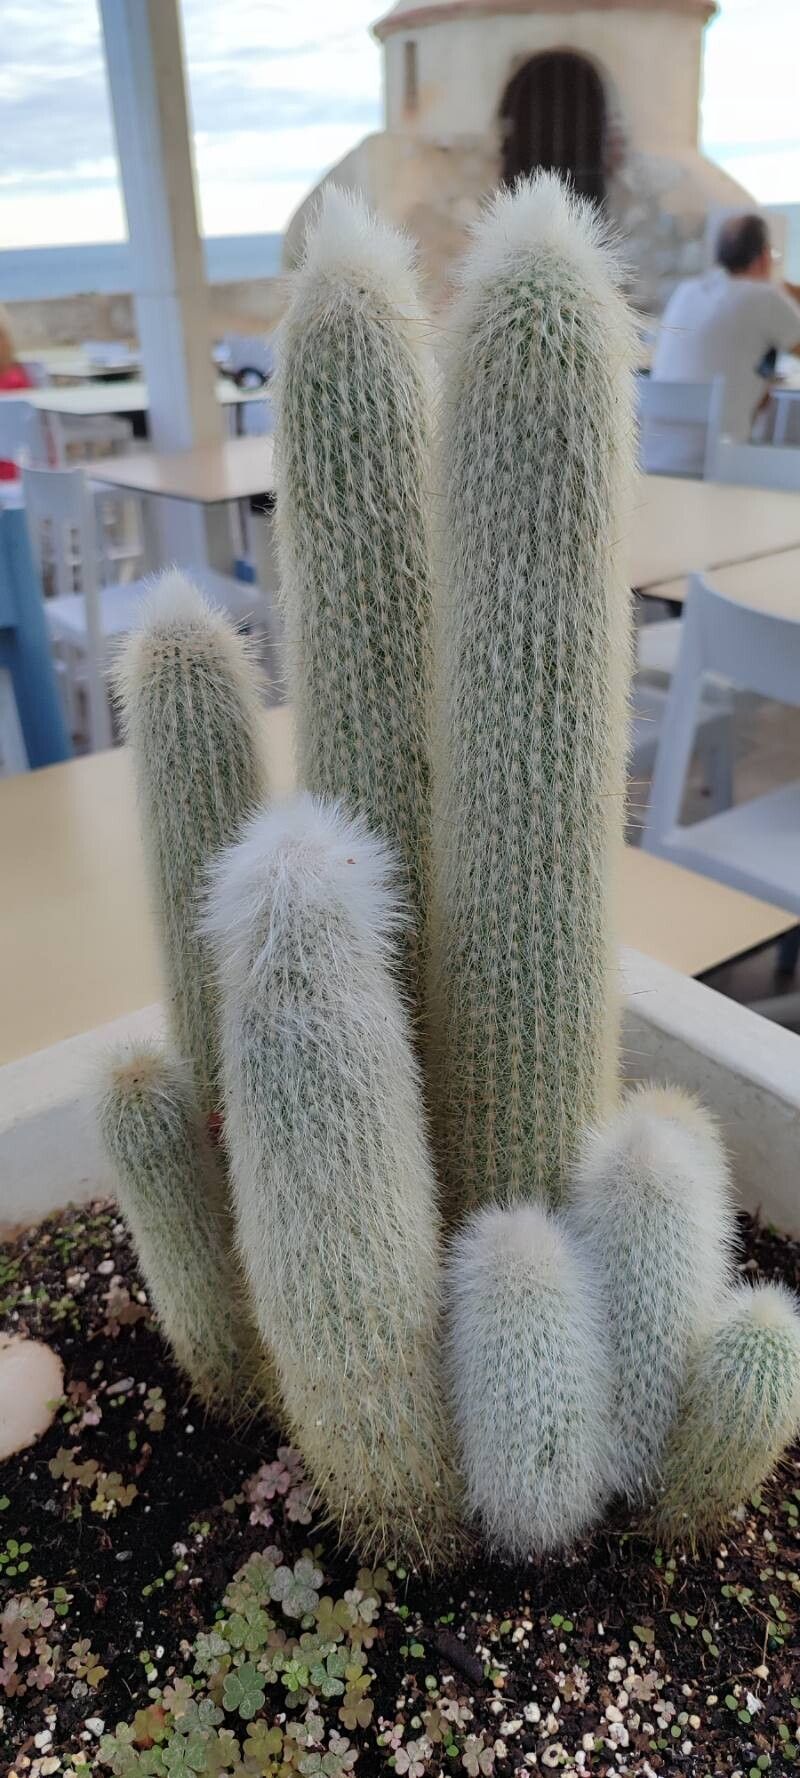
Well hello there, fellow plant enthusiasts! Grab your favorite mug, because today we’re diving into the wonderful world of propagating Cleistocactus strausii, also known as the Woolly Torch Cactus. If you’ve ever admired these striking, columnar beauties with their fuzzy white spines, you’re in for a treat. Starting new plants from existing ones is incredibly rewarding, and the Woolly Torch cactus is a fantastic candidate for this rewarding endeavor. I’d say it’s a pretty approachable plant to propagate, even for those of you just starting your green journey.
The Best Time to Start
For the highest success rate with your Woolly Torch cuttings, always aim for the growing season. This generally means from late spring through summer. You’ll want to take cuttings when the plant is actively producing new growth, usually when temperatures are warmer and days are longer. Avoid propagating during the cooler, dormant months of fall and winter; your cuttings will be much happier and more likely to root when it’s warm.
Supplies You’ll Need
To embark on this propagation adventure, gather these essentials:
- Sharp Pruning Shears or a Clean Knife: Sterilized, of course!
- Well-Draining Potting Mix: A cactus and succulent blend is ideal. You can also mix your own with equal parts potting soil, perlite, and coarse sand.
- Small Pots or Trays: Clean containers for your new cuttings.
- Rooting Hormone (Optional but Recommended): This can give your cuttings a helpful boost.
- Gravel or Perlite: For added drainage at the bottom of pots.
- Paper Towels or Newspaper: To gently clean up any sap.
- Spray Bottle: For gentle watering.
- Gloves: Those woolly spines can be surprisingly pokey!
Propagation Methods
The most popular and successful way to propagate Cleistocactus strausii is through stem cuttings. Here’s how we’ll do it:
- Select Your Cutting: Look for a healthy stem on your mature Woolly Torch cactus. You want to take a piece that’s at least 3-6 inches long. Use your sterilized shears or knife to make a clean cut at the base of the desired stem.
- Callus Over: This is a crucial step for cacti! Lay your cutting on a dry surface, away from direct sunlight, for several days to a week. You want the cut end to dry out and form a firm callus. This prevents rot when you plant it. You’ll know it’s ready when the cut surface looks dry and leathery.
- Prepare Your Pot: Fill your chosen pot with your well-draining cactus mix. You can add a shallow layer of gravel or perlite at the bottom for extra drainage.
- Plant the Cutting: Once the cut end has callused, you can optionally dip it into rooting hormone. Then, gently press the callused end into the soil of your prepared pot, about an inch deep. Make sure it’s standing upright. Don’t water yet!
- Wait and Be Patient: Place the pot in a bright location with indirect sunlight. Now, the hardest part: waiting for roots to form. This can take anywhere from a few weeks to a couple of months. You can try a very gentle tug after a month to see if there’s any resistance, indicating root growth.
The “Secret Sauce” (Pro Tips)
After helping countless plants find new homes, I’ve picked up a few tricks:
- Don’t Rush the Callusing: I can’t stress this enough! Skipping the callusing stage is the quickest way to invite rot. Be patient; that dry scab is your best friend.
- Bottom Heat is Your Friend: If you can, place your potted cuttings on a heat mat designed for seedlings or plants. This gentle warmth encourages root development and significantly speeds up the process. It’s like giving your baby cacti a warm hug from below!
- Water Sparingly at First: When you do start watering, be very conservative. I like to mist the soil surface lightly every week or so, just to keep it from drying out completely, rather than a deep soak. You’ll know it’s time for more regular watering once you see new growth.
Aftercare & Troubleshooting
Once you feel those roots taking hold (or see visible new growth), your little Woolly Torch is ready for slightly more attention. Start watering more regularly, but always allow the soil to dry out completely between waterings. They still prefer it on the drier side, even when established.
The most common issue you might encounter is rot. If your cutting becomes soft, mushy, or develops dark, wet spots, it’s likely rotting. Unfortunately, once rot sets in, it’s very difficult to save the cutting. This usually happens when the cutting wasn’t allowed to callus properly or was overwatered. If you see signs of rot, remove the affected cutting immediately to prevent it from spreading. It’s a tough lesson, but a valuable one!
A Encouraging Closing
Propagating your Woolly Torch cactus is a journey, and like any good gardening adventure, it requires a bit of patience and keen observation. Don’t get discouraged if your first attempt isn’t a runaway success. Each cutting teaches you something new. Enjoy the process of nurturing these spiky darlings into their own magnificent selves. Happy propagating, and may your shelves soon be lined with your own fuzzy creations!
Resource: